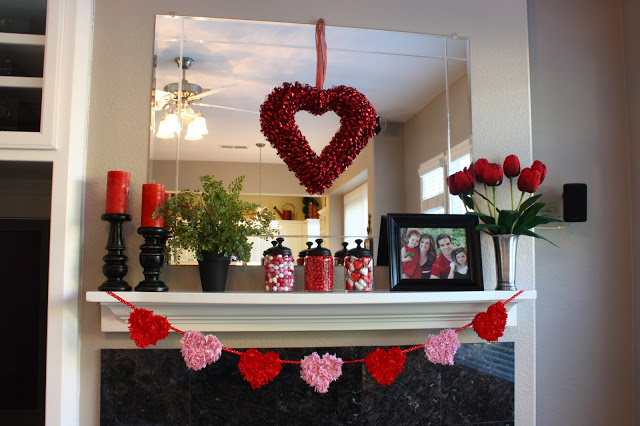
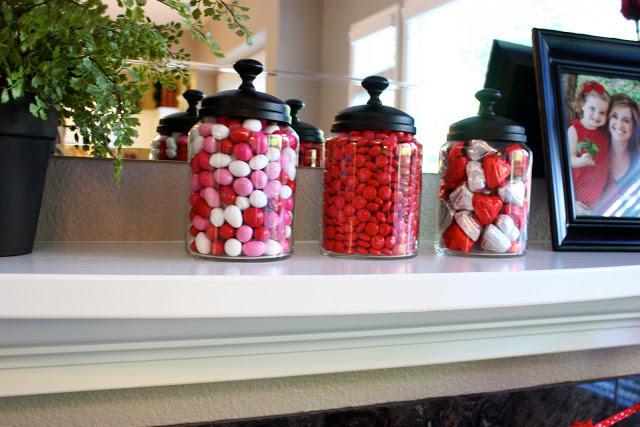
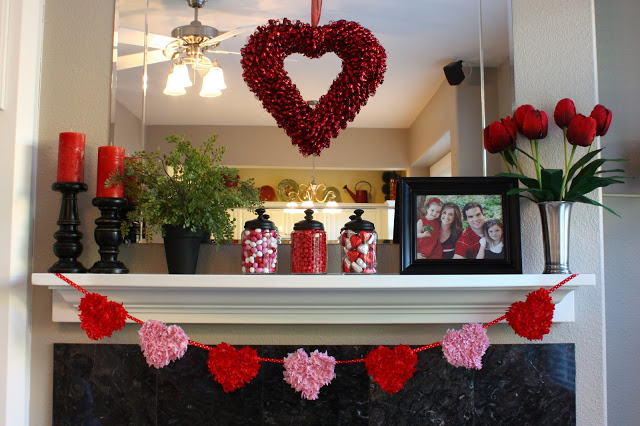
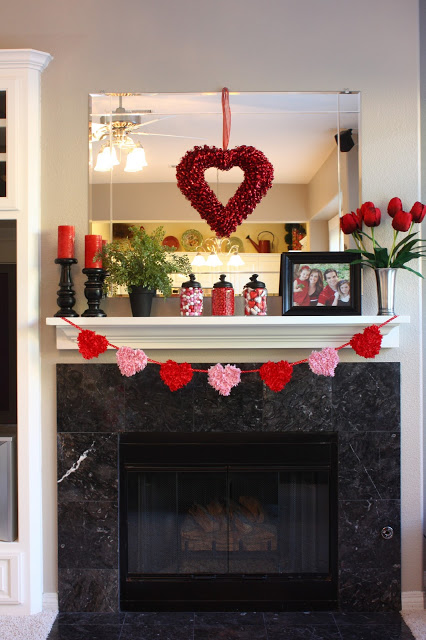
I just hung a heart wreath on the mirror and put a little candy in my favorite black jars – because what’s more fun than edible decor? Hoping this candy sticks around longer than last year’s Easter candy did!
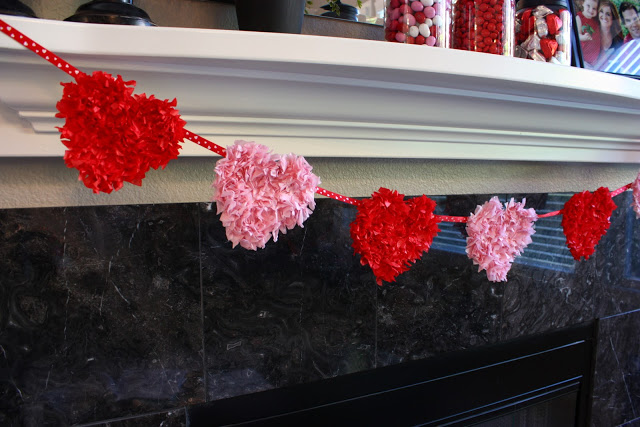
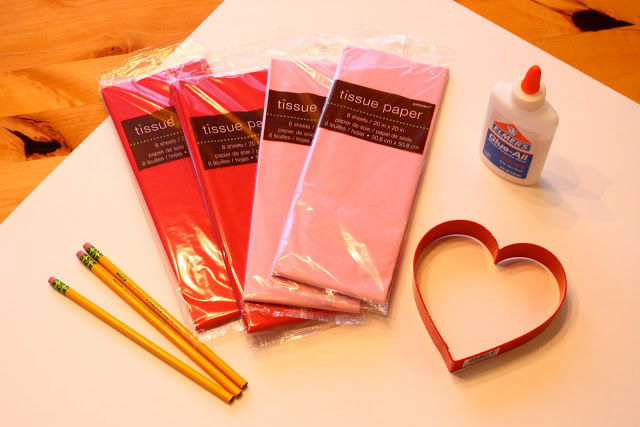
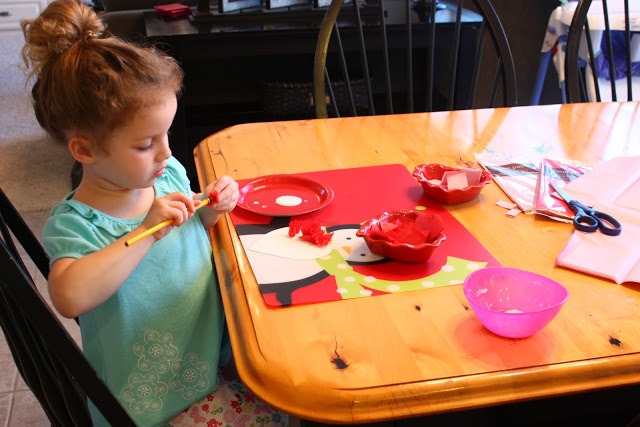
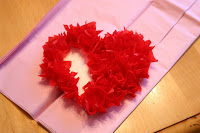
Then Addison and I made a tissue heart banner. Tissue art is so fun and so easy. I used to do this with my 4th graders when I taught school. I would draw something big (like a rainbow, Christmas tree, American flag, etc.) and the whole class would work on it for weeks. Here is what you need to make a tissue heart banner with your kiddos…
Trace and cut out a few hearts. I used my heart cookie cutter because well, what are the chances that I’ll ever use it to make cookies? Slim to none. Made a great paper tracer though. :)
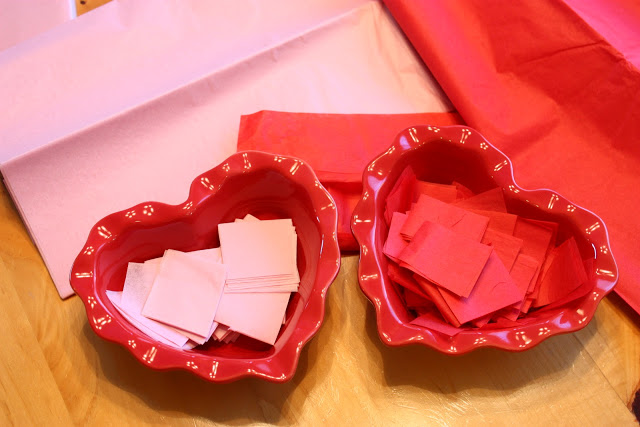
Cut your tissue up into little squares and put the square tissues in cute, mini heart shaped bowls. You could use regular bowls, but I can’t guarantee that the outcome will be as …well…cute. ;) The bigger your squares are, the longer the tissue will pop out.
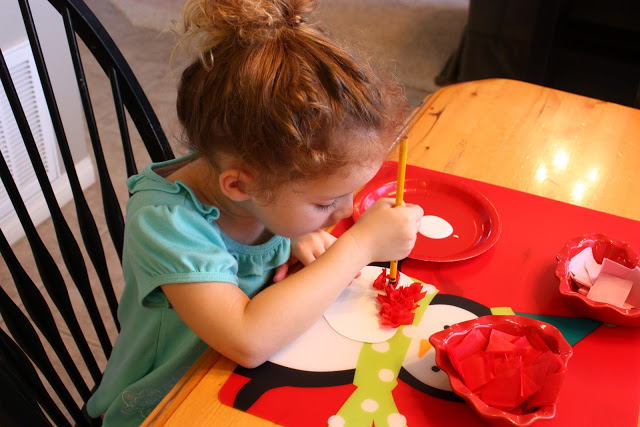
Then place a pencil eraser in the middle of a tissue square and twist the tissue around it.
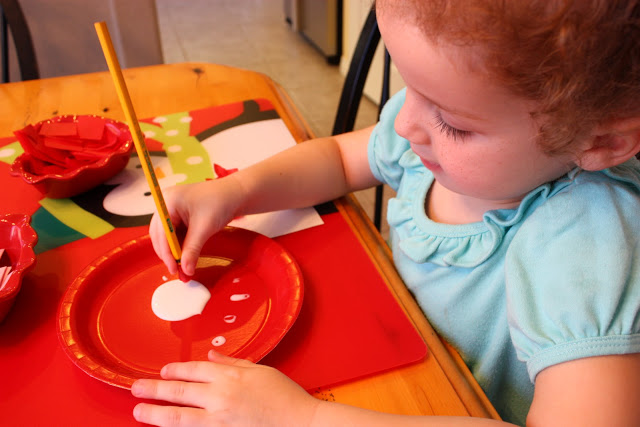
Next, dip your tissue in a tad of glue. Emphasis on the world tad. Too much glue and the tissue will become a wet mess and won’t stick. I had Addison dip her tissue in the glue and then wipe it off on the plate each time.
I like to do the outside first and then fill in the middle. You can start in the middle first, but again, I can’t guarantee as cute of an outcome.
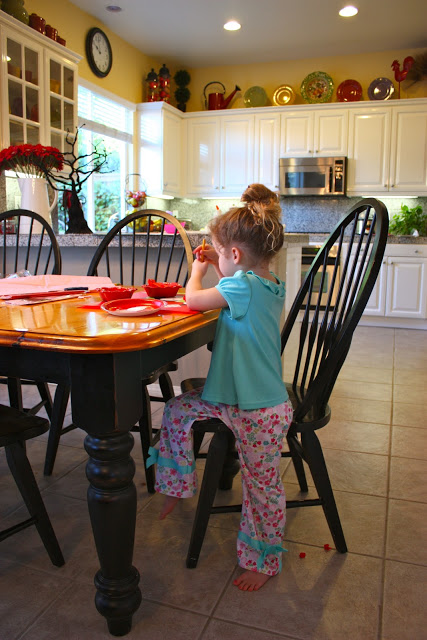
Addison has been sick a lot lately and this was a perfect sick day project. The two of us had fun watching a movie and crafting together in our pajamas.
Oh! And can I just say thank you so much for the comments on my last post for El’s birthday. So thoughtful of you all to leave such sweet comments and birthday wishes. They meant a lot to me and I’m sure they will to Ellie too someday. I told her I wrote her a letter on my blog for her birthday. She asked if grandma could read it too since it was on my blog. I said “yes – grandma… and a few other people….” :)
Have a great week everyone!




That is CUTE! I’m so going to do it with my 4-year-old girly tomorrow! Thanks for the fun idea!
love it!! I am always sooo ready to decorate for Valentine’s Day after the house feels drab from taking Christmas decor down.
Very cute!
that banner is so cute, might make them with my girls later this week! Thanks for sharing.
ohhh, that is adorable!!! do you think a glue stick would work as well as regular glue? my oldest tends to “overdo” the regular glue- haha! and this year i am NOT doing anymore edible decorations! you must have more willpower than i do because all of those yummies would be eaten in two nights at my house! ;-)
We just went off track and we may just have to try out the art project to keep us busy. What a cute idea!
Super cute!
CUTE!!!
I will post my “love”ly decor later too. thanks!
I love those jars, Erin. I have a thing for jars. I’d totally forgotten about tissue art! I remember doing that in first and second grade. I think my teachers used crepe paper, which probably made cutting out squares extra easy–just snip the strip of crepe. I think I might have to put my own first grader to work on something.
super cute garland! going to use this idea for the activity days..thanks for the details!
so cute! and a great tutorial too!
I can’t wait to start decorating for V-Day!
Question: did you hot glue the hearts to the ribbon at the end?
Thanks for the great tutorial! I wonder if my son will sit long enough for this project. Might have to give it a try anyway! I know you’ve been asked a lot, but where did you get those fantastic jars? I always love seeing what you’re doing with them each season!
Totally cute, my kids would love it…but the thought of buying the stuff, setting it up and then crafting makes me feel a little queezy. :)
Hi Jen!
I actually just used a strip of double sided tape to attach the hearts to the ribbon.
Donna –
I bought the jars at a little specialty store in southern Utah years ago. Sorry that isn’t much help!
SOO cute!!
how much tissue paper do you need? we might have to start this project today!
I LOVE IT! It’s so sweet and pretty. I hope Addison is feeling better. She looks awfully sweet in her pj’s crafting. I have a pic of my 2 yr old in her pj’s helping me with some crafts. It’s so sweet when they help! :)
SUPER cute mantle! I love it!
So, so pretty!
Jo-Anna
Such a cute mantel- I am going to do some tissue paper art too, it’s so much fun for those kiddos.
Hi Erin, I saw your blog through Sara’s blog. You have the most adorable girls and the cutest ideas. Just wanted to say Hi.
One of my favorites of the mantel party. Love it!
Hi Devon!
A little tissue goes a long way. You don’t need much at all…
happy crafting! :)
So cute!
Your mantel is really pretty and I love the tissue paper heart garland!
so cute! i love the tissue hearts…might have to try that with my little ones!
Erin,
What a wonderful Valentine Mantel display you’ve created. Fabulous photography as well. I’m so impressed with Addison’s willingness to help you with the project. She looks like a real cutie pie.
Thanks for sharing with us all.
´*•.¸(´*•.¸♥¸.•*´)¸.•*´
♥•.*.*.*.Cherry*.*.*.•♥
♥•.*.*.*.Chick.*.*.*.•♥
¸.•*´(¸.•*´♥´*•.¸)´*•.¸
Love your mantle…..and your helper is adorable…..so cute!!!!!
I love your heart craft! I think I will use it with my kindergarten and first graders this friday to prepare for the 100th day of school! I bet you were just the cutest teacher ever! Your so creative thanks for the great ideas:)
Loving those candy jars again. Those were really a great find for you. Love the tissue hearts. I remember making American Flags like that in Elem. school and I loved it, tissue art really is so fun isn’t it?!
I remember making tissue paper art in Elem! I never thought of doing with my kids! Thanks for the reminder. I will have to give it a try. Your mantle looks very cute!
I remember making tissue paper art in Elem! I never thought of doing with my kids! Thanks for the reminder. I will have to give it a try. Your mantle looks very cute!
Such a cute craft idea! I’m always looking for fun things to do with my nieces and nephews(my kids are too young to do crafts). I have followed your blog for a while and just want to say that I love love love all of the organizing and crafting ideas! Your family is adorable, and just so you don’t think I’m some crazy that came out of no where, I found your blog through Dayna’s (I grew up down the street from her) and Angie Cazier’s (she was one of my favorite young woman leaders) Blogs. :)
Of course you would have a beautiful Valentine Mantel. Love that you included the kids on the tissue art. How fun.
I love the garland Erin! so cute!
Valentine’s Day is my favorite and I love this little craft!!!
I love all of the pink and red. We might be doing the tissue paper hearts as an after school craft!
Gorgeous mantle!! I love that the kiddies helped! The jars are a great idea.
I love your heart wreath! Where did you find it?
LOVE IT!!! {love} I would LUV if you came and linked it up to CraftOManiac Monday going on now at CraftOManiac.blogspot.com! have a great night. Jen
What a beautiful mantle! I love all the bright colors!
Found you over at Stories from A to Z! LOVED your mantle & am featuring on my blog today! I’m your newest follower, for sure!
Can’t wait to do this with my kids! so pretty!
Erin. Thanks for the great post. I adapted it for my kids… check out our Valentines! =) Danett
http://artallages.blogspot.com/
Darling! I want to make one!
Love the mantel arrangement! Just featured it on my blog.
-Erin
DIYOntheCheap.blogspot.com
Love, love, love it! I’ll be doing this. Thanks for sharing :)
Where did you get your glass jars with black lids??? I have looked EVERYWHERE for something like them, and have had no luck!
-Alicia
Hi Alicia!
Oh – I’ve had those for years! I bought them at a specialty store in southern Utah that has now gone out of business. :( Sorry that’s not much help!
can you tell me how you added the hearts to the ribbon please?
Anonymous – I just stuck some double sided tape on the back of the hearts and then attached the ribbon. It has held up so well. Nothing too complex around here. :) Hope that helps!
So sweet! I followed you over from Pinterest. I love how simple this is with a huge impact! I have shared on My blog as well!
This banner was so cute I had to make one.
The first 3 hearts I did took 1 hour each. Yikes. To drastically cut the time required to complete the banner I painted the surface of the heart with white glue and then added the tissue pieces. Eliminating the need to dip each tissue clump in glue decreased my production time from 1 hour to about 20 minutes.
Nice! Such a smart idea if you can get the tissue on quick enough before the glue dries! Thanks for sharing!