Lately I’ve been getting a lot of questions about our shiplap display walls! I know I’ve shared them a lot before, but everything is spread out in various posts so in an effort to consolidate information, I’m sharing ALL of the details on my shiplap display walls including how I dress them up through the seasons.
Because shiplap display walls are fun. And after the long day I just had.. I could use a little fun this evening. :)
Once upon a time there was one shiplap display wall..
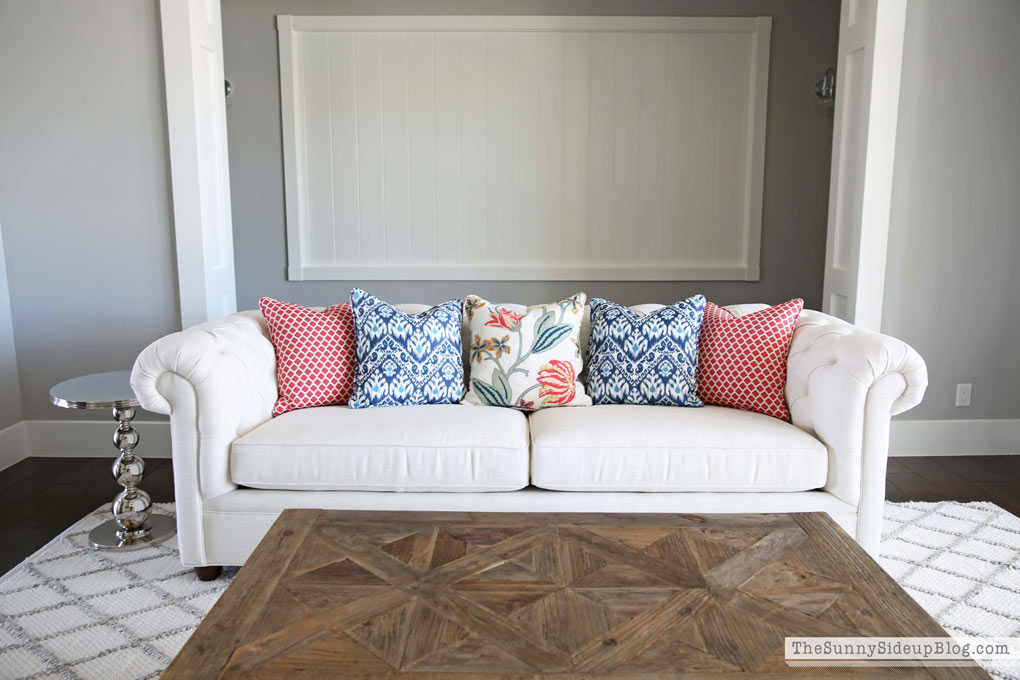
When we designed our home I thought it would be fun to put some planks on this large wall by our formal living room so I had our architect sketch an inset wall in this space and we made it happen. I knew that I eventually wanted a gallery wall in this space, but for the first couple of years in our new home it sat empty.
A lot of things sat empty for the first couple of years in our new home. Some still sit empty today. Clearly I’m ok with empty. Less to dust. :)
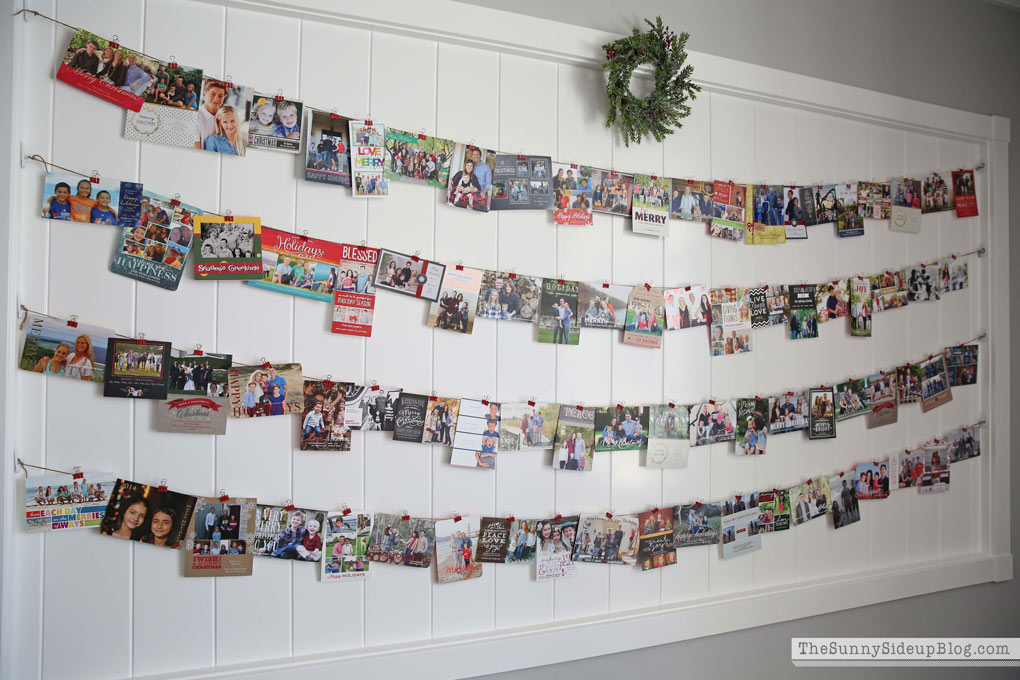 One December I got tired of the empty planked wall so I used it to display our Christmas cards. I loved having a place to display our Christmas cards, but wanted something I could leave up all year long so I finally got my act together (aka called my carpenter and dad for help)..
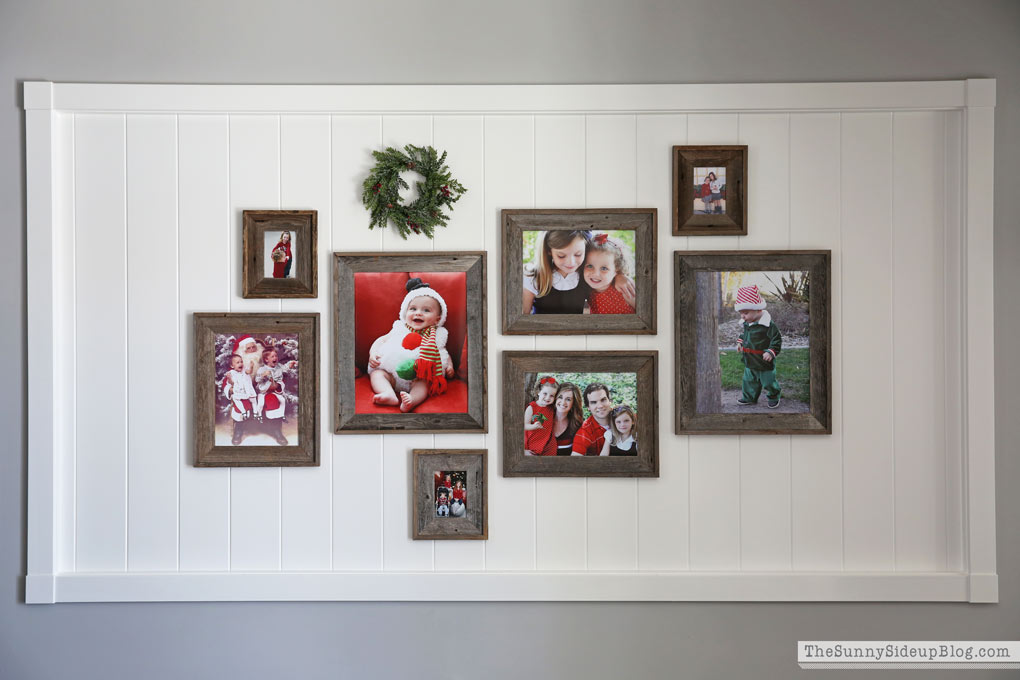
and created the gallery wall that was always meant to be. Pictures rotate seasonally in this spot, but the frames stay put. (Right now I have these Spring/Summer pics up and you can see my Fall pics up in this post.)
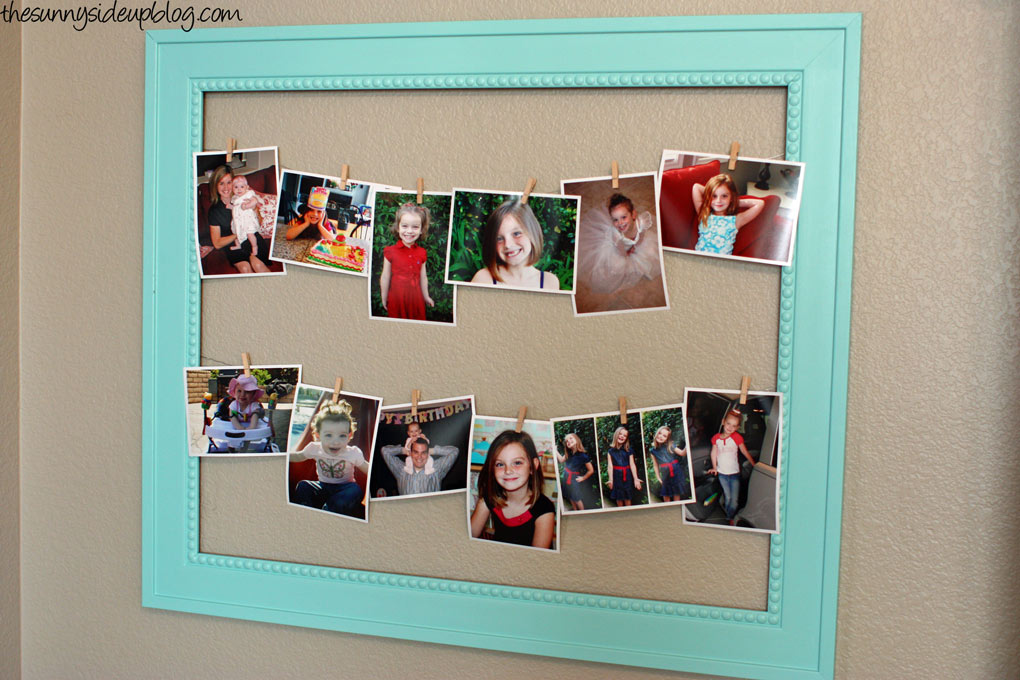
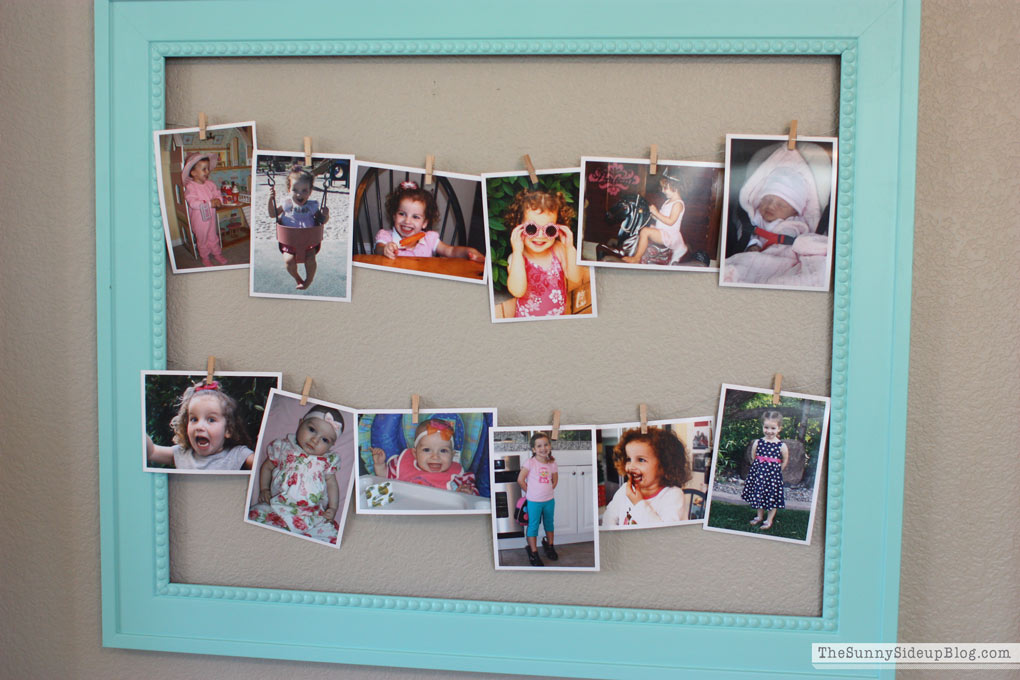
Rewinding just a bit.. in our previous home I spray painted a frame and attached some wire to hold pictures. I used it for Christmas cards and to highlight my kids on each of their birthdays. Ellie through the years.
Addison through the years.
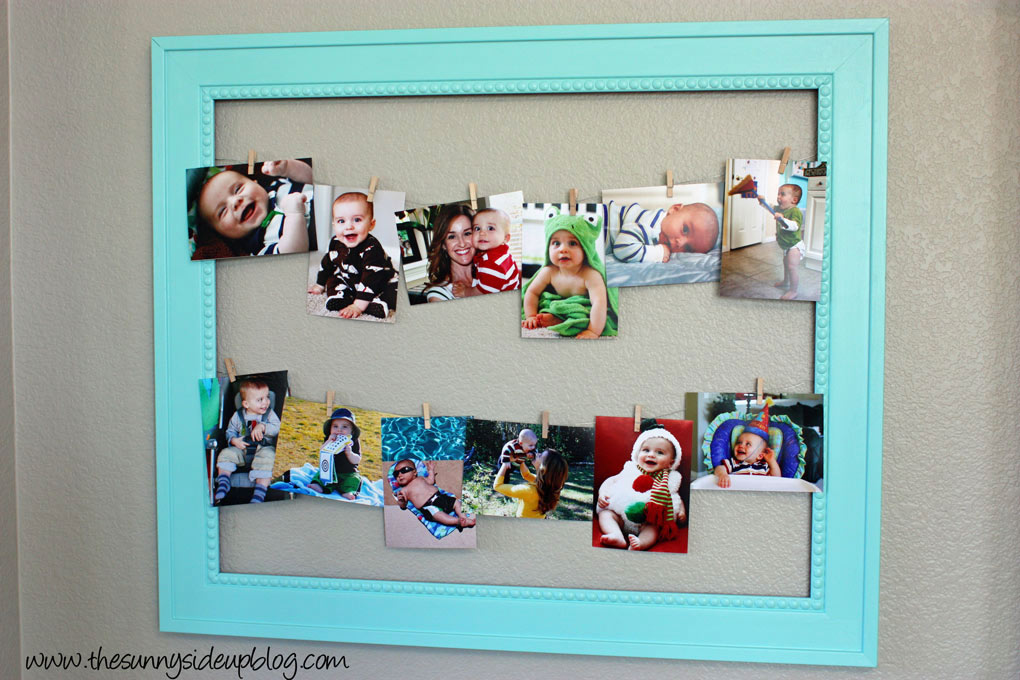
And Kole through the months. ;)
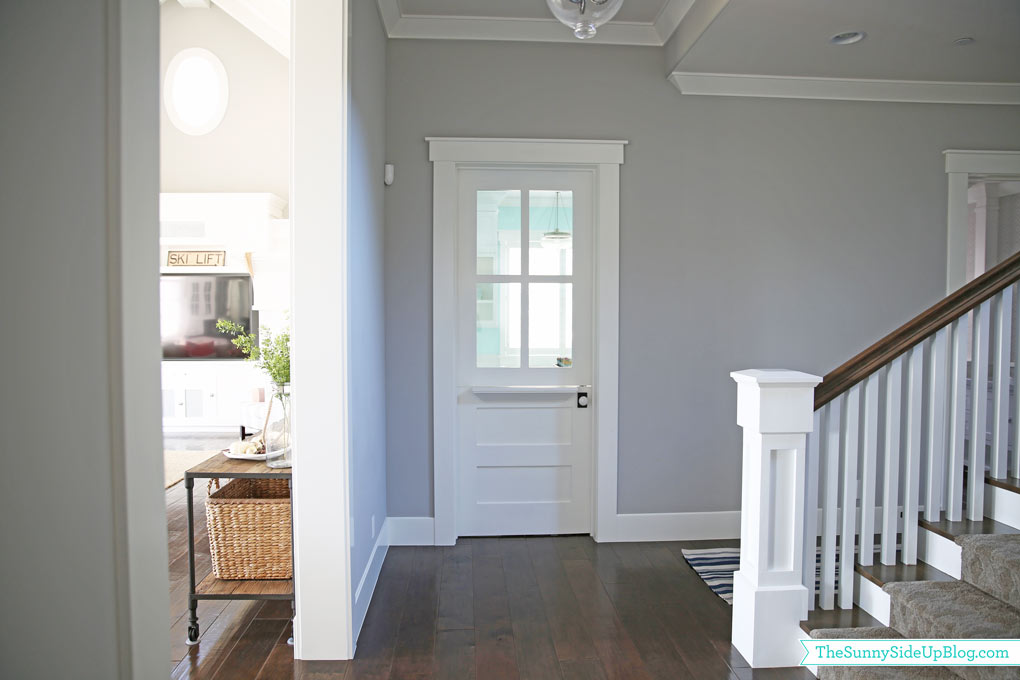
Fast forward back to the new house. I now had one shiplay display wall with frames in our formal living room, but no place to display our Christmas cards or fun miscellaneous pics of the kids. I was so torn on what to put on this blank wall between my office and our powder bathroom. I thought of A LOT of different ideas! But I didn’t love any of them.
I wanted something really fun because this is the hallway that we see the most often all day walking to the garage/car so I decided to add shiplap display wall number two! With planks going horizontal instead of vertical.
Because I’m tricky like that.
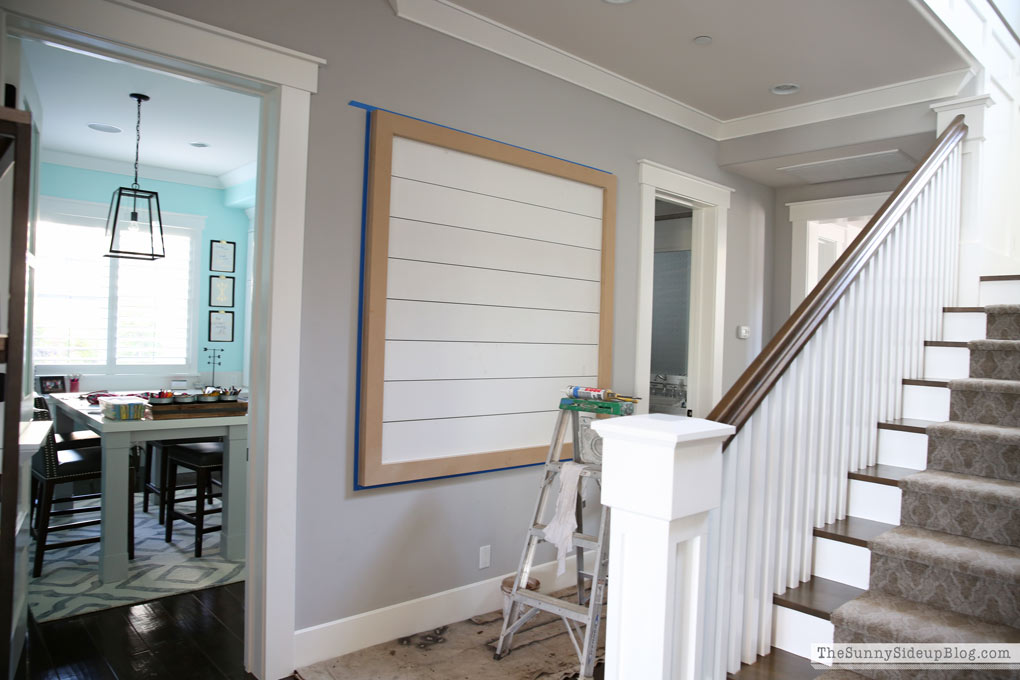
Ok.. details on this hallway shiplap wall. (I’m going to try to answer ALL the questions!) This one is NOT inset in my wall like the other one because it wasn’t planned in our original design. I told my carpenter who built this for me to line the top of it up with the bottom of our office/bathroom door molding and to leave one foot of wall space on each side of the shiplap wall. No reason other than I thought that would look good… like it was framed between the two rooms. Then I told him to make a thick 3 1/2 inch edge (similar to my other shiplap wall) to frame the planks. He built the frame first and then cut the planks to fit perfectly inside. I told him to make the planks 7 inches because I like them wide. They are 59 inches long inside of the frame. The whole square including the frame is 66 x 66.
This isn’t a magic size! I totally made it up.. ha! If you are making one yourself (or hiring someone to make one for you) I would just make it fill the majority of the wall space you have. There is no right/wrong size for a shiplap display wall. I know this because I made this shiplap display wall up which means that I get to make the rules.
Rule #1 – there is no right/wrong size for a shiplap display wall.
That’s part of the reason shiplap display walls are so fun. :)
I like this game.
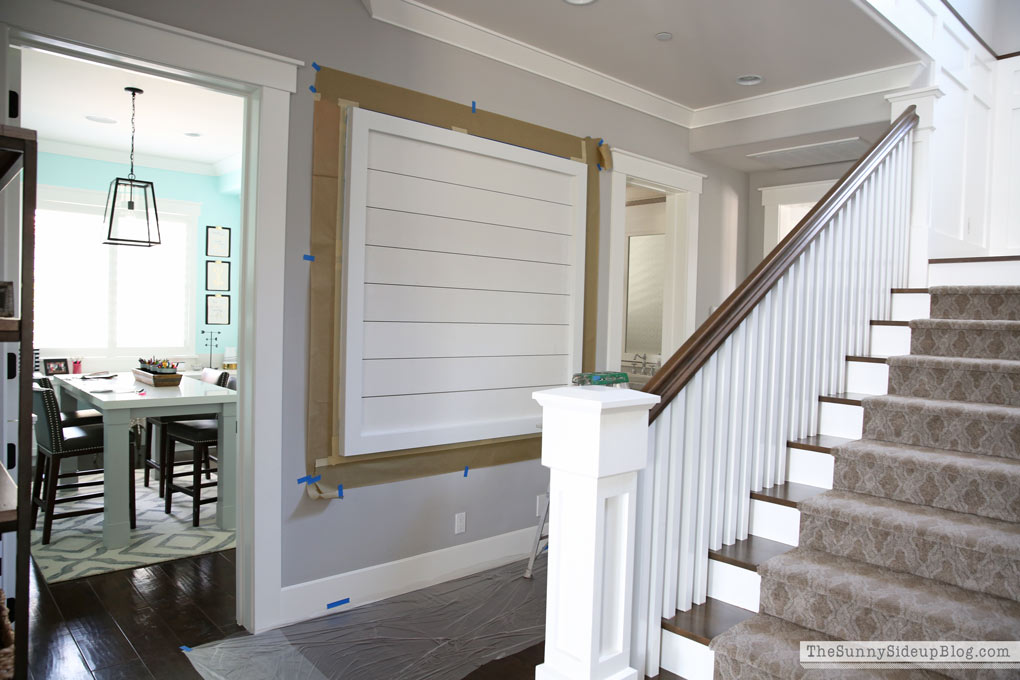
I wish that I would have taken better pics of the step by step of this wall, but I just have this one I took right after it was primed for paint.
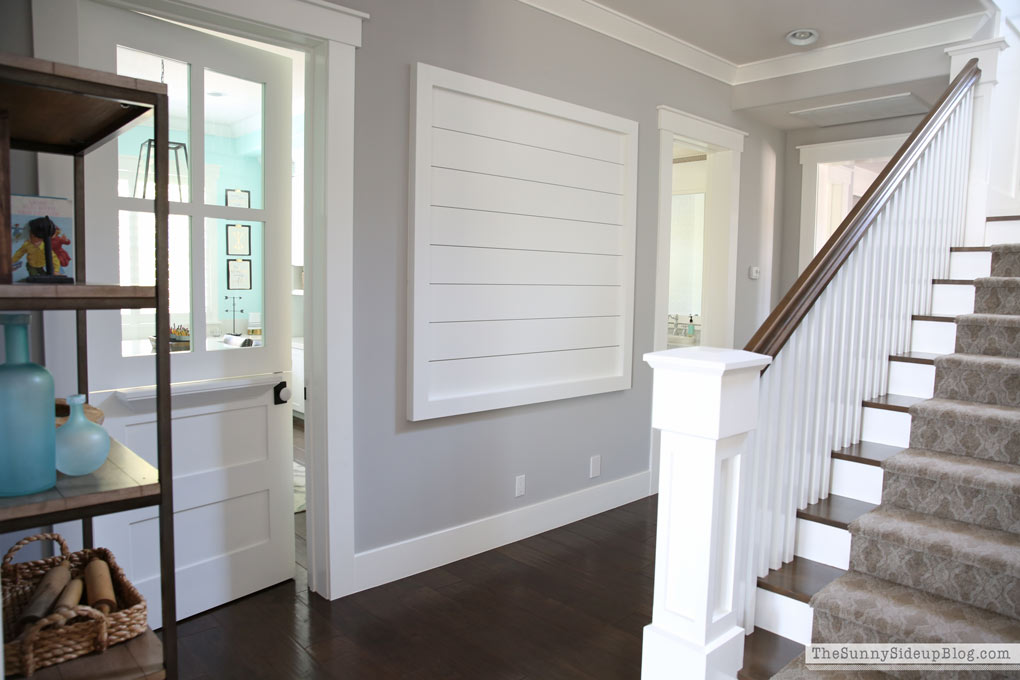
Here are some pics of it soon after it was finished..
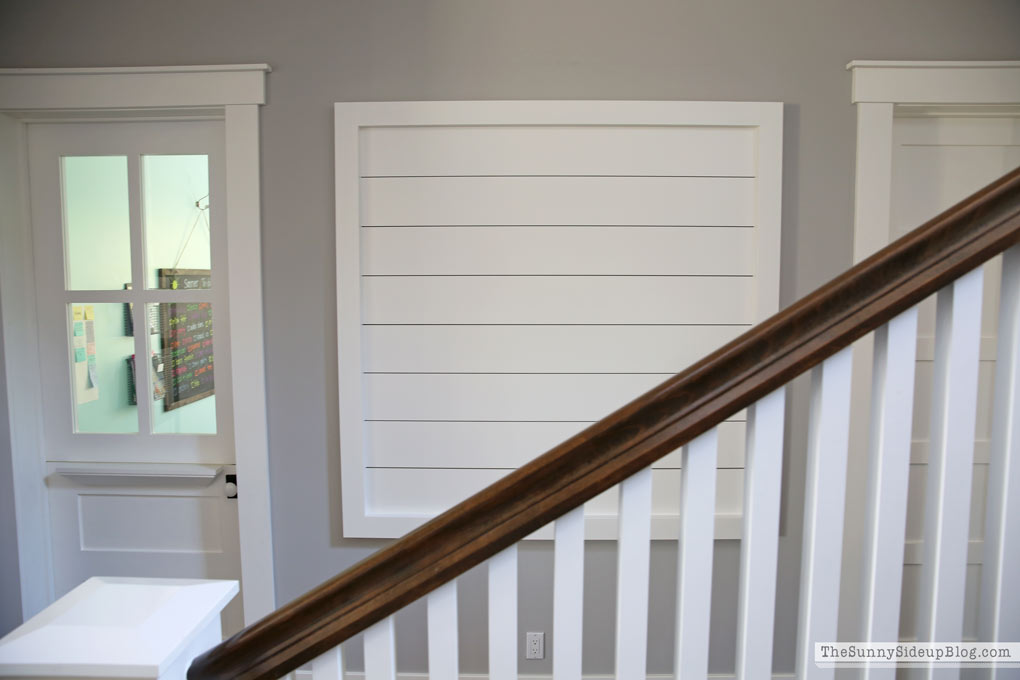
SO many possibilities for one little wall!
I get a lot of questions about what I use this for through the seasons so here are pics of what I’ve done so far..
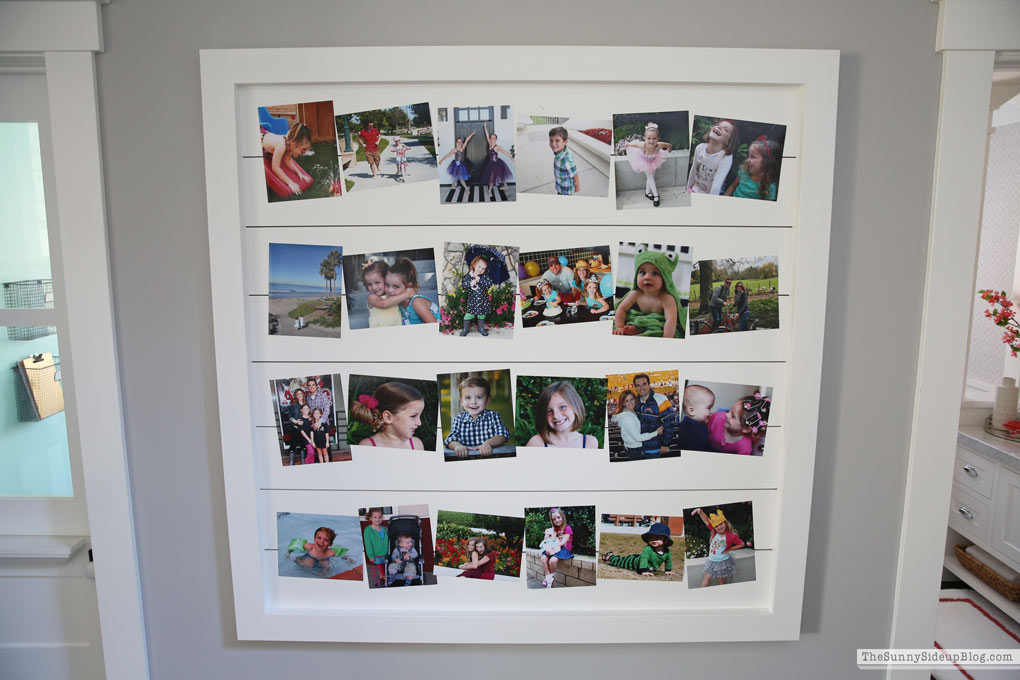
{SPRING} We kick off birthdays for all 3 of my kids as soon as the holidays end (January March and May) so I decided to just put up some fun pics of all of them vs. doing a whole wall of each child and switching it every other month. (3 kids = time to simplify.) :)
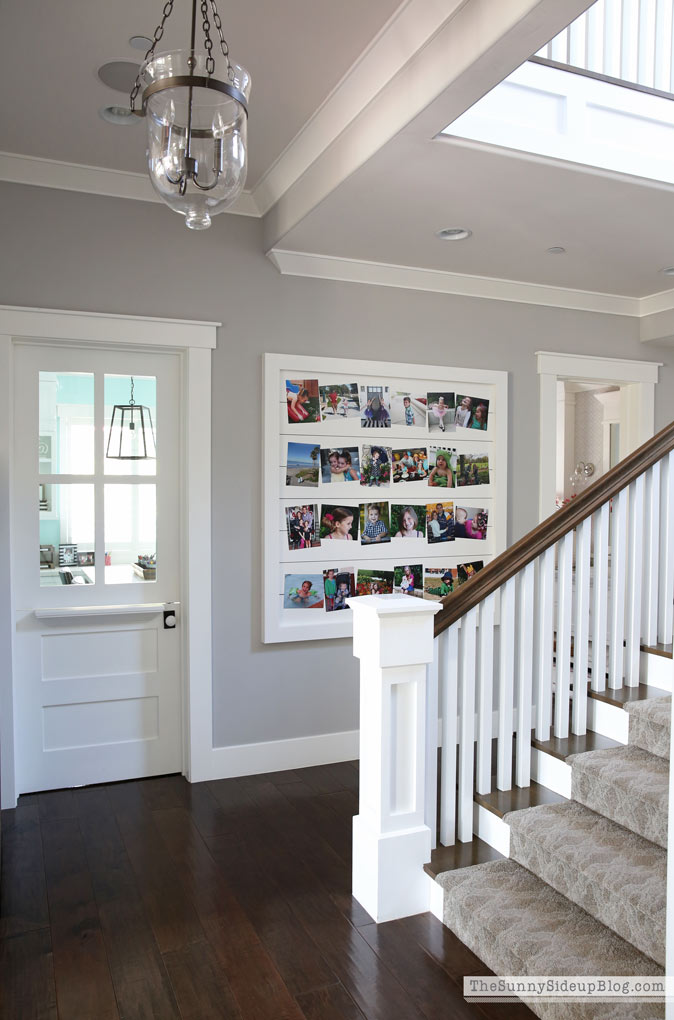
This wall has become such a bright spot in our home! It adds a lot of life and I love that it forces me to get pictures off of my computer and displayed in our home.
*My most asked question about this wall is what do I use to hold the things I display? PAINTER’S TAPE! Once again.. we are all about simplifying around here. :)
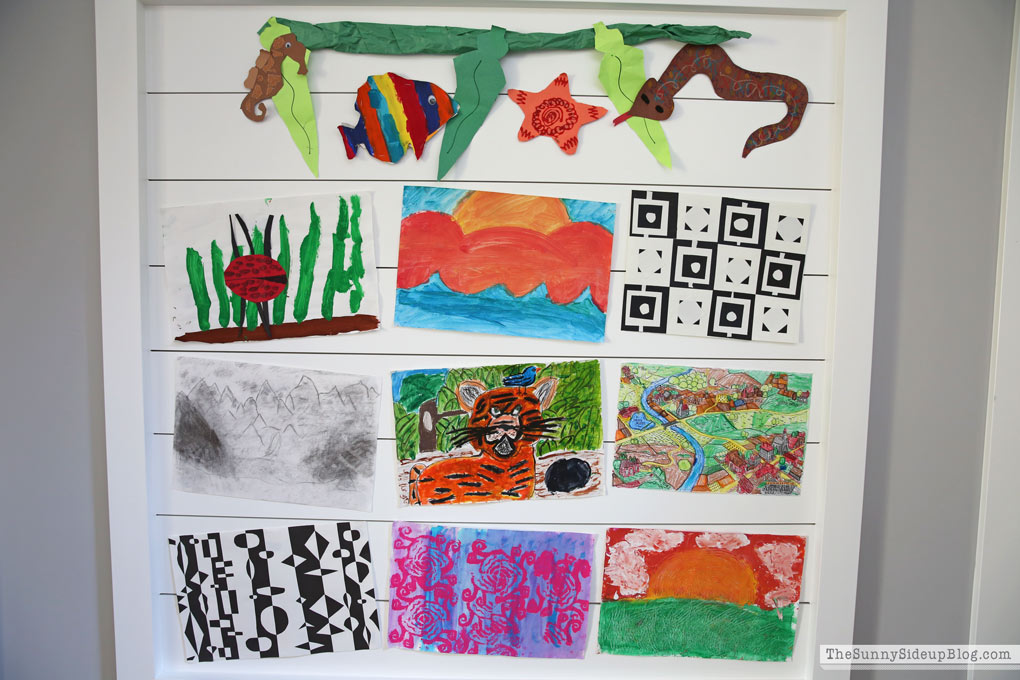
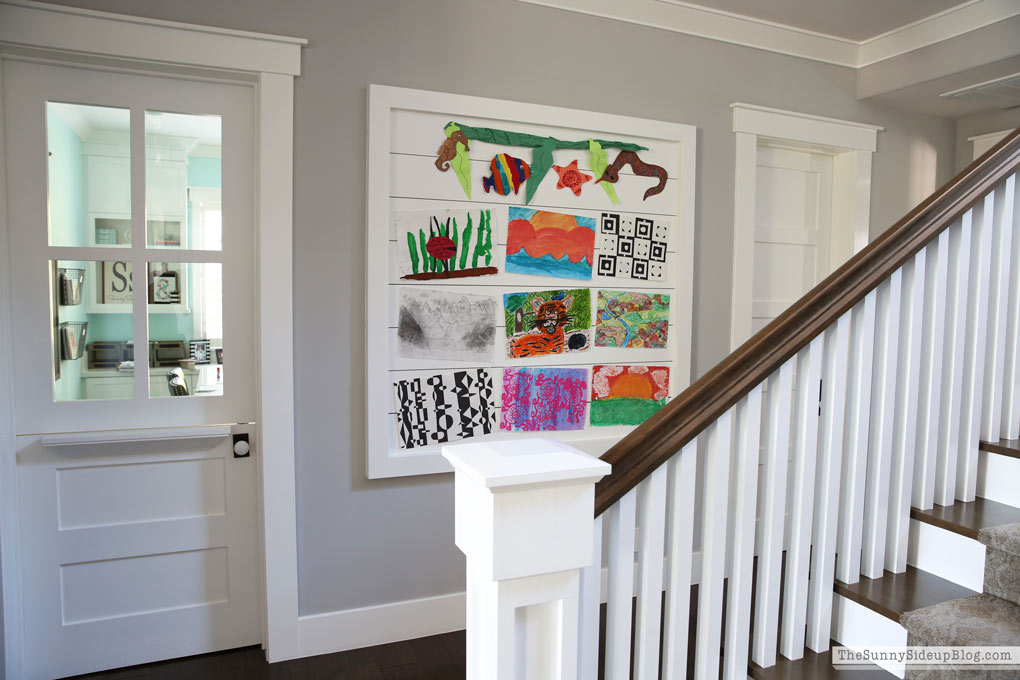
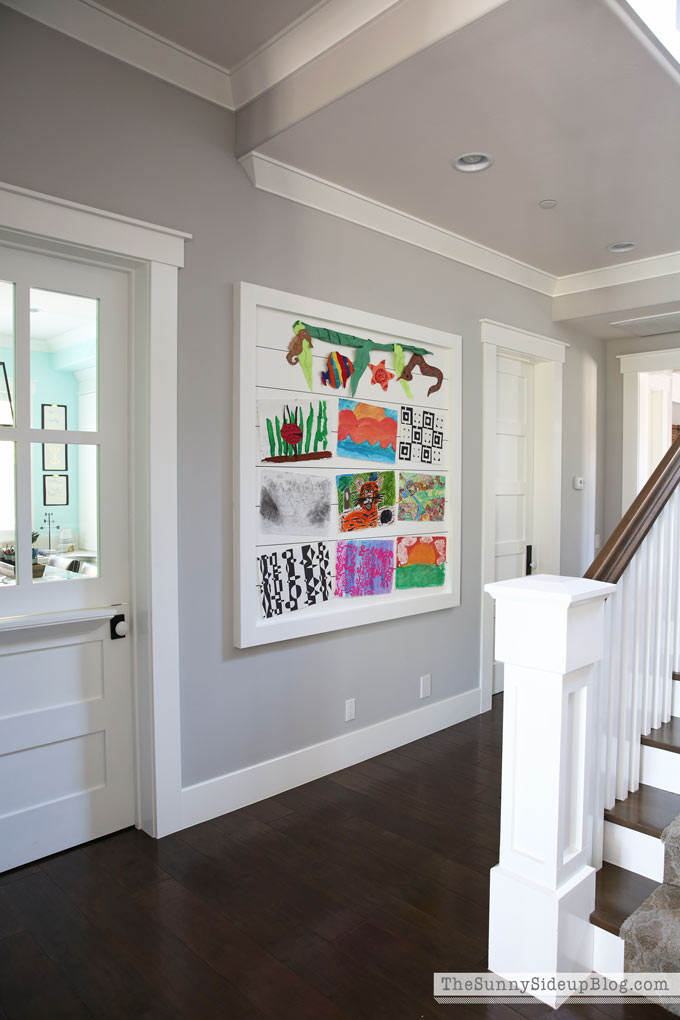
{SUMMER} In the summer I like to display my kids’ artwork. You know all of that stuff they come home with at the end of the school year!? Bam. Temporary home.
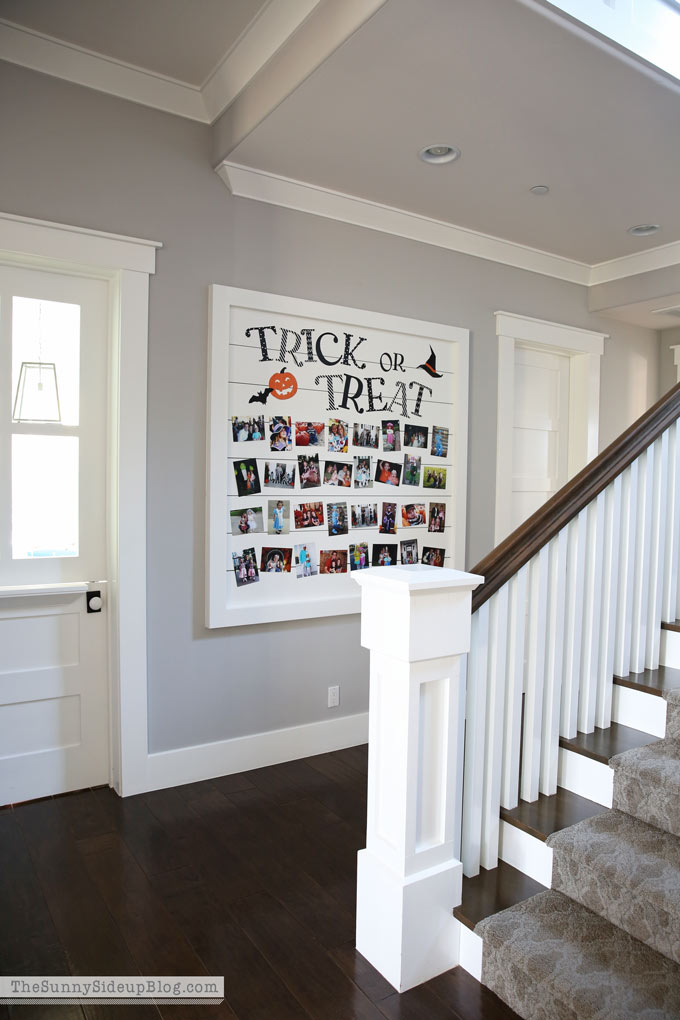
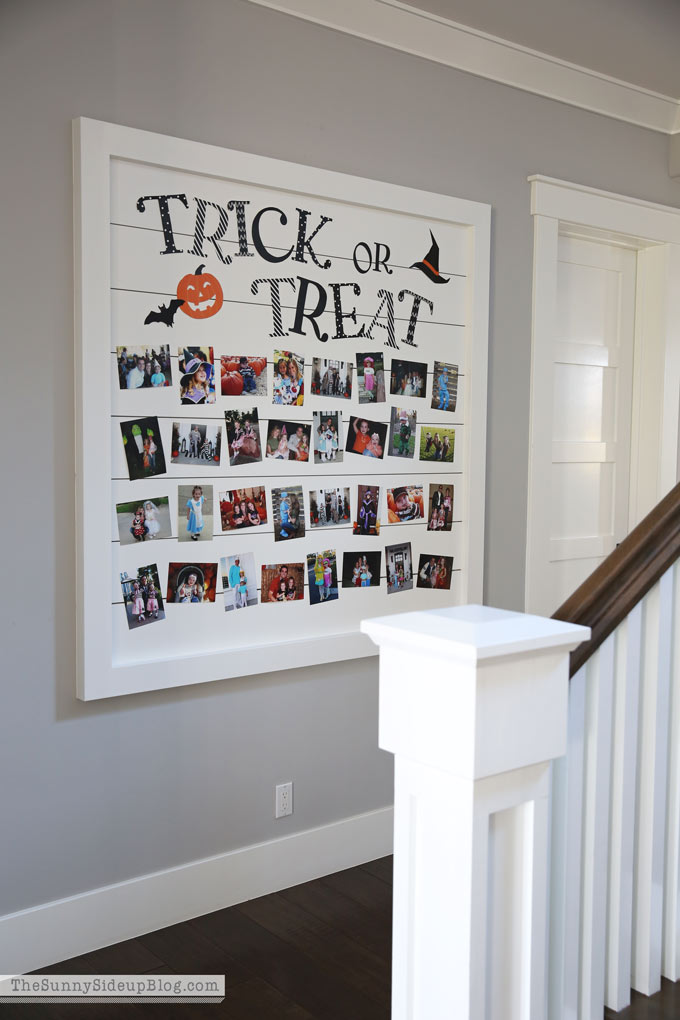 {FALL} I have so many fun ideas for this wall in the Fall but so far we’ve just used it to display past Halloween pictures.
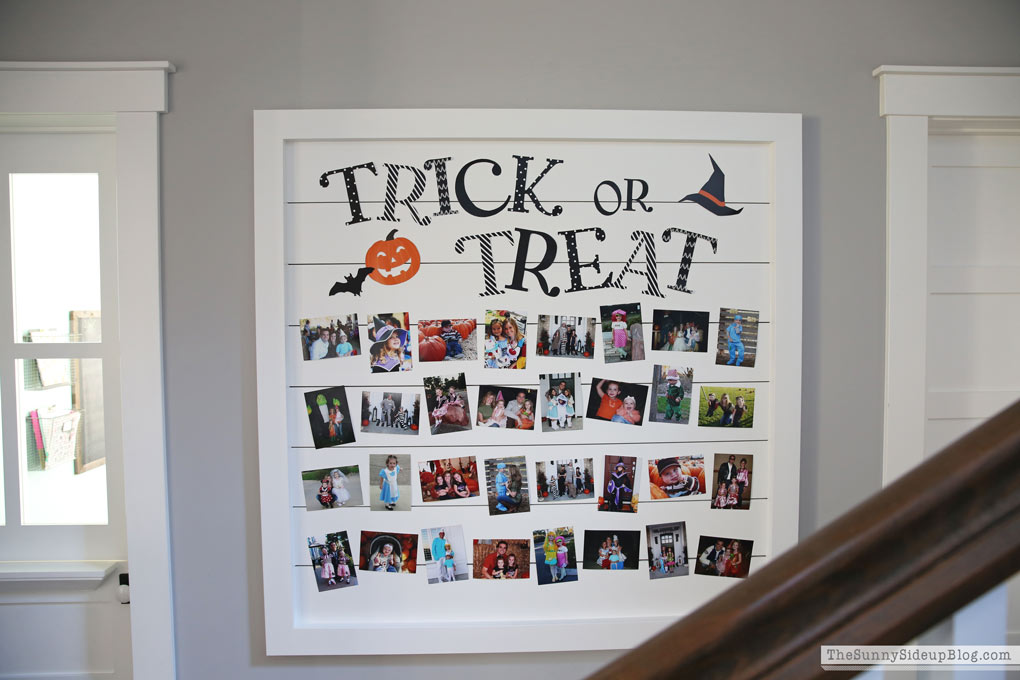
My kids love seeing their old costumes every year!
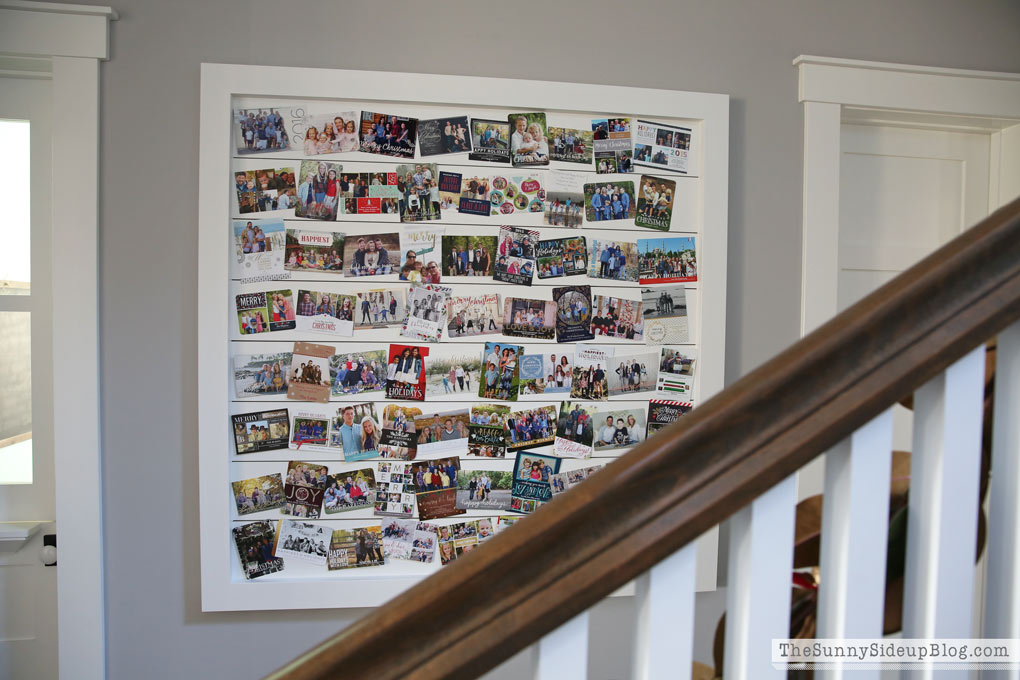
{WINTER} And in December I finally have a place to display Christmas cards again!
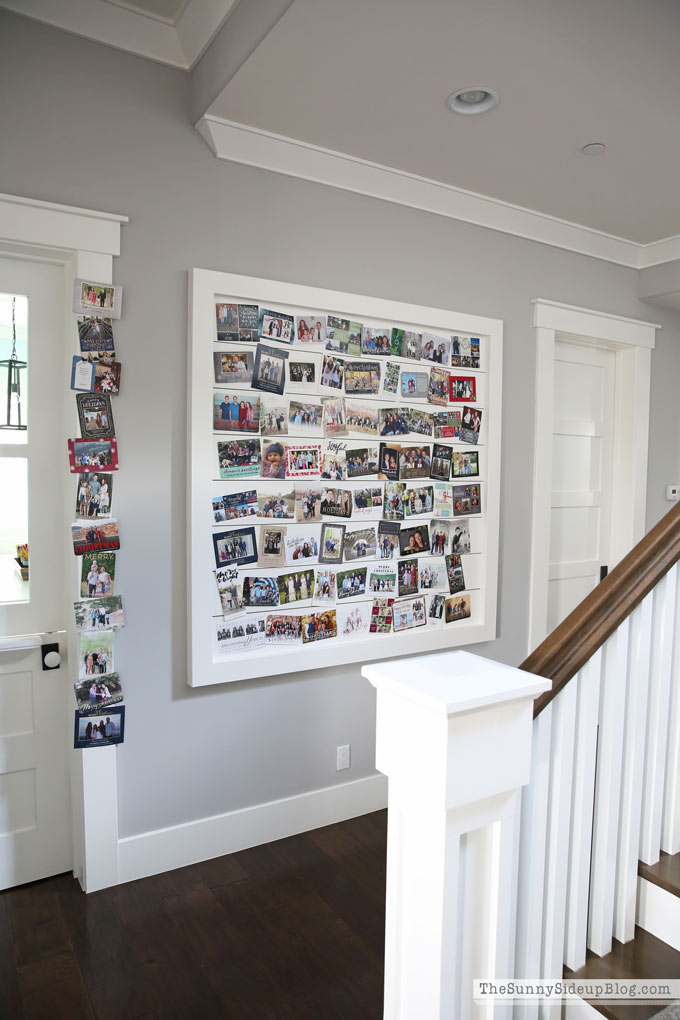
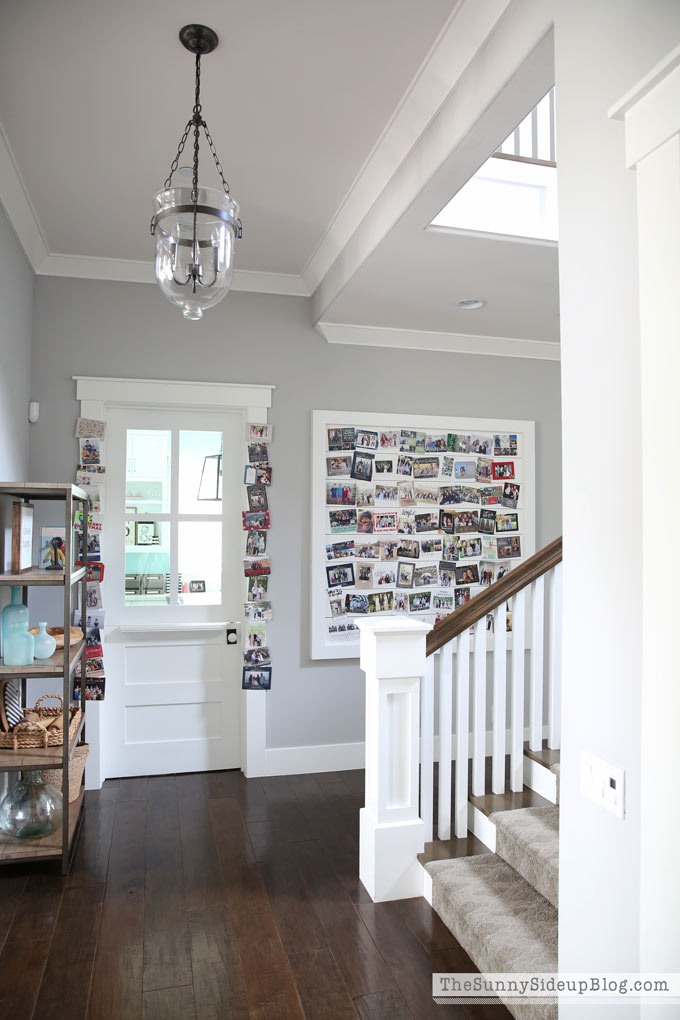
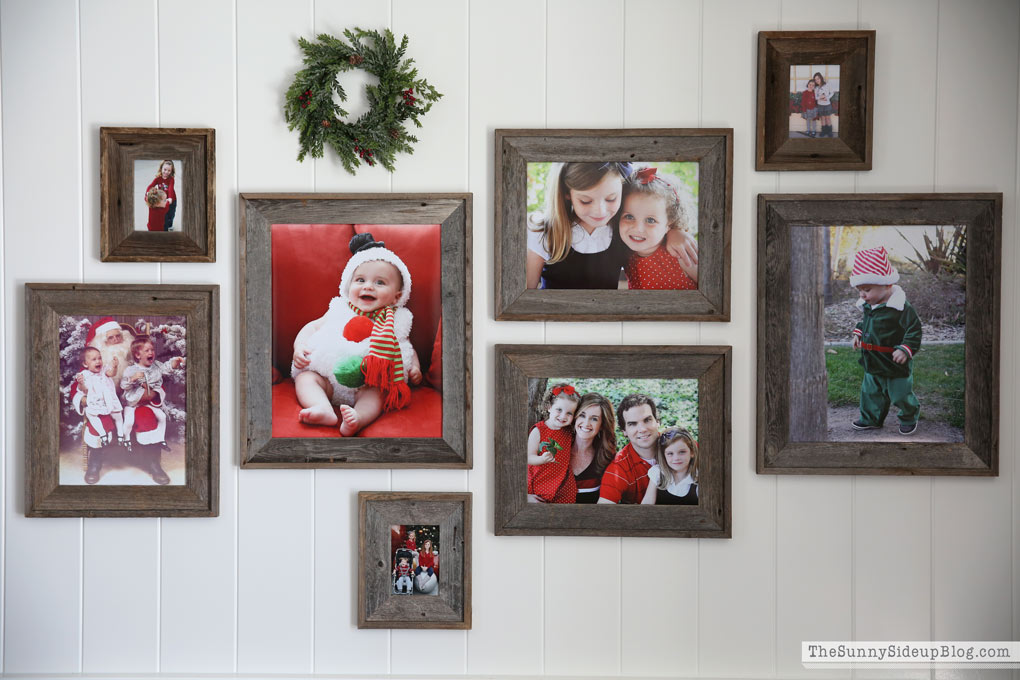
So those are my two shiplap display walls through the seasons! They have been such fun additions to our home.
And they both lived happily ever after..
Clearly I’m ready for bed. :)


You are too funny, Erin! Thanks for sharing all this information in one space. Your mission has been successfully completed. Those shiplap display areas are wonderful for showing off whatever you want to highlight. And you sure choose some great things to showcase and highlight. Have a shiippy lappy wonderful day! :)
Erin, I love your home! I really would like to use shiplap in my home. Where did your carpenter get your shiplap? We are interested in both the tongue and groove and straight board types. My husband thinks he may be able to DIY this project, but we don’t know where to pick up the shiplap in so cal? We live in Orange County so not too far from you.
I love how you chose to have the shiplap go both horizontal and vertical. What are you using to attach the seasonal artwork on the horizontal display?
Kind of fun to mix it up. :) I just use painter’s tape! Thanks Laura! xo
What a very cool concept. I guess I just never thought about how useful that would be. Thanks for sharing.
Thank you Audrey! xo
This is sooo cute! Can you tell me where you got the light fixture in the picture?
Thank you so much Jaci! It’s linked on my favorites page!
https://www.thesunnysideupblog.com/shop-my-favorites/
This is brilliant! I find that we take so many photos that I’d love to have around but just don’t have the room to hang or display in frames. What a simple way to display fun family memories and showcase kids’ art!
Thank you! I’m so happy you like it! :)
Hello! We are building a home and so much of your taste has inspired me in our choices (thank you so much for sharing with all of us, your fans!!). I have struggled finding a vendor or carpenter in this area to purchase a shiplap display board from, similar to yours (I LOVE it!!). Would your carpenter be willing to build one and ship it to Charlotte NC, or is it unrealistic to ship it that far?
Thank you so much Kristie! My carpenter actually isn’t working anymore! He had a bad fall last year and has slowed down since then. :( But it would definitely be too big to ship anyway. I had this built right to my wall! Definitely something you would want to find someone local to help with. :)
How do you hang your frames on it?
Hi Jennifer! I have small nails holding the frames up. :)
I absolutely love this! Thanks so much for sharing your beautiful ideas.. Can you tell me where you bought your wood frames? They’re gorgeous!
Thank you Liz! They were from a small shop in San Diego but I’ve seen similar wood frames on Wayfair!
Hello! Can you share where the black pendant light fixture that is hanging in the room with the blue walls is from?
Thank you! :)
Hi Desiree! You can find that at Ballard Designs and they also have one similar at PB or World Market! :)