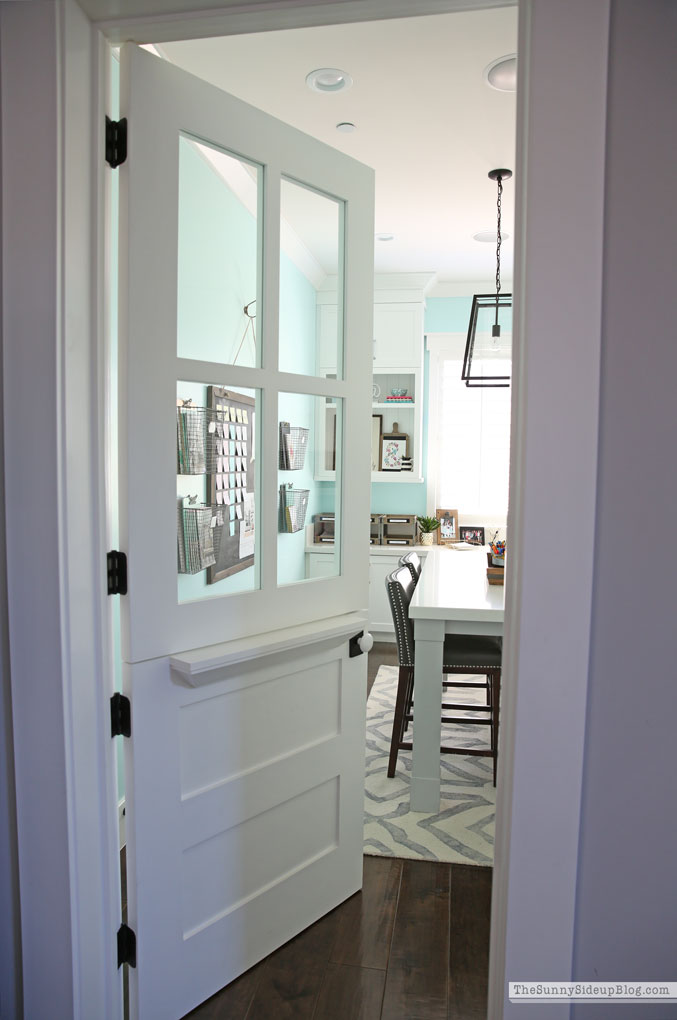
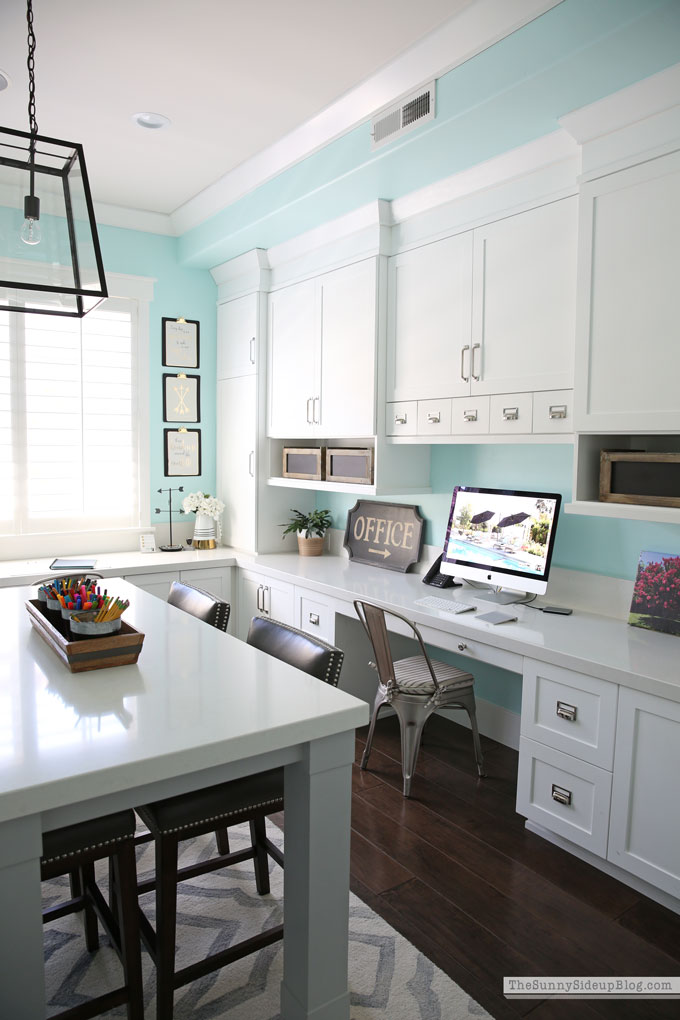
Come in come in! I’m so excited to take you all on a tour of my organized office! I’ve shared a few organized spots in this room in past posts, but I wanted to have one post that included my ENTIRE office and how every single drawer and cupboard are organized.
Because I finally got every single drawer and cupboard organized. ;)
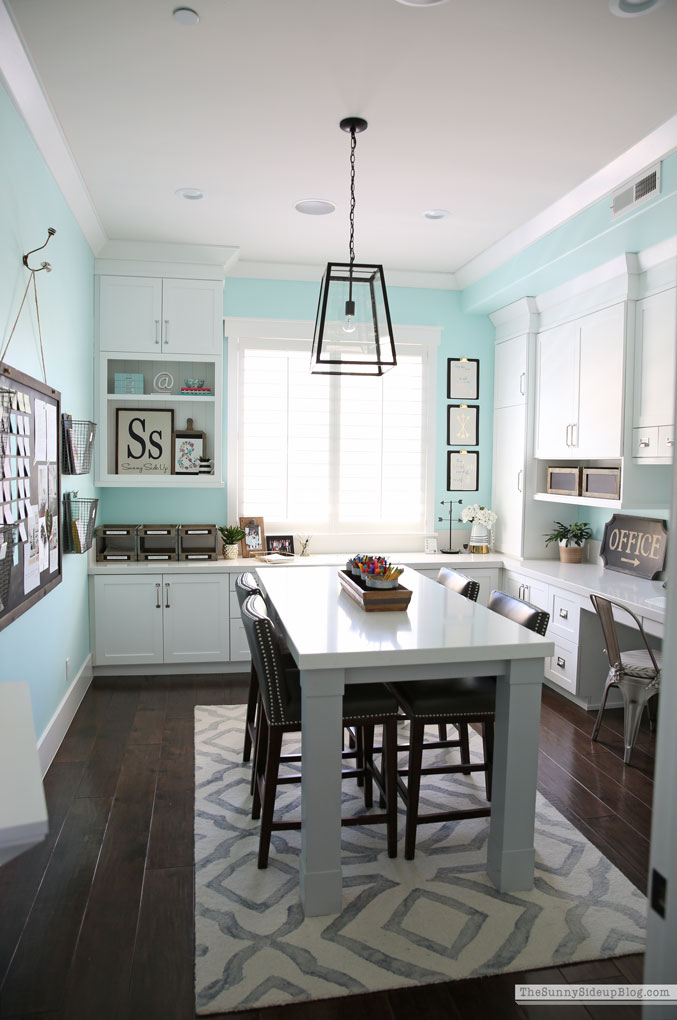
(*For newcomers (hello and welcome!) I designed this office when we built our house and the dutch door and table were both custom made. The counters are all quartz (Caeserstone – Organic White). The room is 15 1/2 by 12 feet and you can download my house paint colors here. All other office sources will be shared at the end of the post! Affiliate links used.)
I started sorting through pictures for this post and realized that if I put ALL of the pictures I wanted to share of every single organized drawer and cupboard in my office in one post I would blow up the internet. Ha. So I’ve divided my tour into 2 posts and today I’m sharing my organized office part 1! Anyone else giddy about today’s topic?
Just me?
I can live with that. :)
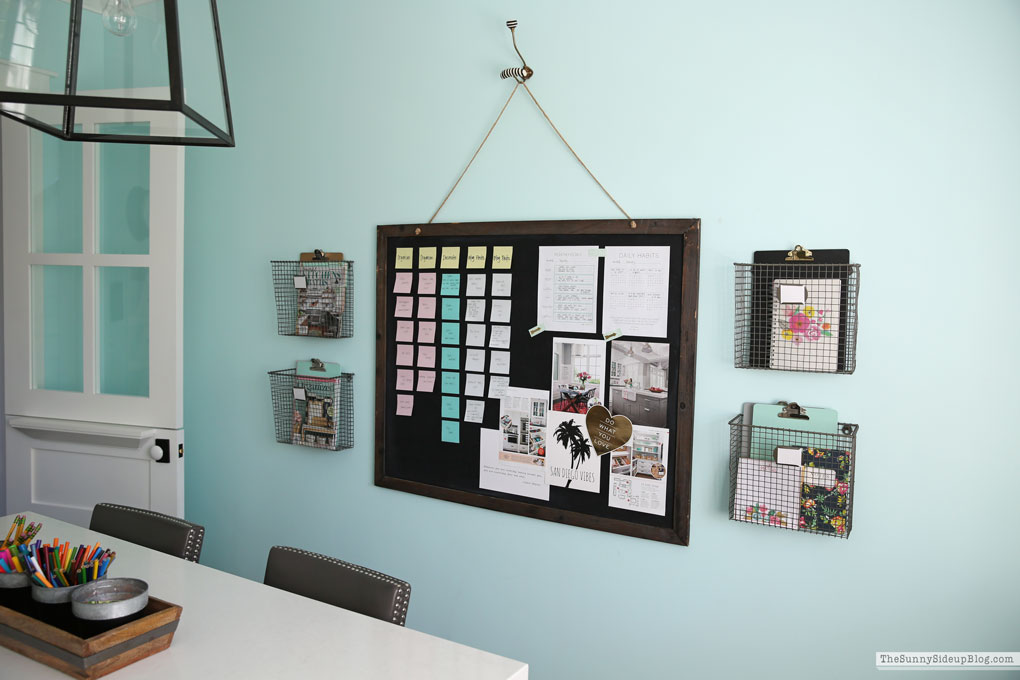
When you come into the room you’ll see my Visual Planning Board on the left side of the wall. I wrote more details about how this board keeps me organized in this post. (I’ve been loving it!) I also hung baskets on the side of my chalkboard to hold random items like clipboards, notepads, etc. Quick, easy access items!
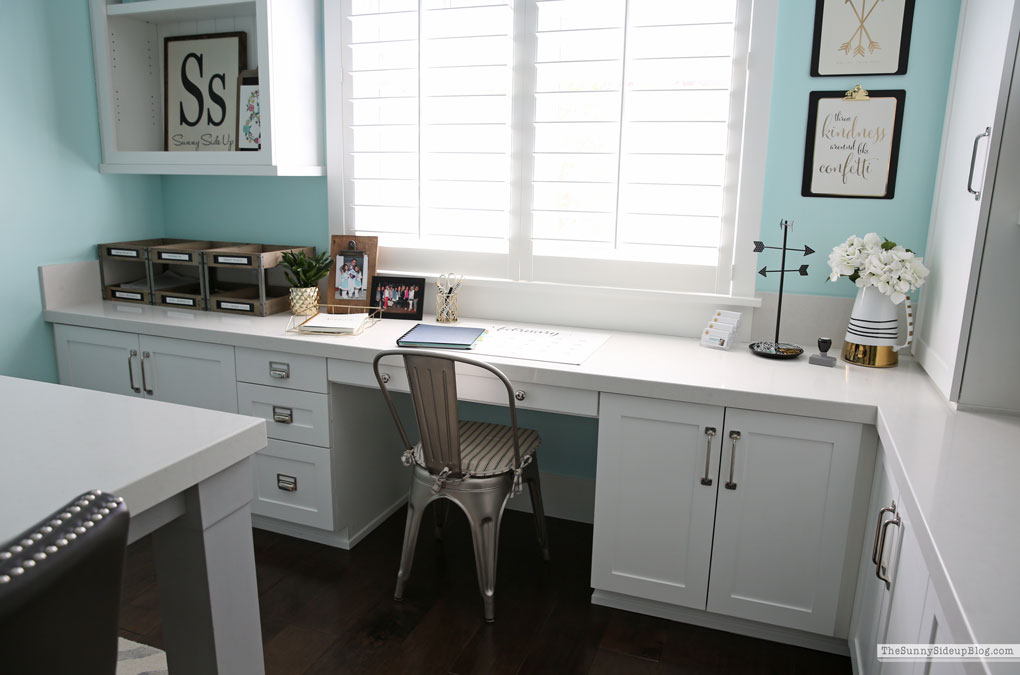
I designed this desk space in the back of the room for my work space (the kids use the large computer) and most mornings you can find me here in this chair with my planner and laptop happily blogging away. Or managing other not as fun tasks. :) Popcorn is always close.
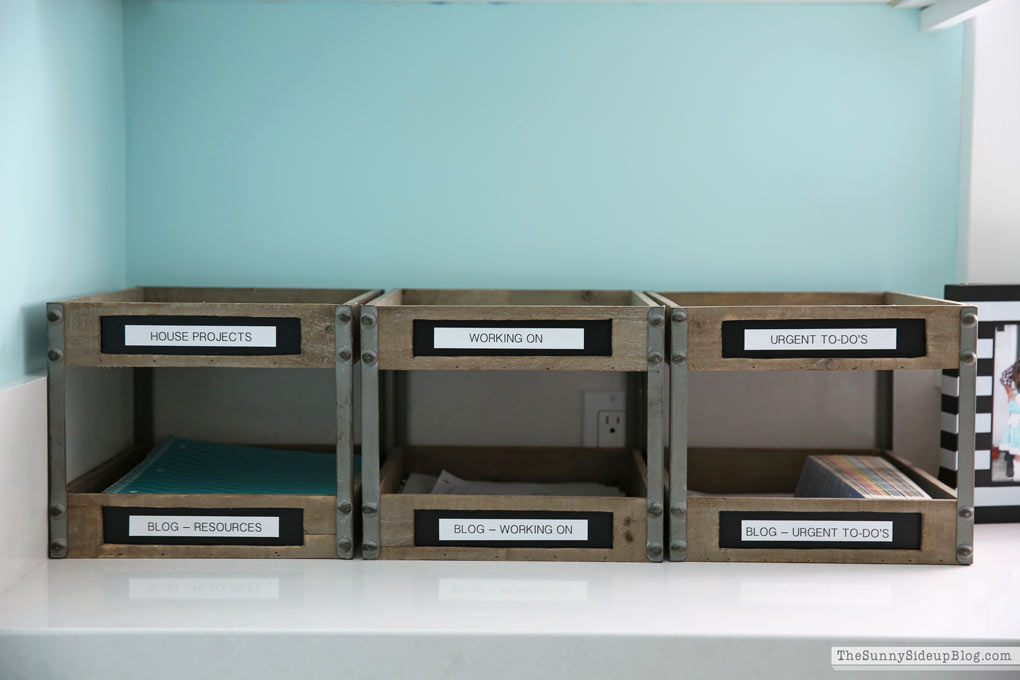 In the far left corner I have these wooden file boxes for all of my paper. I’ve loved this system. Now I know exactly where to put things I’m working on for work and home and I have a spot for urgent to-do’s that I sort through and take care of every day. (One of my best tips for paper control is to create some sort of “urgent” file/folder/drawer in your home that you always set important papers and then go through it daily so that urgent things don’t slip through the cracks!)
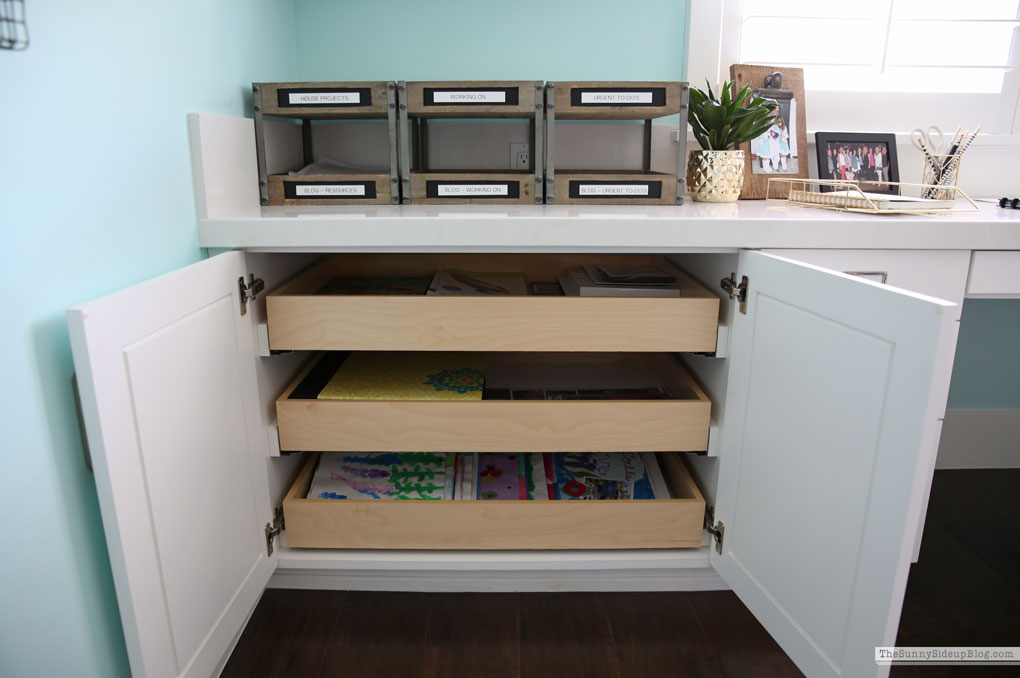
Inside the cupboard right below my wooden file boxes I added three large pull out drawers.
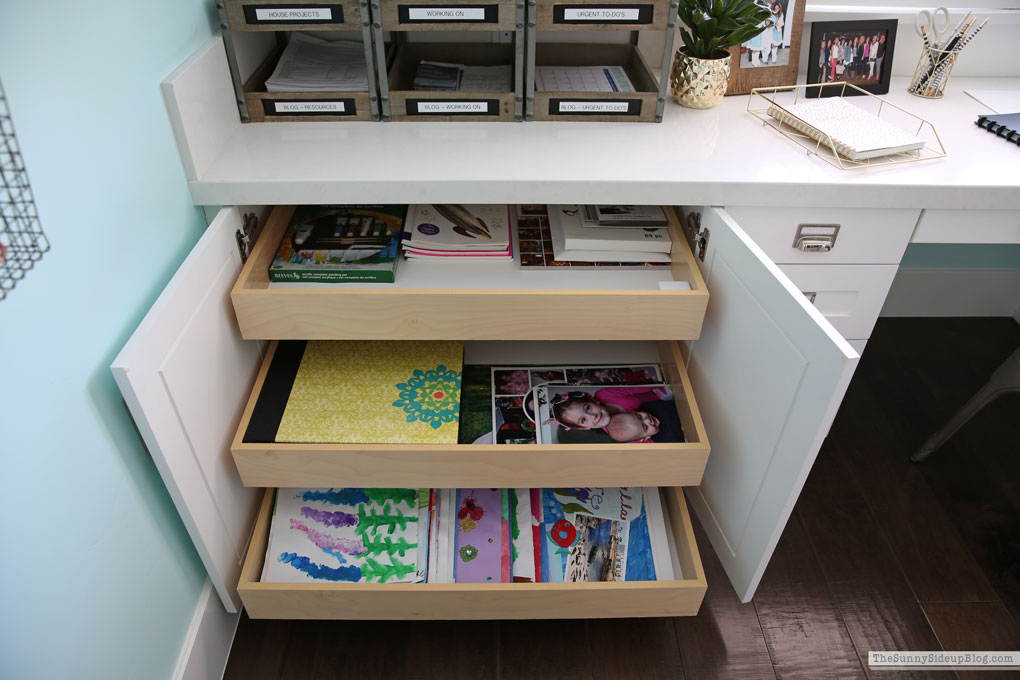
None of our previous homes/apartments had office spaces and I was always scratching my head about what to do with my kids’ large art work that I wanted to save. These pull out drawers have been a dream! Although I have to tell you that I made a mistake when we were building and didn’t make them quite deep enough. It’s hard to tell in this picture, but the large poster boards in the bottom drawer are tilted up resting on the back of the drawer because it’s too short! Not a big deal because it all still fits but one of those “oops” moments when we were building our house. We had many!
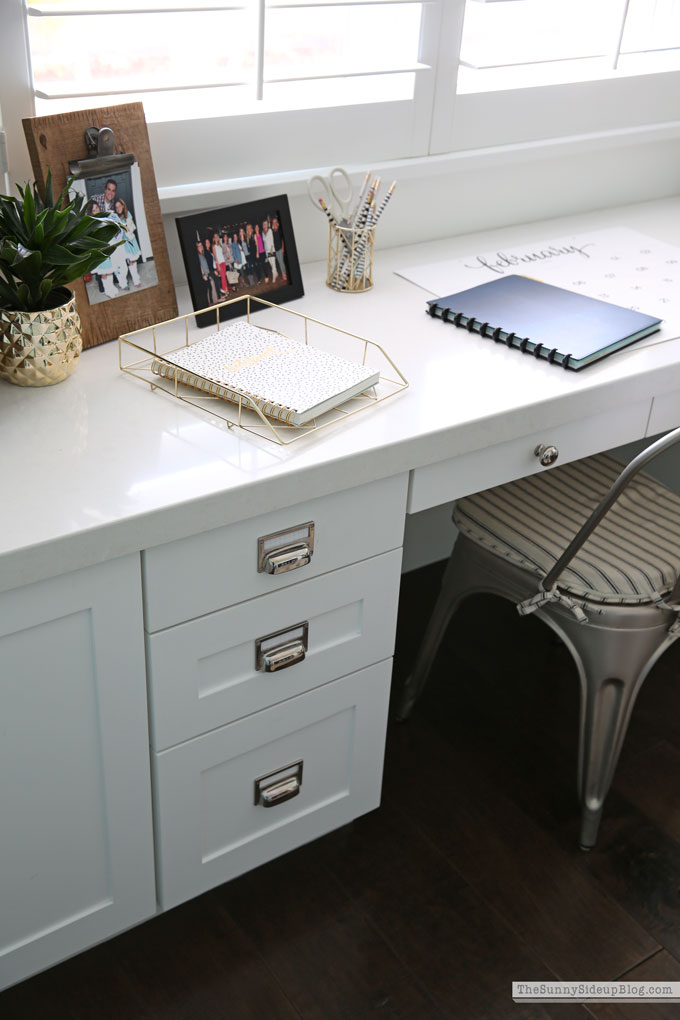
Next to the cupboard with the pull out drawers are these 3 desk drawers.
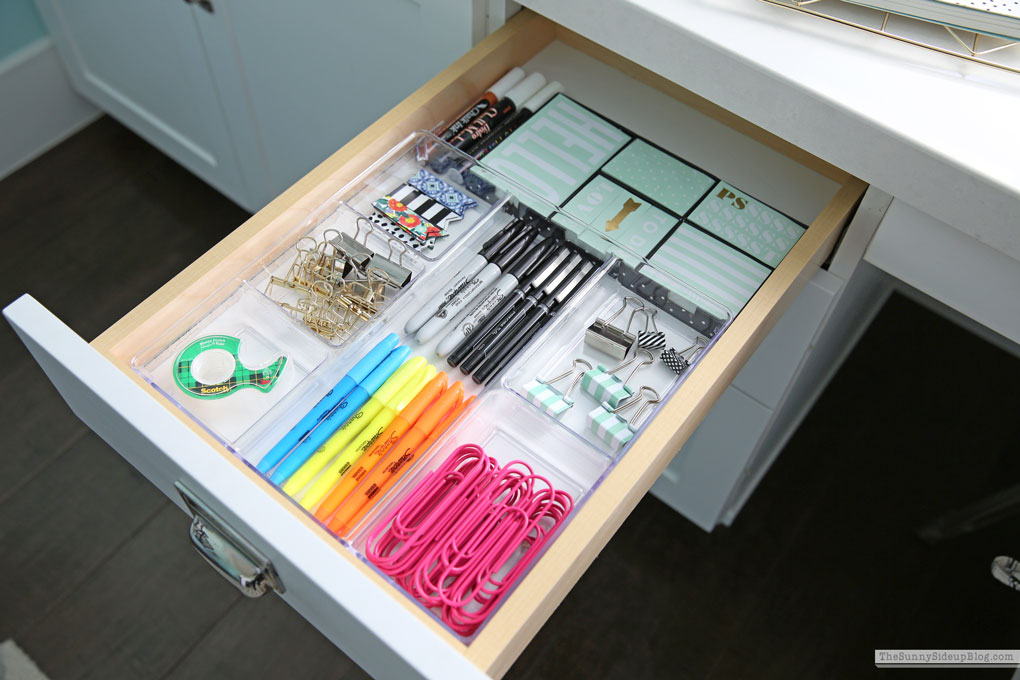
All of my office supplies are in the top drawer. I use these clear organizers in all of my office drawers and love them!
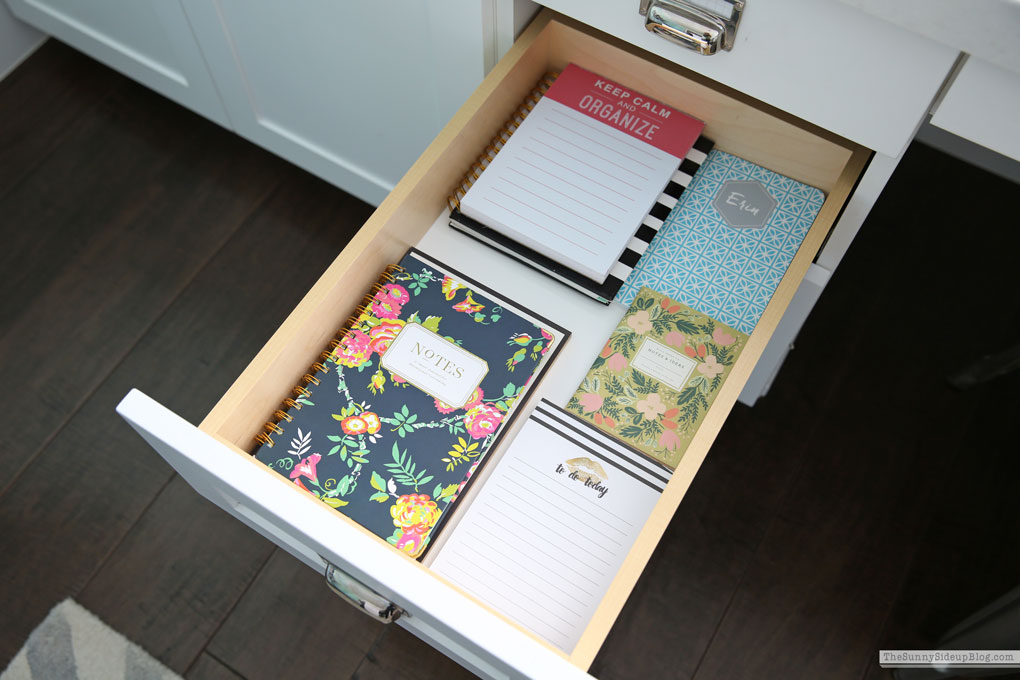
The drawer below my office supplies holds my many notepads! This drawer is a favorite. :) I actually did a major purge session after the holidays and got rid of over half of them so I’m quite proud of this drawer at the moment. (Cute notepads are a weakness!)
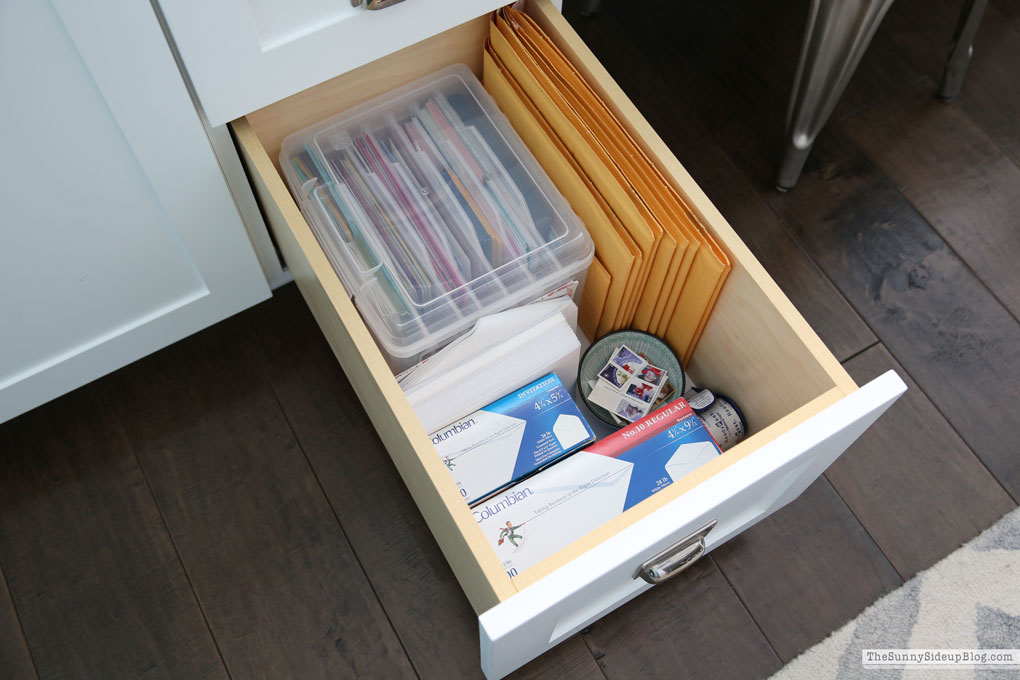
The bottom drawer I fondly titled my “mail station.” I have all of my greeting cards and envelopes and packing tape and stamps in this drawer and I can’t tell you how happy this spot makes me! Now mailing a thank you/birthday card or gift is so easy!
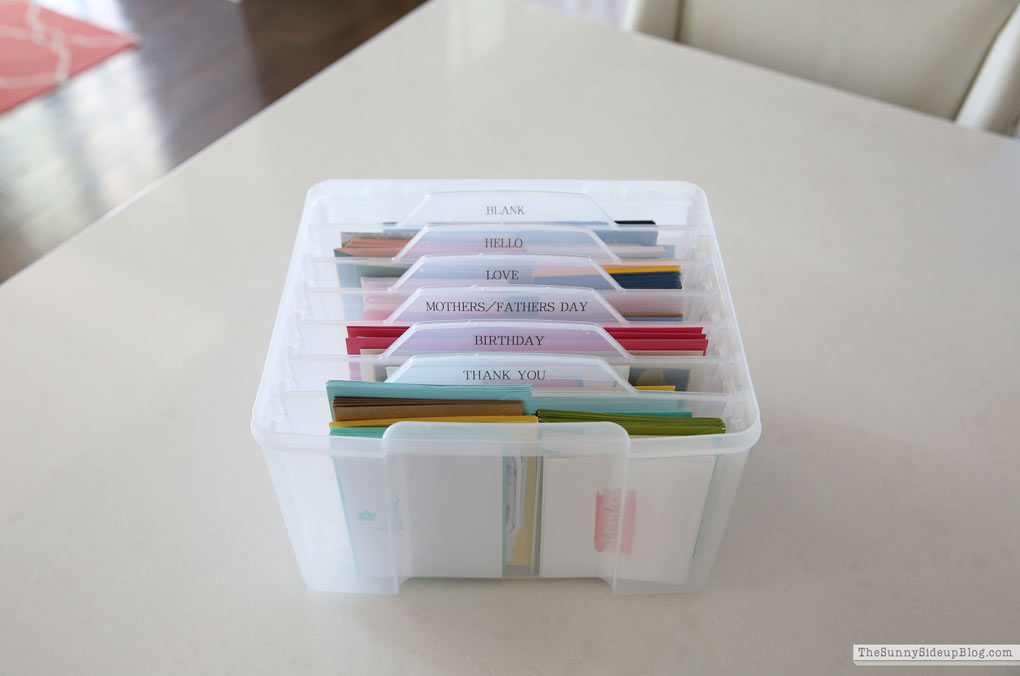
This clear card keeper holds all of my greeting cards organized by category and you can see more details about it in this post.
I think the mail station did it. Cue the angels! Do you hear them singing?
I was starting to wonder when they might show up. ;)
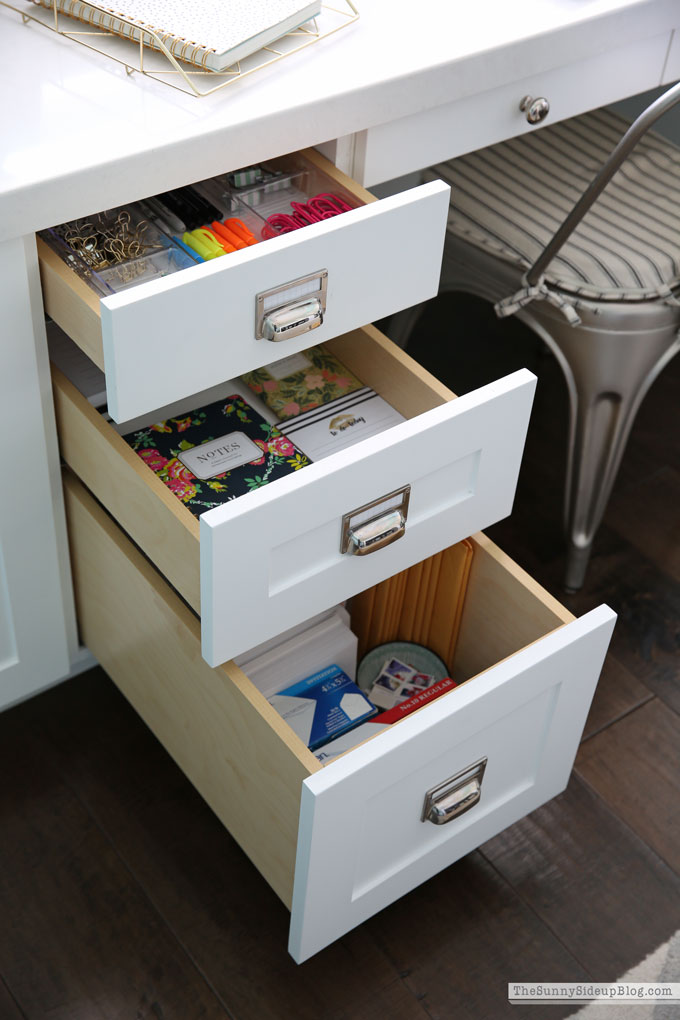
Happiest drawers in the house. :)
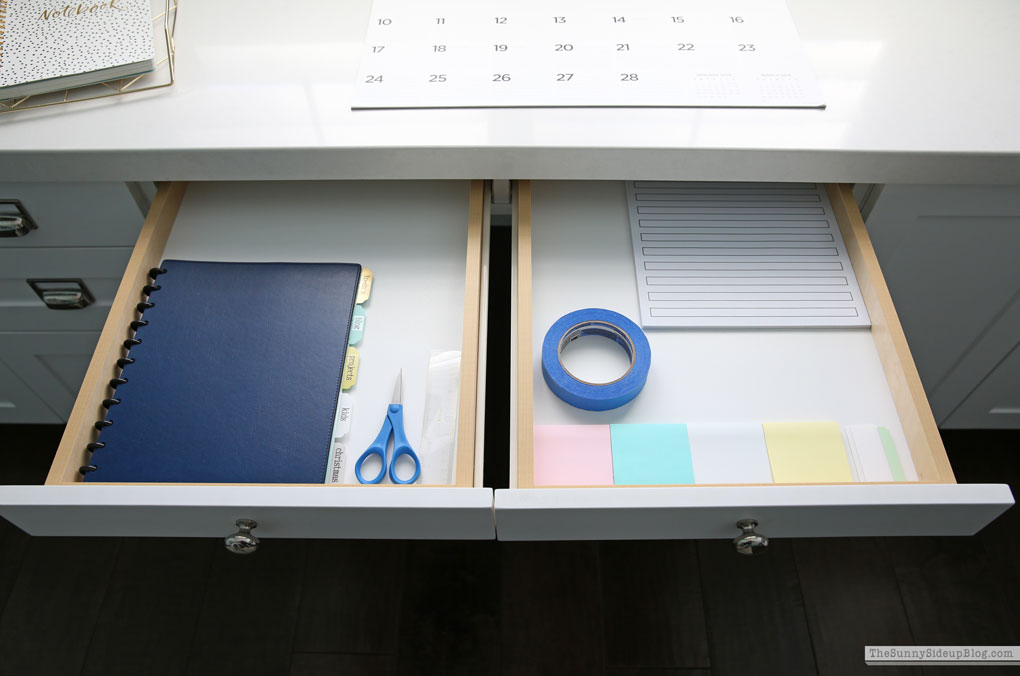
I like to keep these two thin desk drawers mostly empty so I have a place to stash things I’m working on. They usually just hold my planner (when it’s not in use) and post-it notes for my visual display board and then of course.. painter’s tape. If you know me well you know how much I use and love my blue painter’s tape. Works for everything! :)
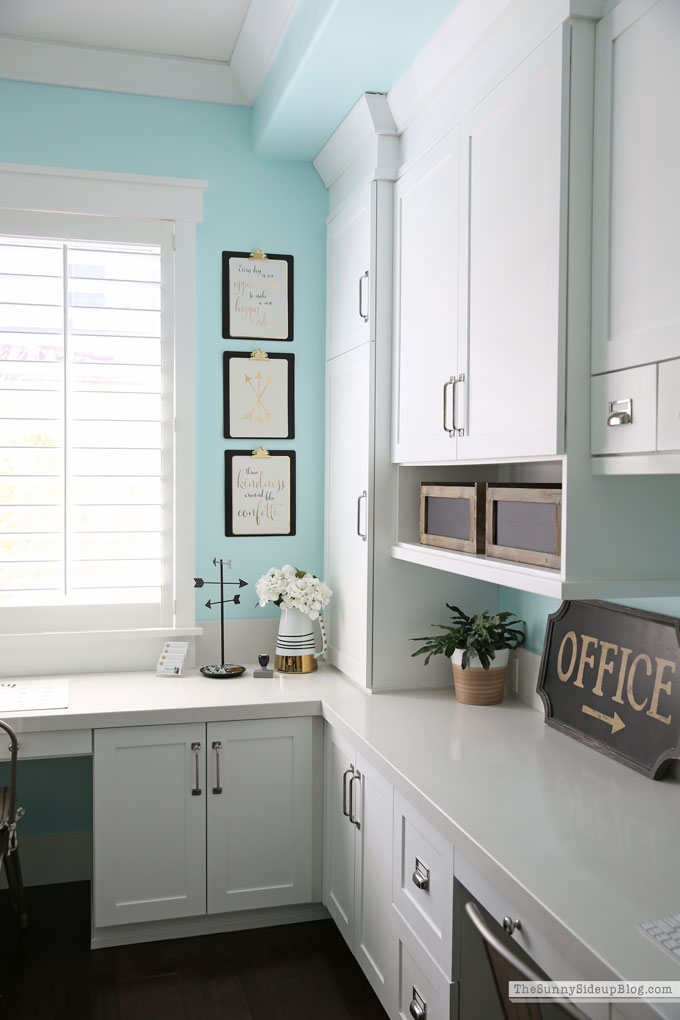
Moving over to the right side of the room!
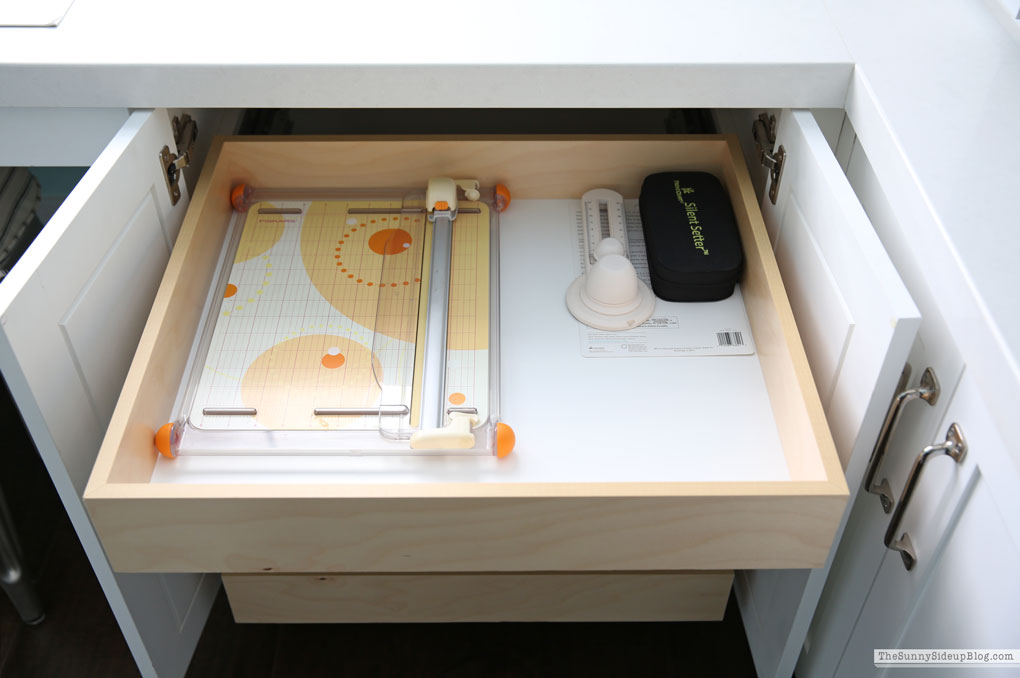
In the cupboards to the right of my desk drawers I have more pull outs. The top holds my paper cutters.
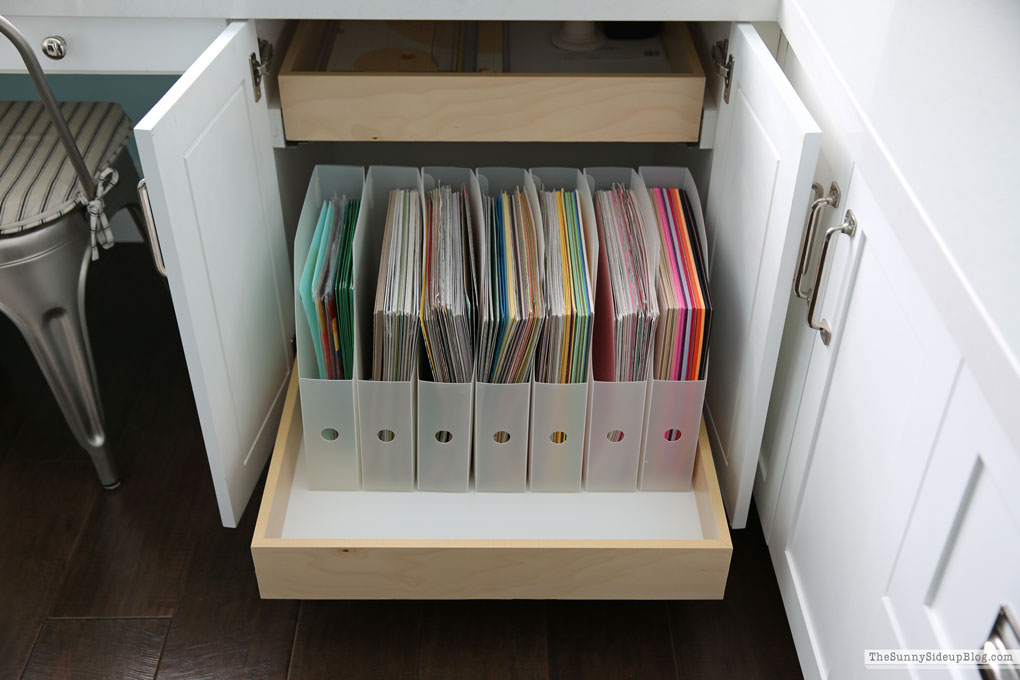
I designed the bottom drawer to hold 12×12 paper. If you followed me in my early blogging days you know I was really into scrapbooking so I designed this space to hold supplies. The girls and I are hoping to do a little scrapbooking again this summer! My albums definitely won’t be as elaborate as they once were, but I still love playing with pictures and paper and preserving memories.
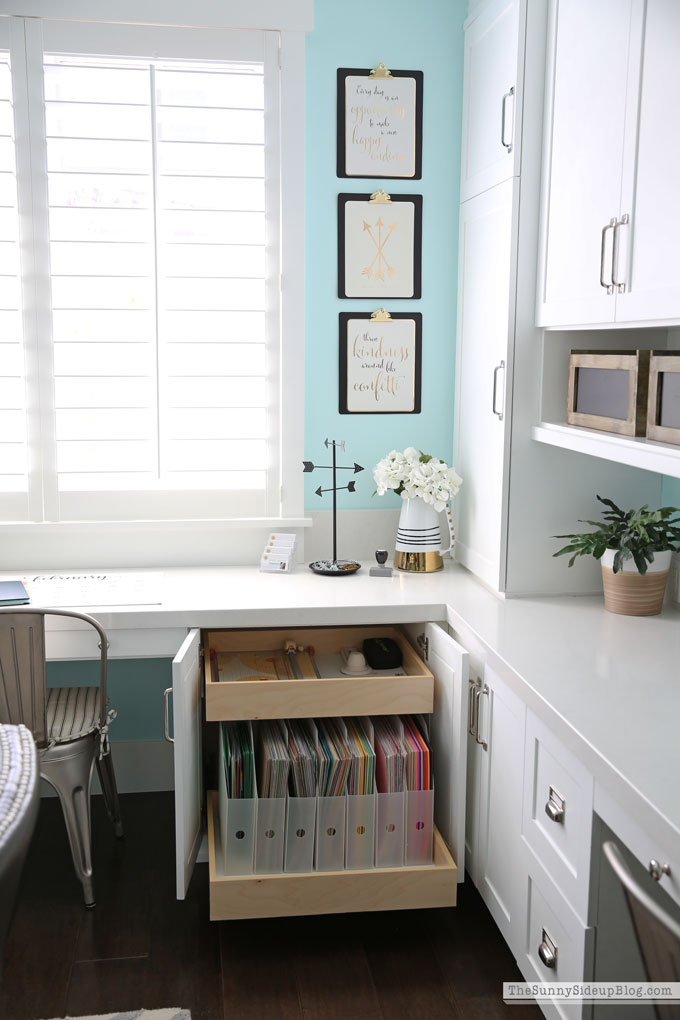
My kids have used a lot of my scrapbook paper and supplies for school projects so even though I don’t scrapbook as much as I used to it has been so nice having a place to keep things like this organized.
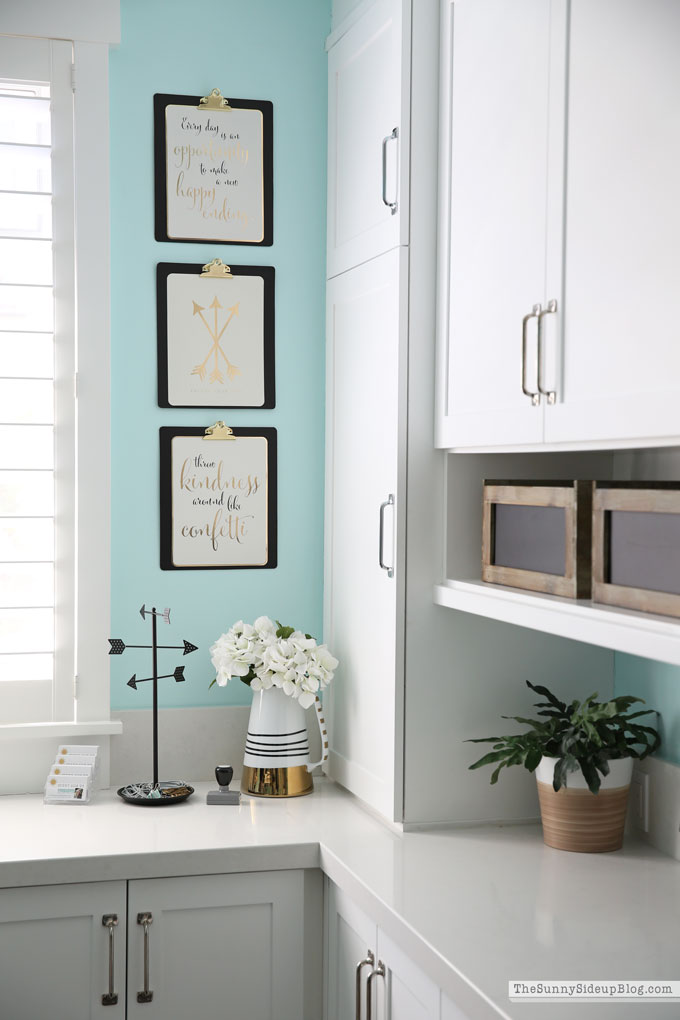
When I realized I was going to have this extra space in the corner of my office I decided to add another tall cupboard for storage. (Clearly I was coming from a home with little storage because I felt the need to go cupboard crazy in this house!) The small cupboard on the very top is currently empty.
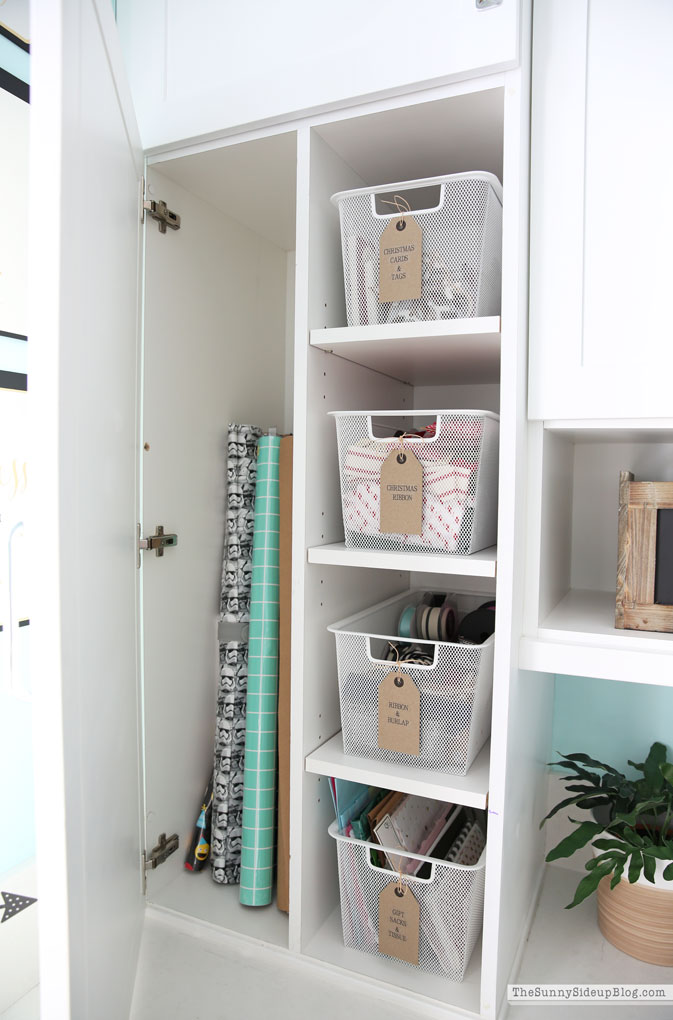
The tall cupboard below it I designed to hold wrapping paper and supplies. Wrapping paper on the left..
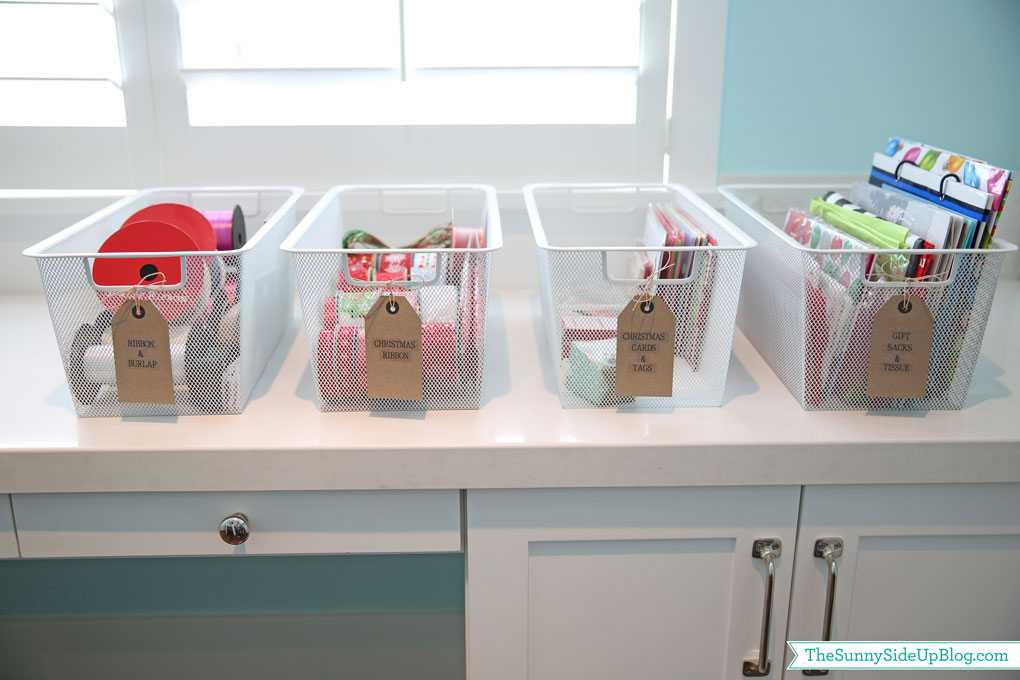
and then I used these Elfa Mesh Drawers to hold ribbon and sacks, etc.
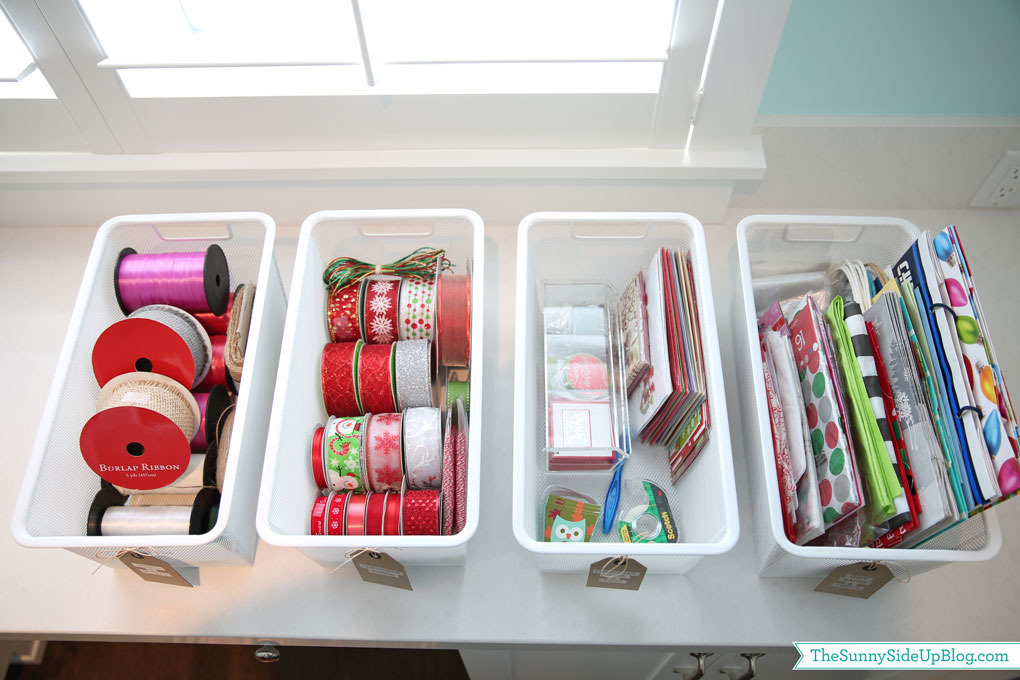
I wrote a full post on this little project here.
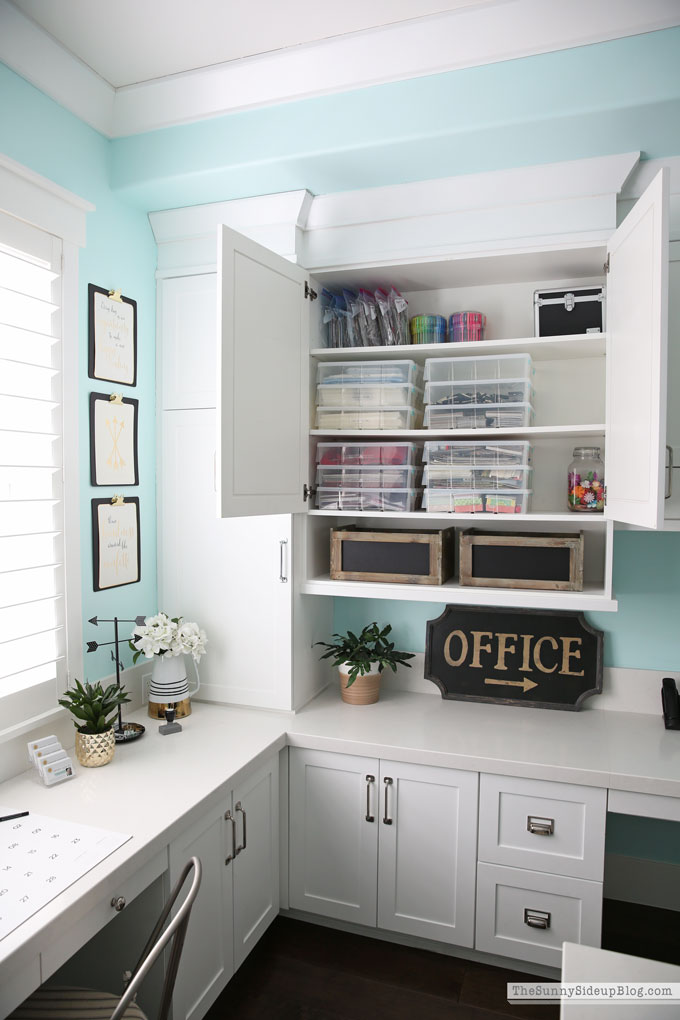
The next cupboard used to be a hot mess of old half done projects and craft supplies! I spent some time after the holidays this year finally getting things organized. It took hours and I said good-bye to a lot of things I was hanging on to!
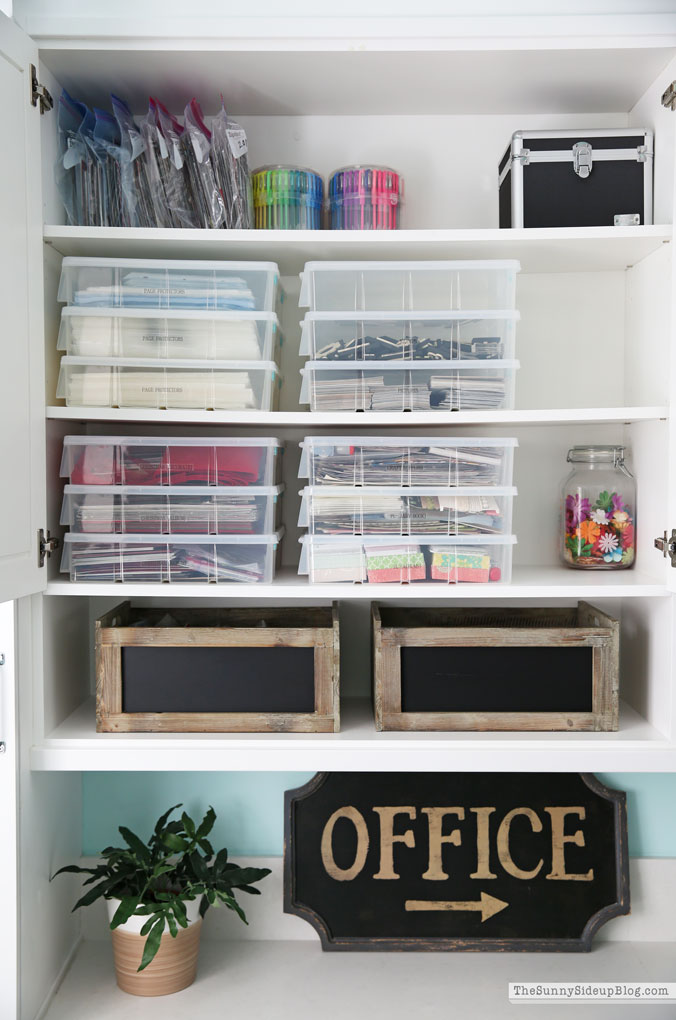
Then used my label maker and these clear bins to organize the things I wanted to keep and finish. Getting this cupboard under control was one of those projects I was thrilled to check off of my list!
That’s the first half of my organized office! Pop back in soon to see part 2!
I’ll bring the singing angels. You bring the popcorn.
:)
*YOU CAN SEE PART 2 OF MY ORGANIZED OFFICE HERE


This is amazing! So satisfying when everything has its own place. Love the stormtrooper wrapping paper btw!
Yes! Best feeling isn’t it Lauren! Thank you! That stormtrooper wrapper paper is about our 6th role.. ha. Lots of boys’ birthday parties on rotation around here. ;)
Your entire home is sooooo lovely but honestly, I would be happy just to live in your office!! LOL!! I LOVE how you designed and organized everything! I have such spring fever here in CT and looking forward to a good clean-out/reorganization! Thanks for sharing and I can’t wait for part 2!!
Ha ha.. this is probably the room I’d choose to solely live in too! Thank you so much Erin! I’m thrilled you like it! And I hear you.. Spring fever is strong at my house too. Bring on the Spring cleaning! :) xo
Love this! I’ve always loved your office and it’s so helpful to see how you utilize all of your cupboards and drawers! Great job tackling the project!
I’m so happy you like it Lisa! Thank you so much! :)
Is it weird that looking at organized functional spaces makes me as giddy as going to Disneyland?! Beautiful space Erin! Can’t wait for part 2!
Oh all the way Megan! I’m with you! The best. :) Thank you so much! I’m thrilled you liked it! xo
Oh to have a space like this! You are one lucky ducky! And I just love seeing how you’ve got it organized. Love the pullouts. Super smart idea. That corner cabinet is brilliant. Love how you have your wrapping paper in there (that Storm Trooper paper is so fun). I think I can hear the angels singing! You make me want to clean and play with paper and working on organizing all at one time. Looking forward to part 2 for sure! I can tell you really enjoy this space! :)
Yea! So happy you like it! A favorite spot for sure. ;) Thank you Jeanne! xo
I know this sounds crazy but do you sell the sketches for the office drawers? I would love to have a carpenter build this exact model.
Hi JoAnn! I’m so sorry.. I don’t have them for sale! But you could definitely show a carpenter pics from my blog and get it pretty close! :)