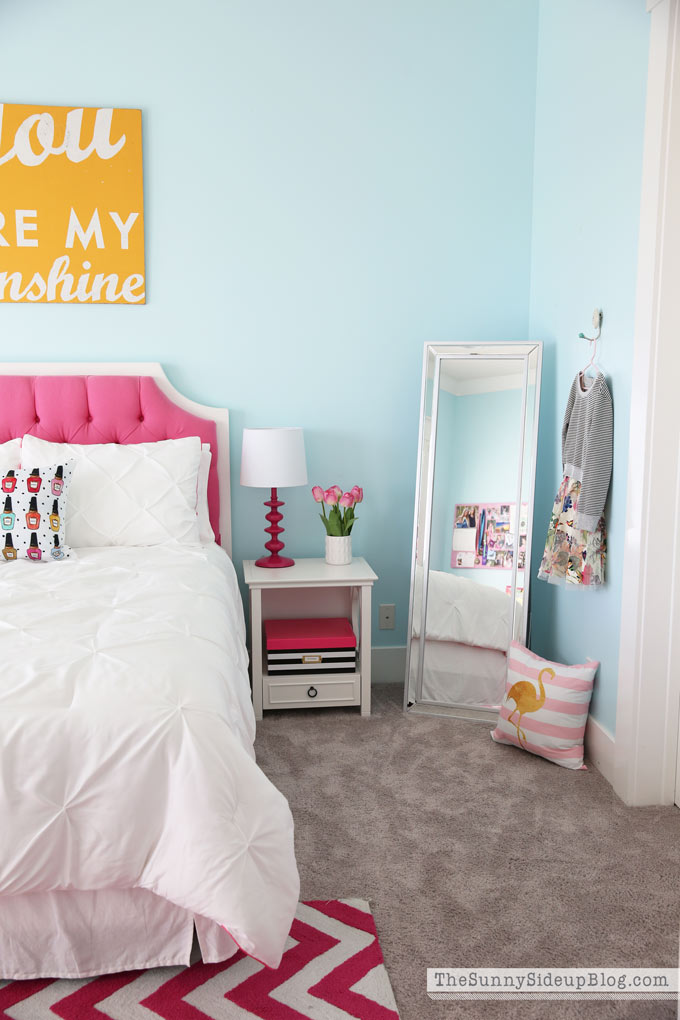
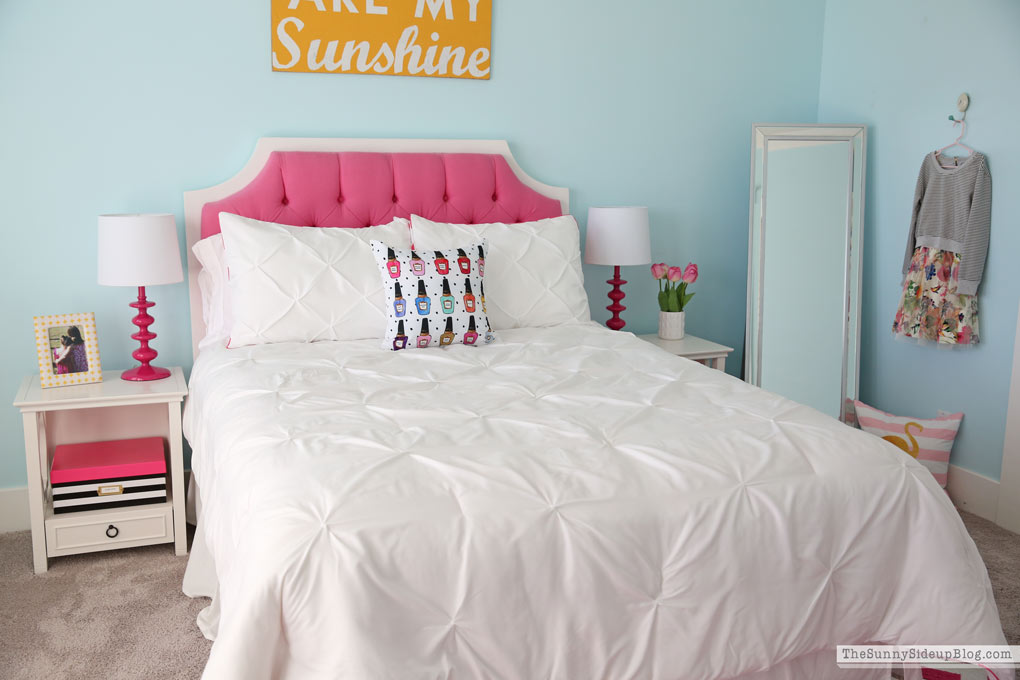
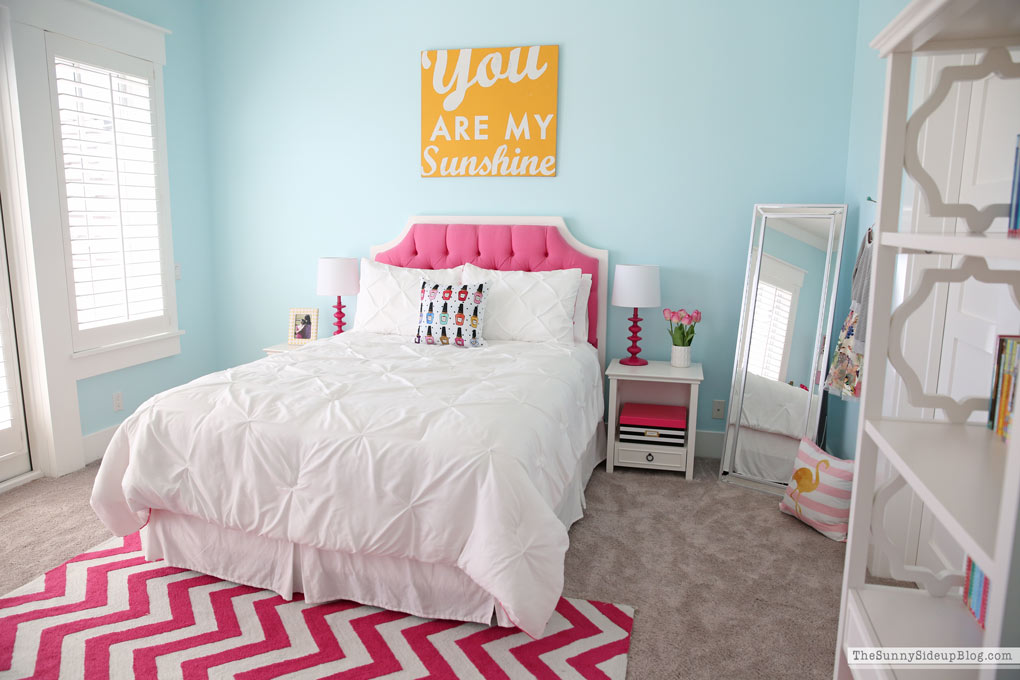
Sharing a few fun updates in Addison’s bedroom today! When we designed our house 5 years ago (has it really been that long!?) and I was thinking about my girls’ rooms and bathroom I never would have thought to put in a full length mirror for them.
*affiliate links used
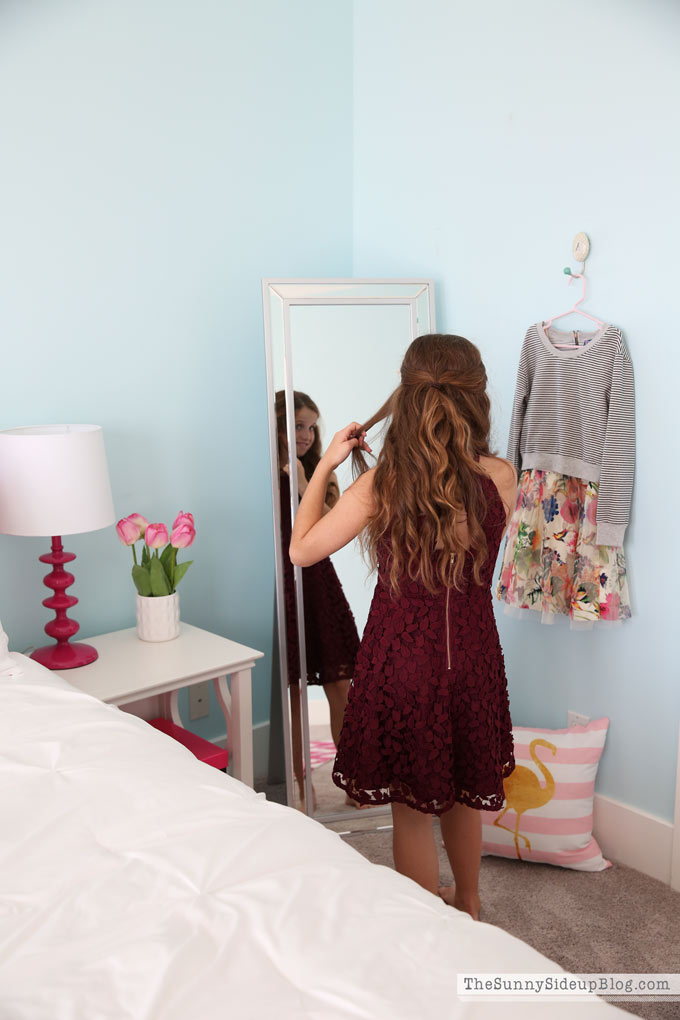
That’s because my girls were 7 and 9 at the time. Now they are 12 and 14 and care more about how they look than they do about how their dolls are dressed. (sigh) Things have changed a lot in the past 5 years!
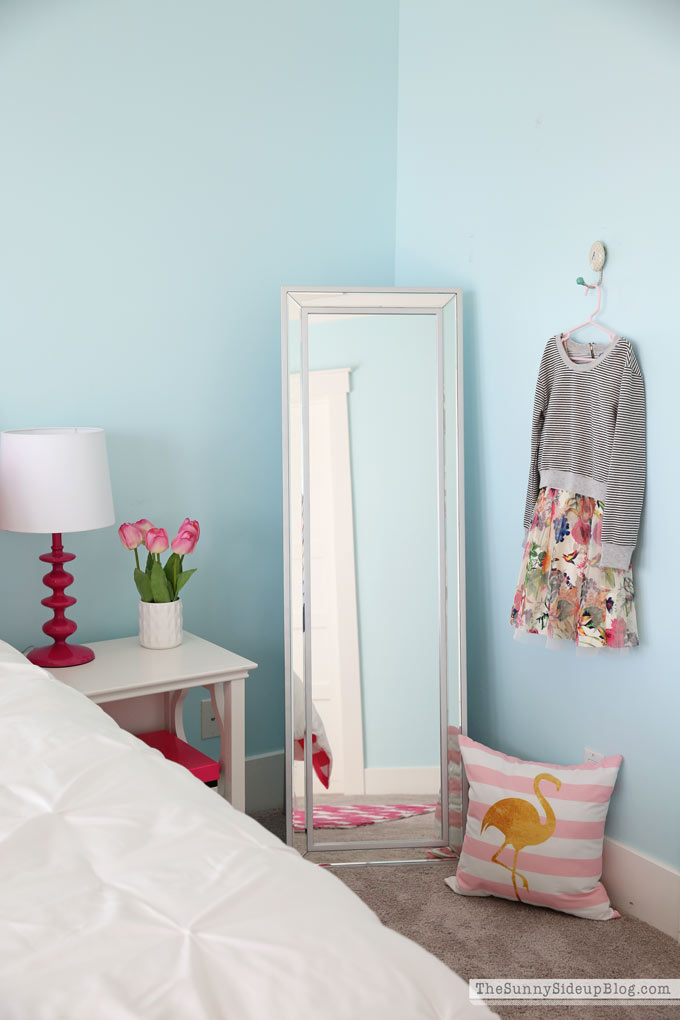
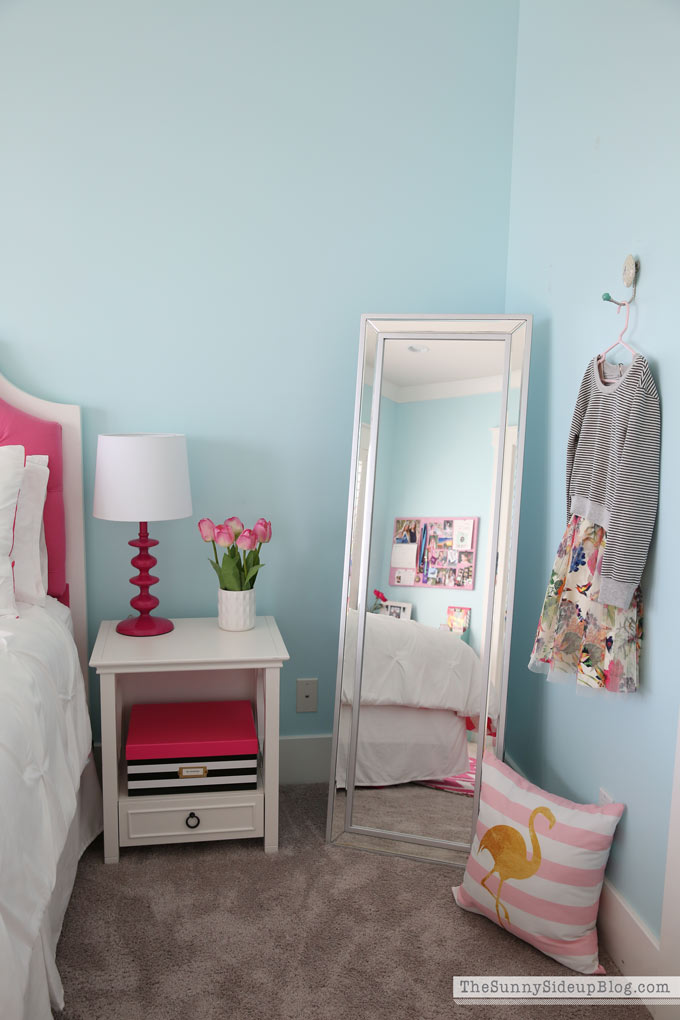
It has an easel style stand and props up so easily. I love the beveled edge and it’s the perfect size for this corner of her bedroom. We added this cute Tropical Stripes Flamingo pillow and a hook to her wall where she can hang her outfit for the next day.
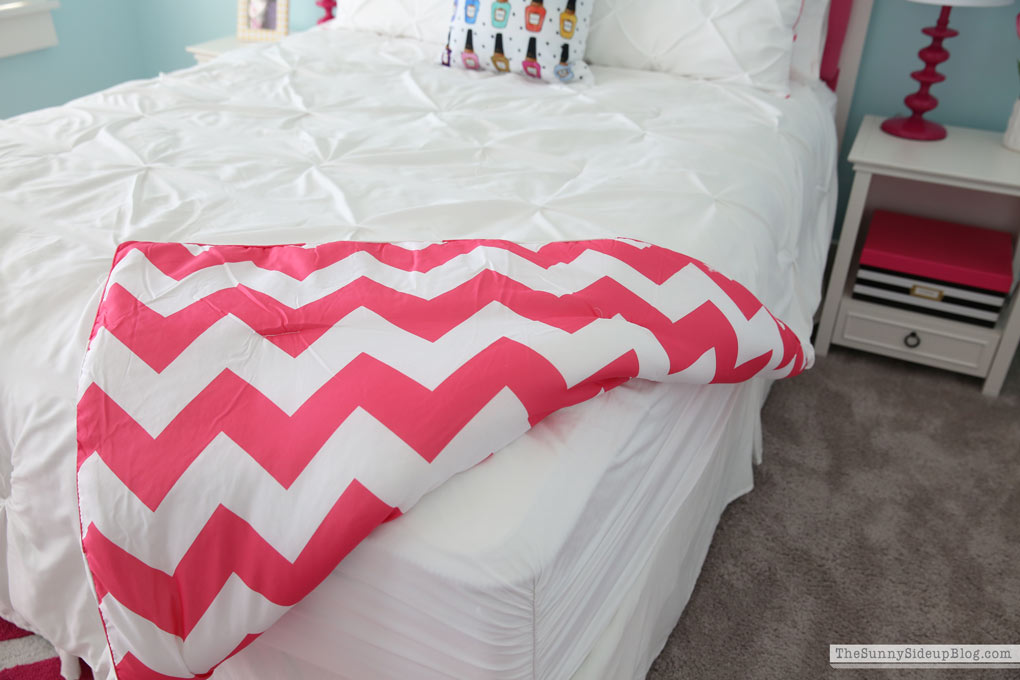
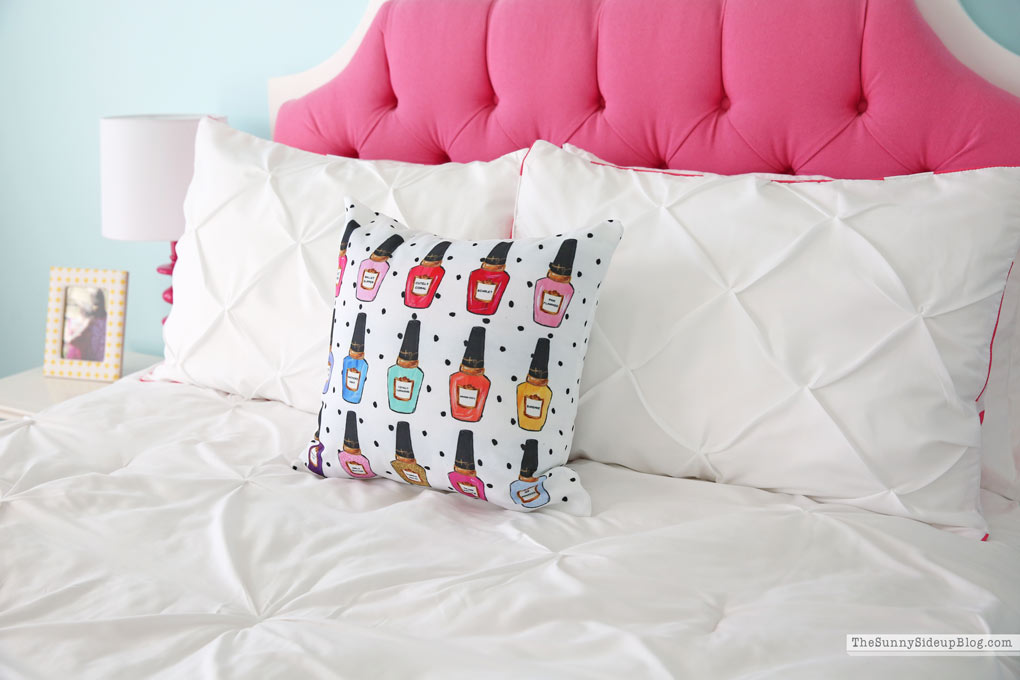
Her previous comforter was starting to fade and look a little worn, but I didn’t want to spend a lot of money on something new because in a couple of years we will most likely be updating this room for a teen. I was so excited to find this cute Pintuck Comforter Set at Walmart! It’s darling and is only $43! If it looks familiar to you that’s because it’s almost identical to the comforter in my master bedroom. Clearly I’m a fan of white pintuck. :)
It’s reversible and has a fun chevron pattern on the other side. Plus it’s lightweight and perfect for fall in San Diego.. which pretty much feels like winter and spring and summer in San Diego.
Simple updates bring a space back to life and feel so good don’t they?
Huge thank you to Walmart for sponsoring this post! And for offering such cute, affordable decor for kids’ spaces. You’ve helped guarantee well coordinated outfits and good hair days in Addison’s future.
In middle school.. you can’t get much better than that.
Happy Friday everyone! I’m thrilled it’s the weekend. Kenny has been out of town all week so needless to say I’m ready! My kids had a lot going on this week and I’m beyond sleep deprived. Looking forward to a nice long nap Saturday or Sunday! We’ll see if it actually happens. ;)
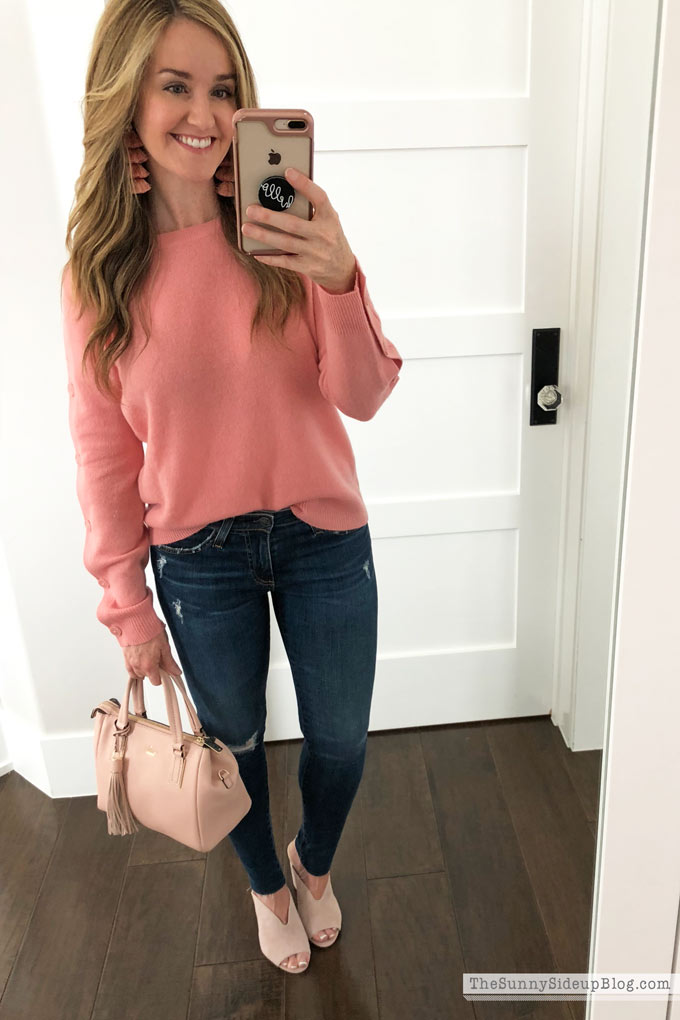
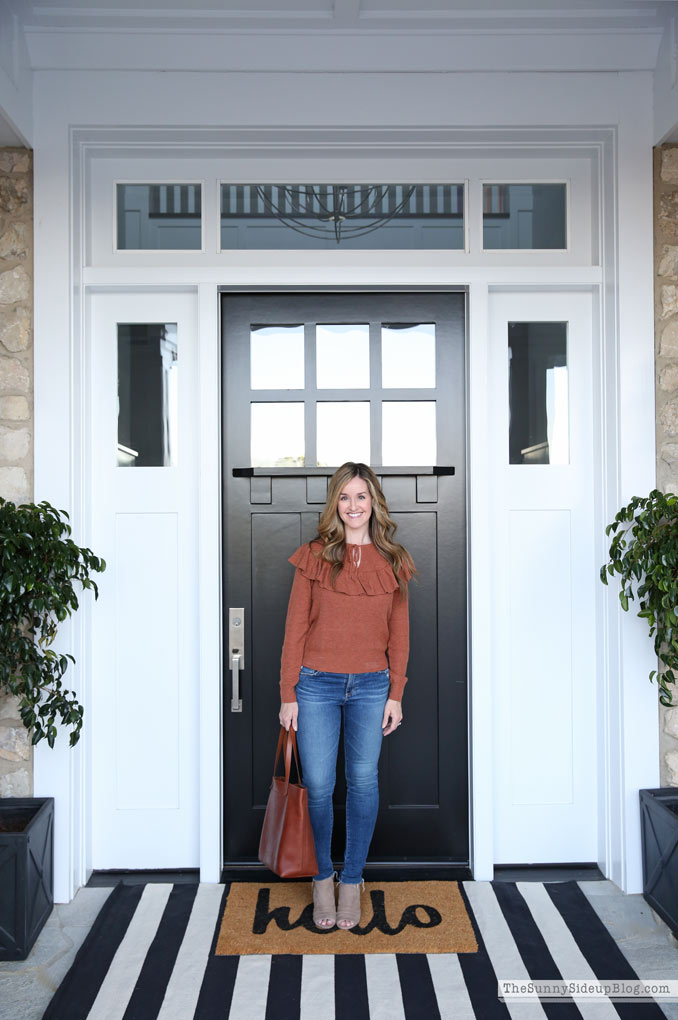
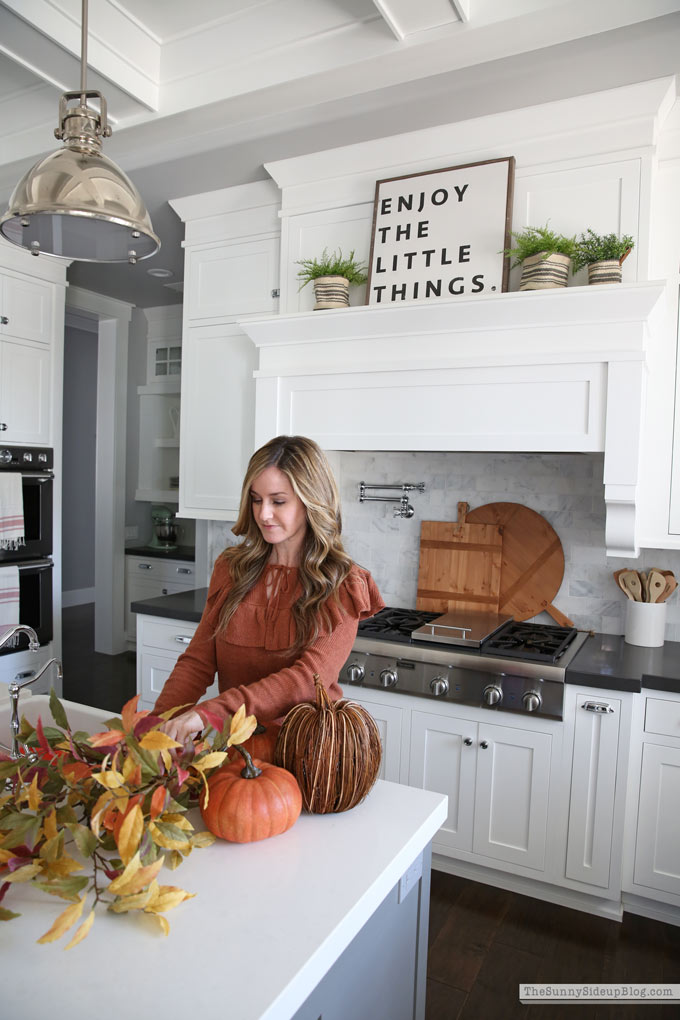
Today I’m partnering with Nordstrom to share some Fall fashion with you all. Can I just say that this is hands down my favorite time of year for fashion. I could not love Fall fashion more and Nordstrom has so many cute new things in right now.. you guys.. seriously. SO many cute new clothes. Like this sweater! I’m in love.
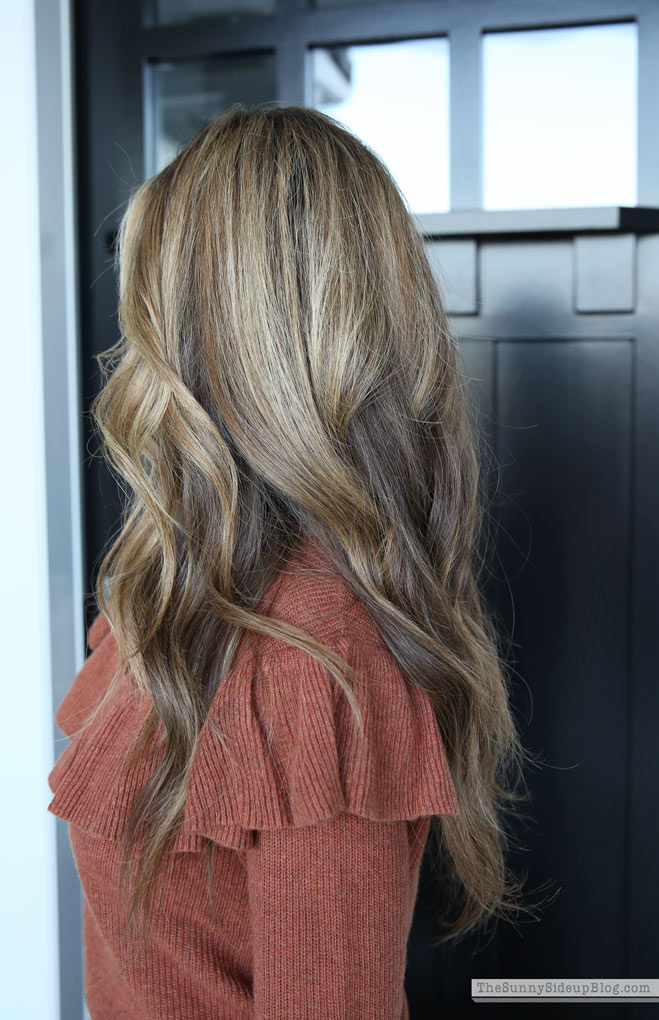
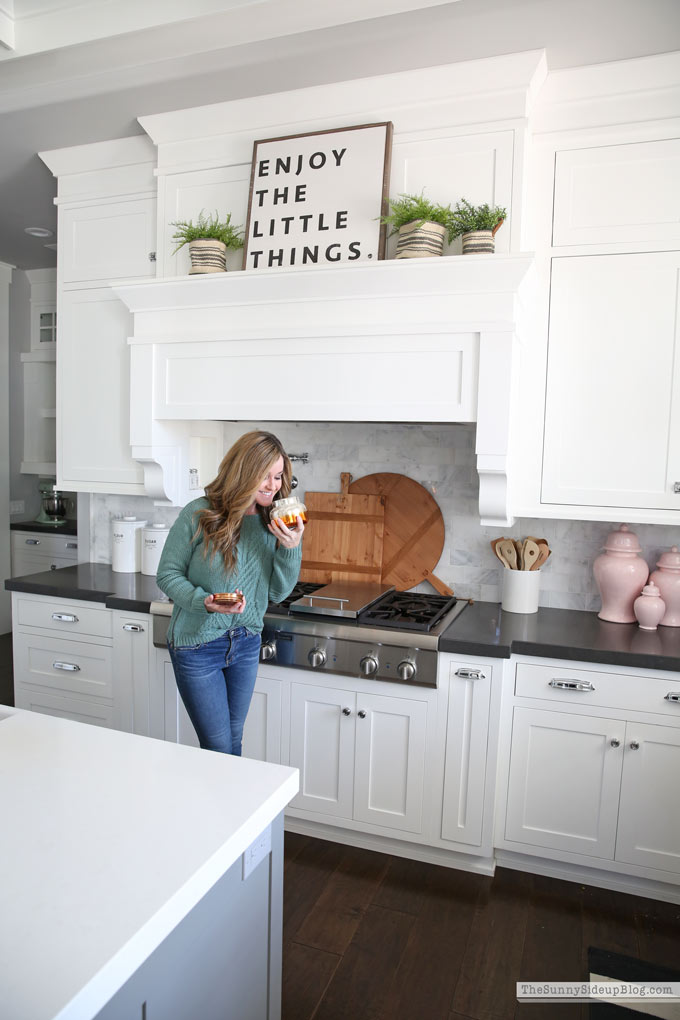
SO cozy, a great fit and yes.. I’m matching my pumpkins. What more could you want this time of year? :)
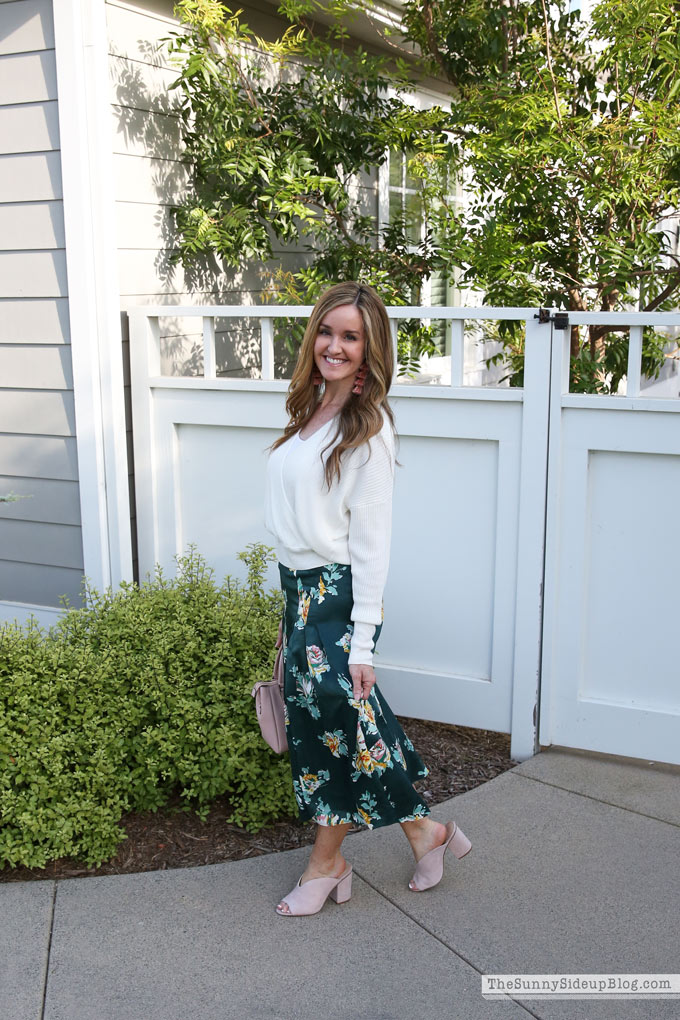
I love the feminine ruffle and soft material. Madewell is quickly becoming one of my favorite brands!
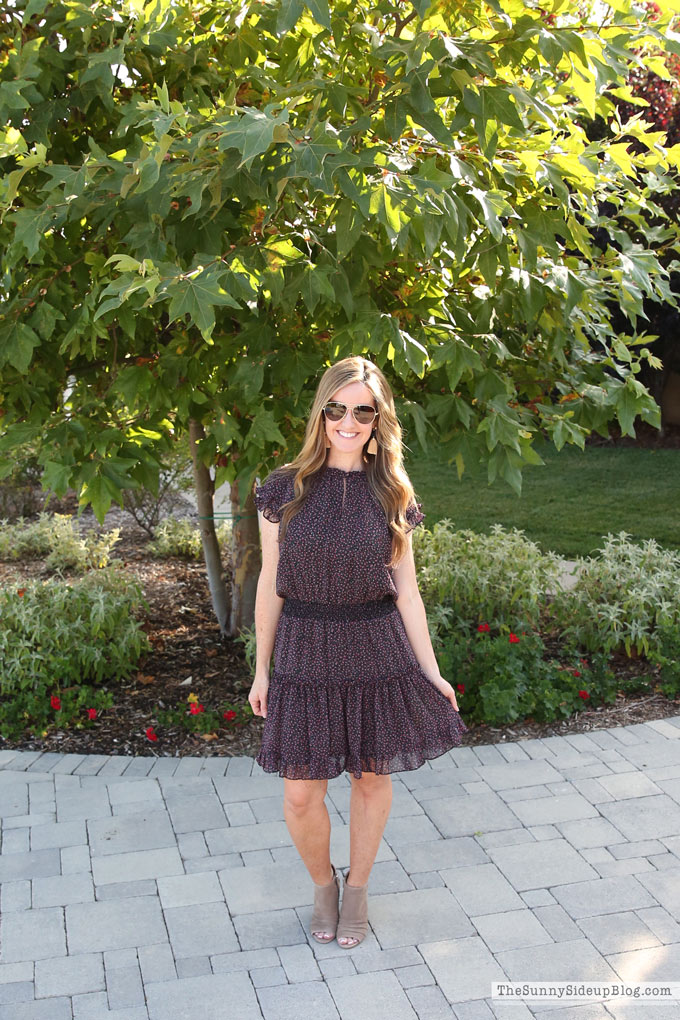
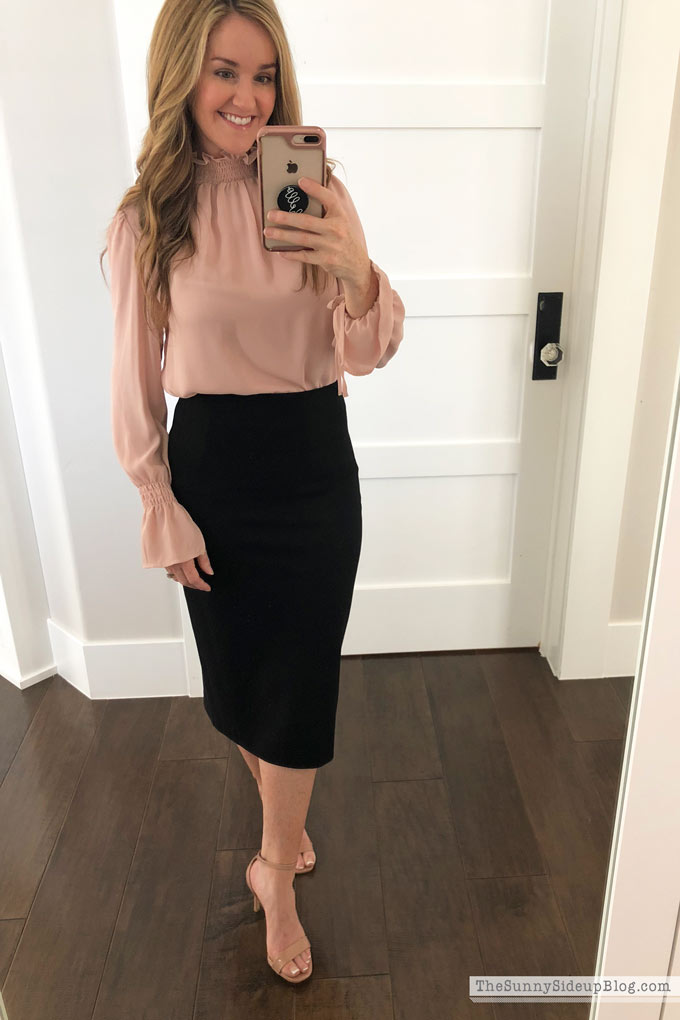
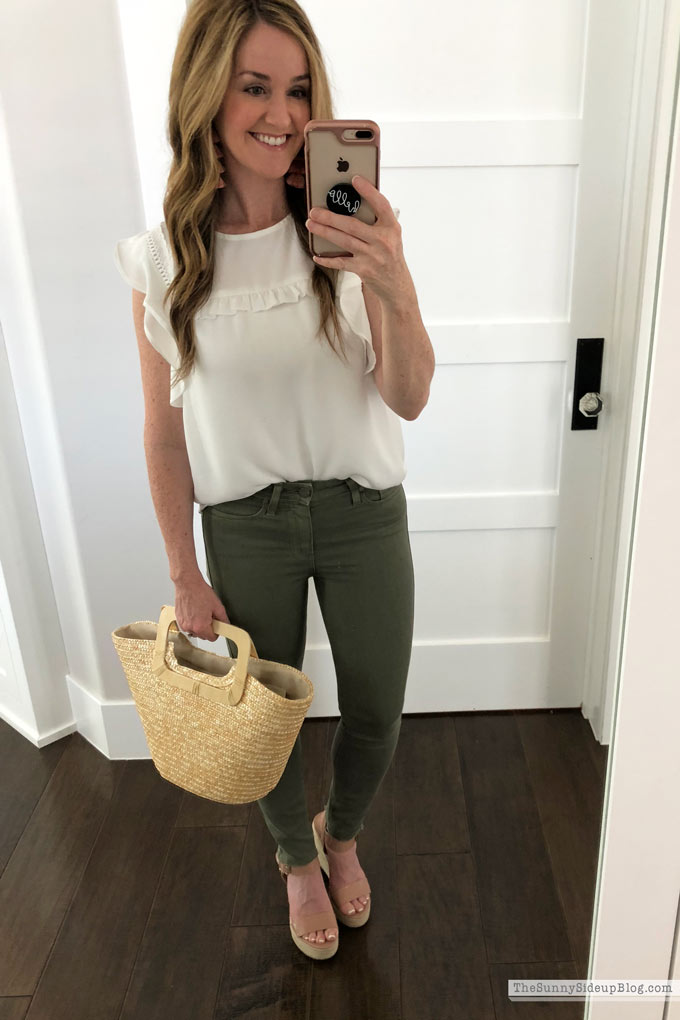
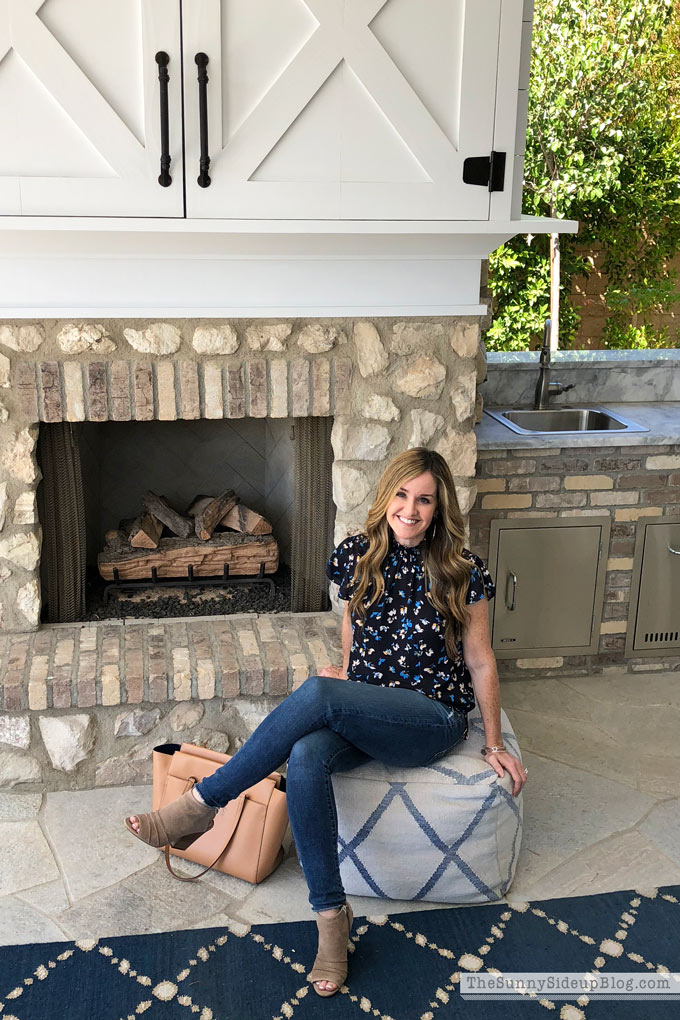
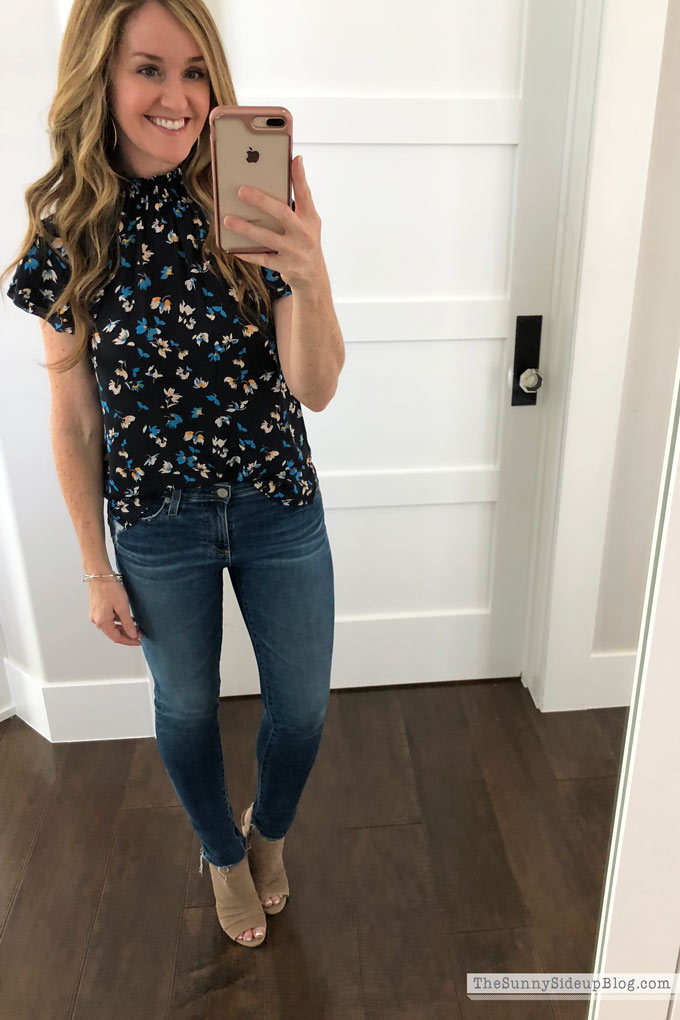
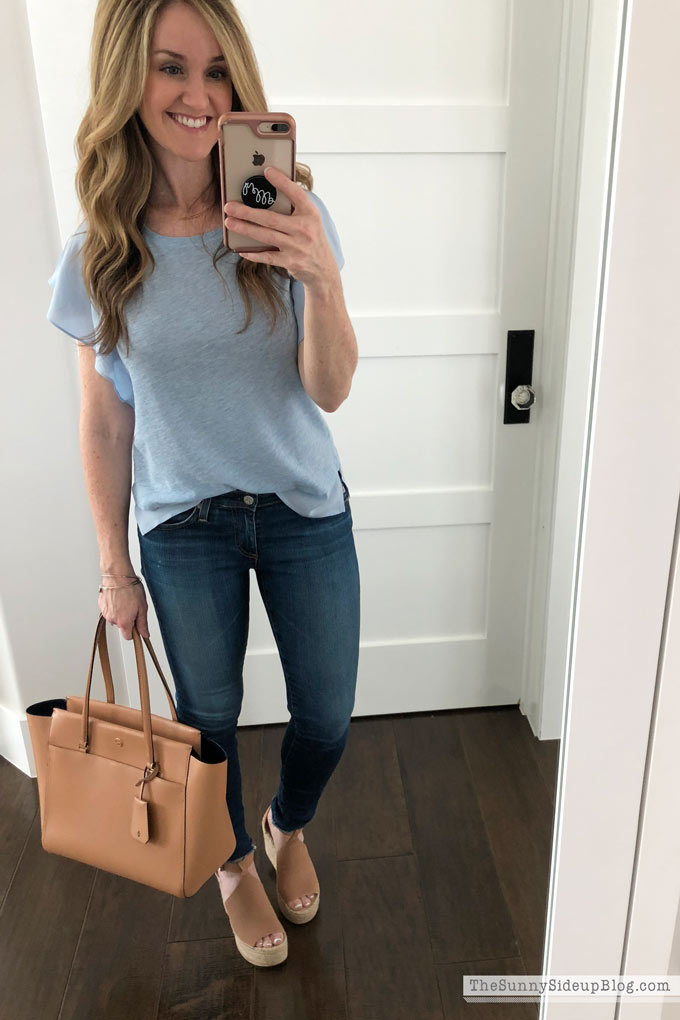
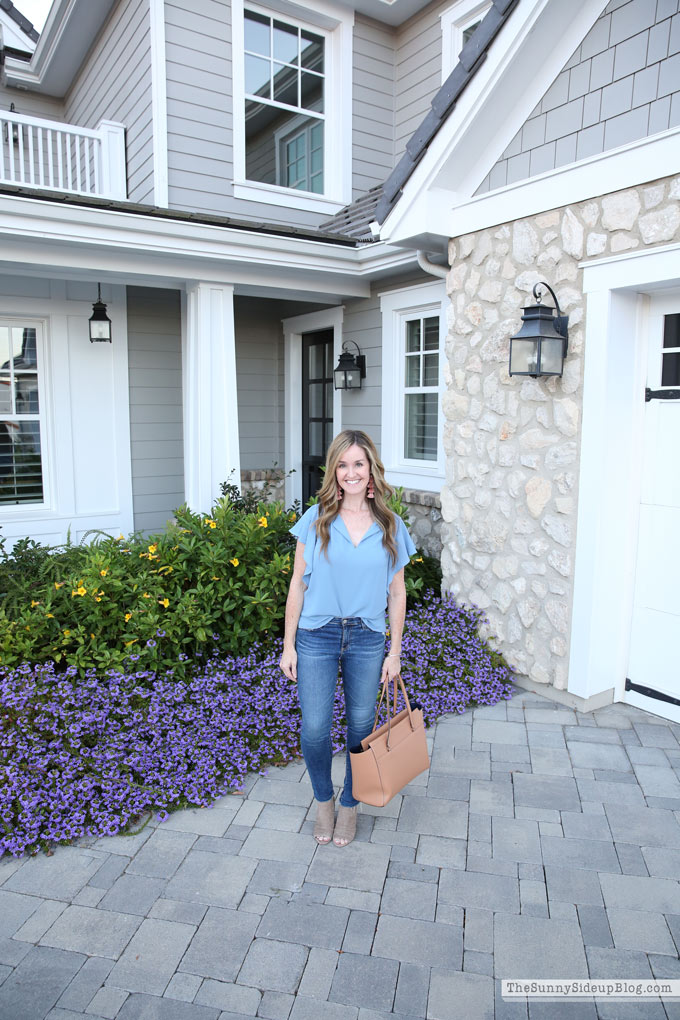
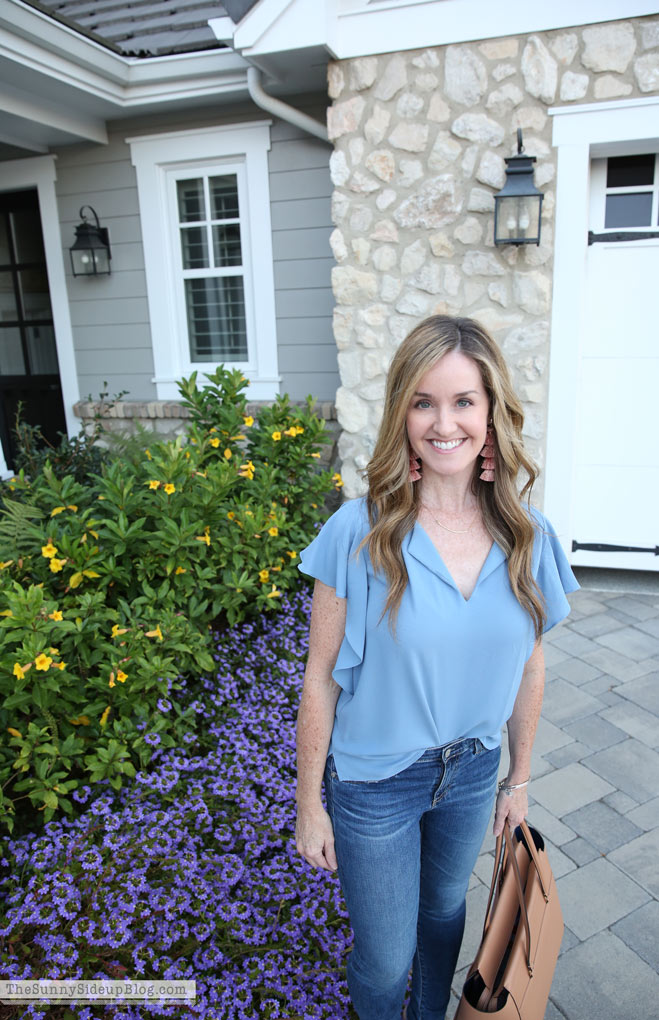
If it’s not quite sweater weather where you live this smock necked blouse is so pretty and a great transition to Fall top.
It comes in lots of prints and colors but I love this navy with flowers for Fall! It looks so cute with my oblong drop earrings. I’ve been wearing them so much lately.
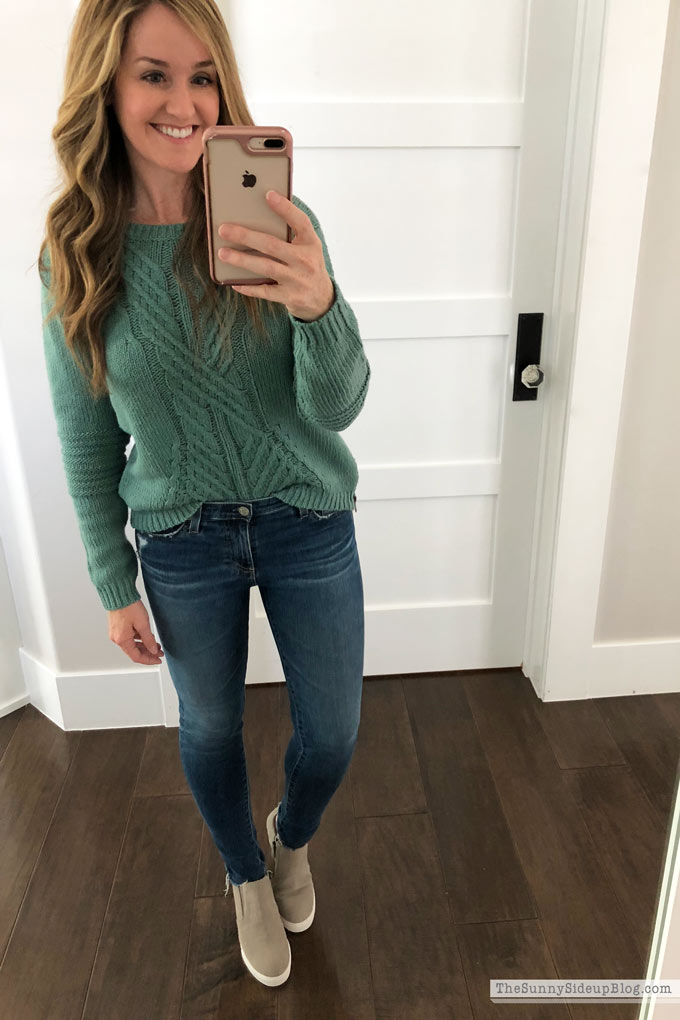
So excited to wear this cute cable knit sweater when it cools off! It also comes in navy and pink and has a cute zipper on one side. One of those comfy go-to sweaters when it’s cold.
Of course it’s still way too hot for this sweater in my neck of the woods right now so I just wear it to the grocery store. I hang out in the frozen food section in my sweater and then smell my candle when I get home and pretend it’s Fall.
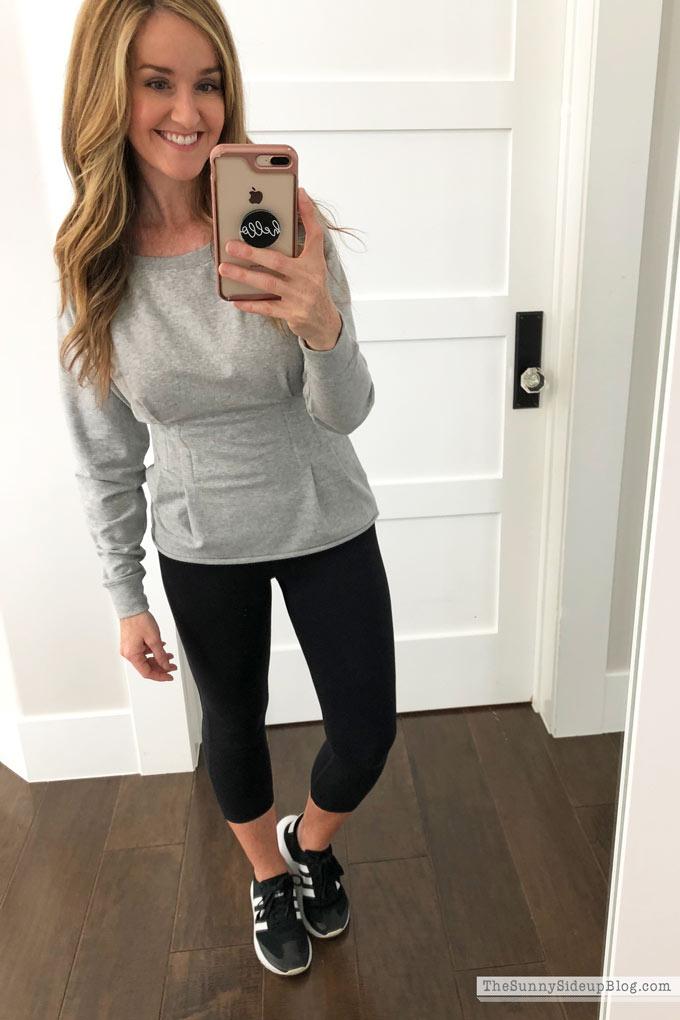
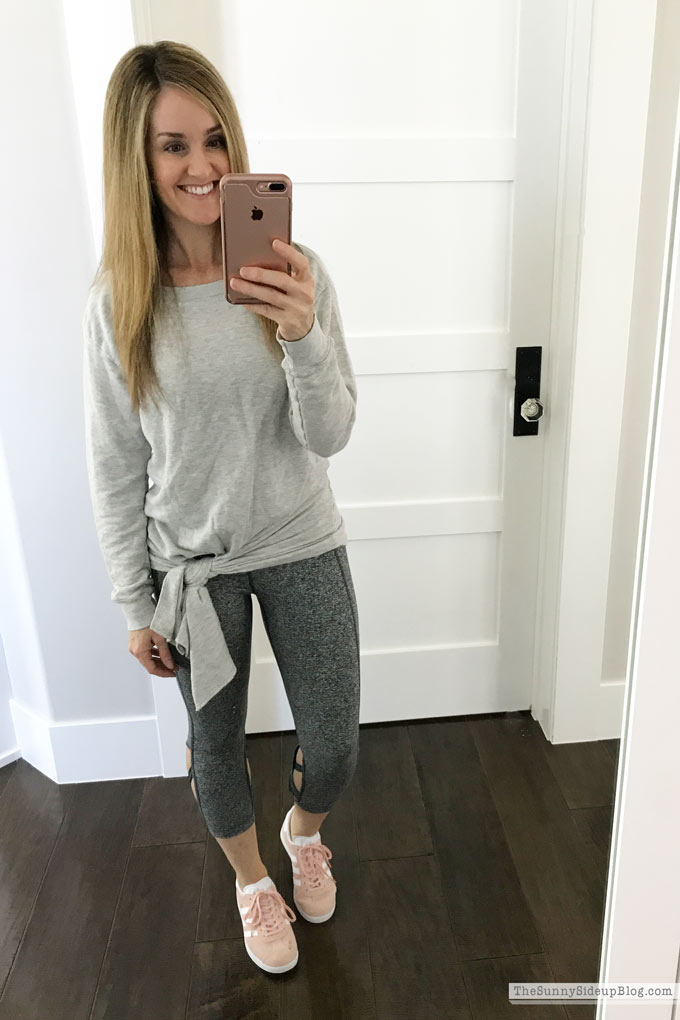
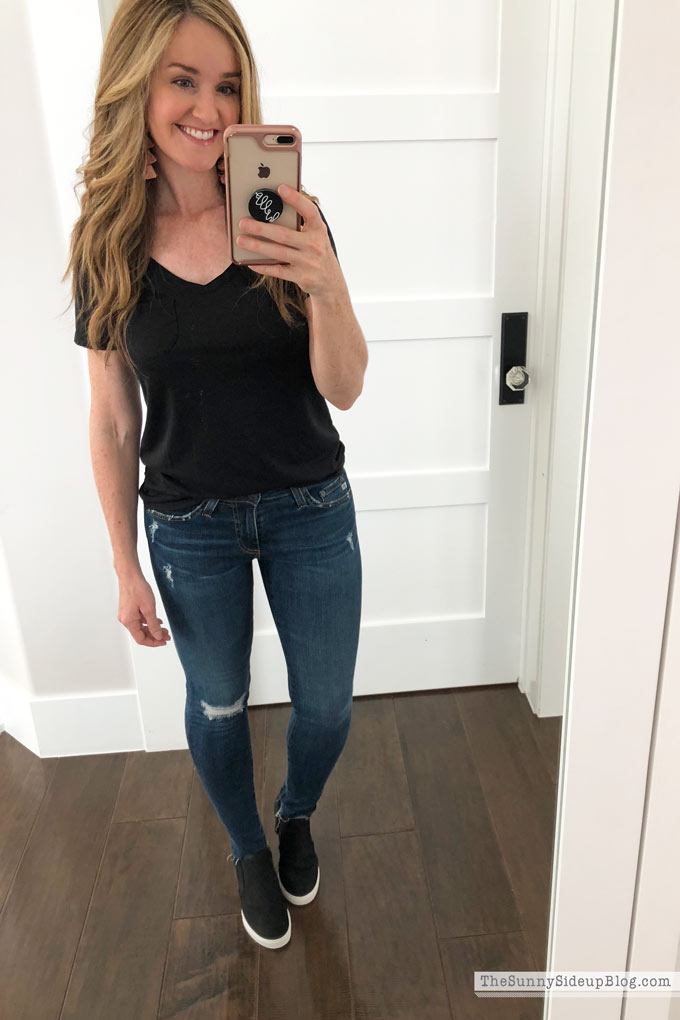
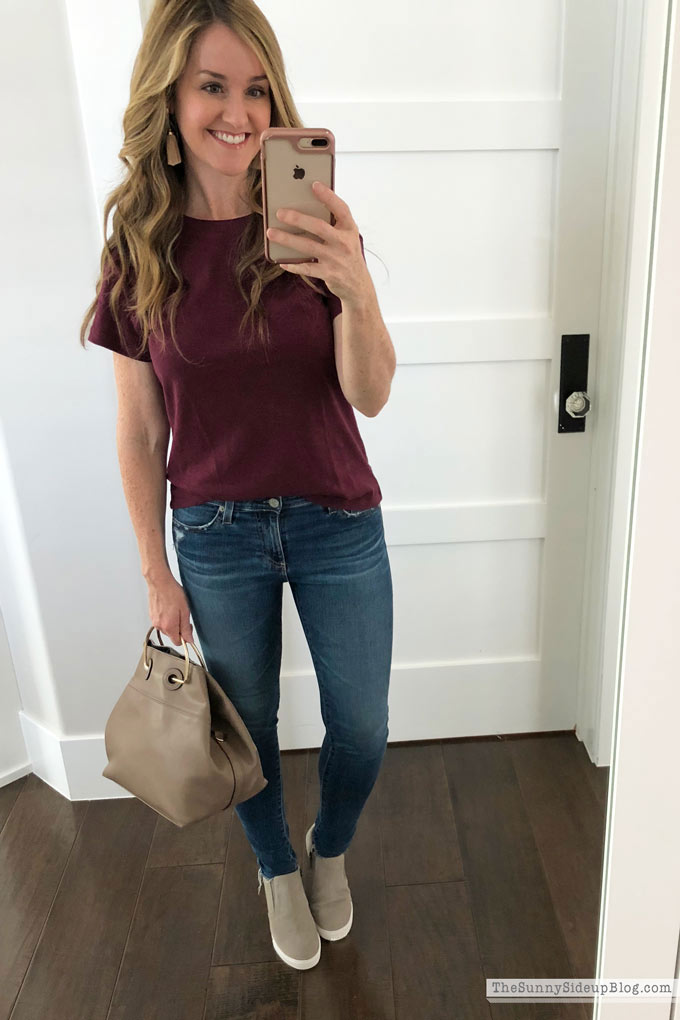
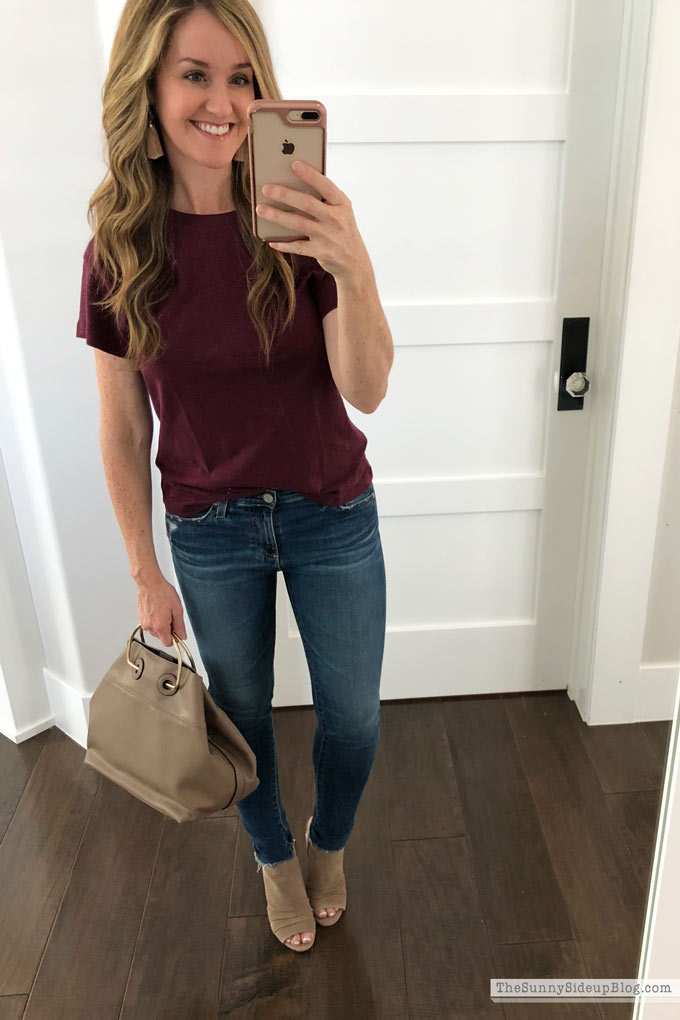
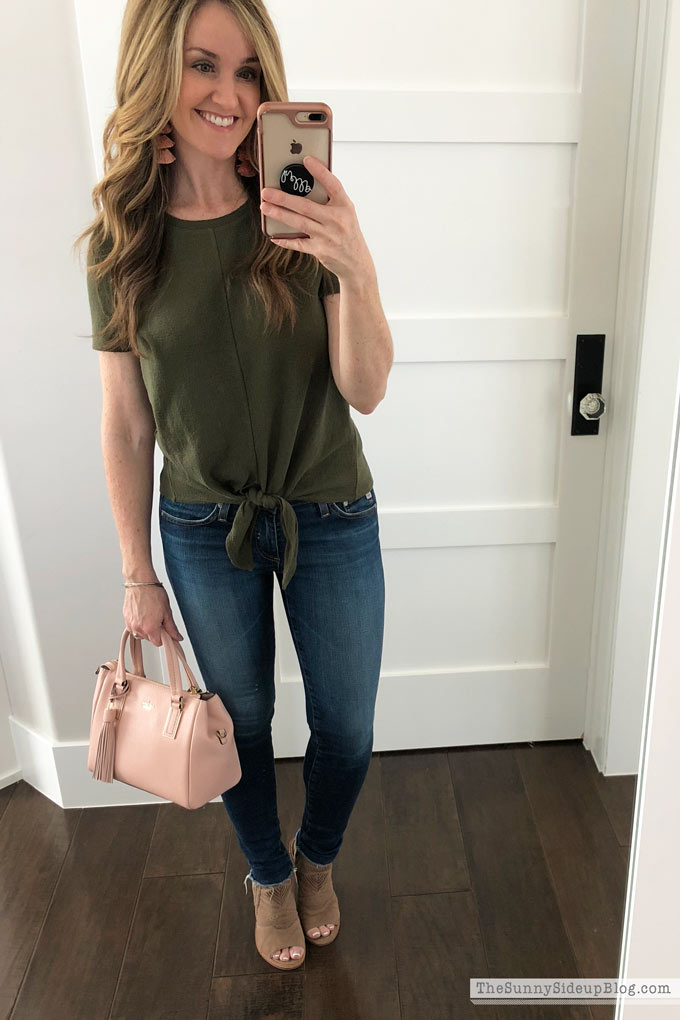
This Lucky Graphic Tee is another great transition to Fall top. It has cute flowers at the top that my hair is covering up! The top on-line has them at the bottom too. I wore it last week with my favorite wedge sneakers during the day running kids around.
And then I switched shoes to dress it up a little more for a meeting and dinner that evening. That’s about as dressy as I like to get on a week night. Ha. :)
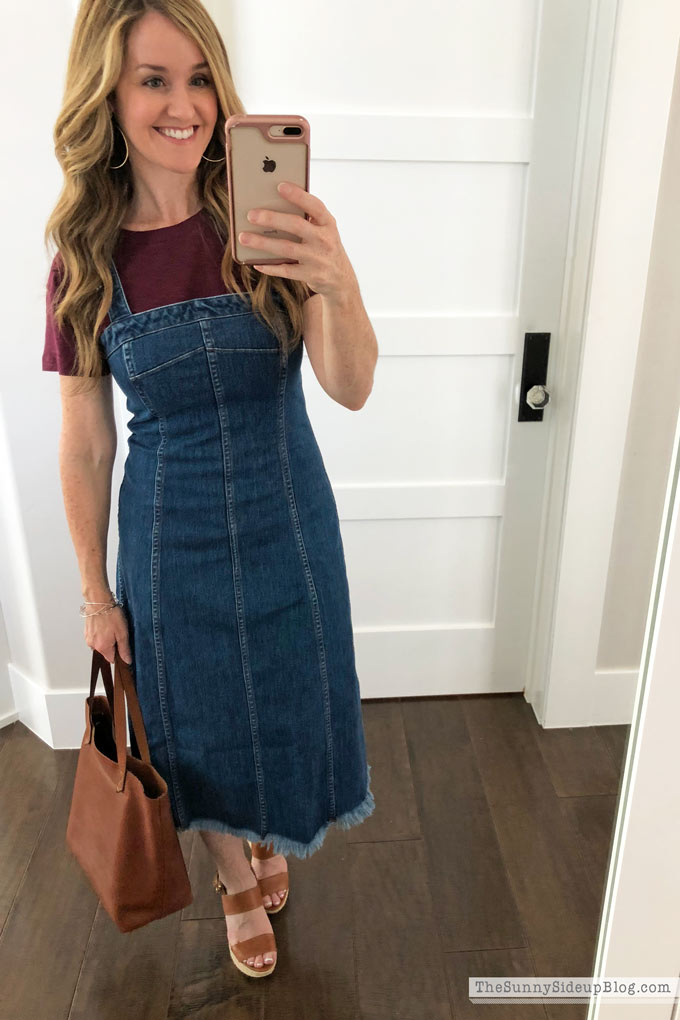
K.. this might be one of my favorite outfits EVER. I’m so in love with this raw hem seamed denim dress! Madewell again.. I just can’t get over their Fall clothes this year! It’s so flattering because it comes in so fitted high at the rib cage. You could add boots for a western flair if you wanted too. Addison saw this dress on me and said “Mom! You look like a farm girl but I love it!” Ha ha..
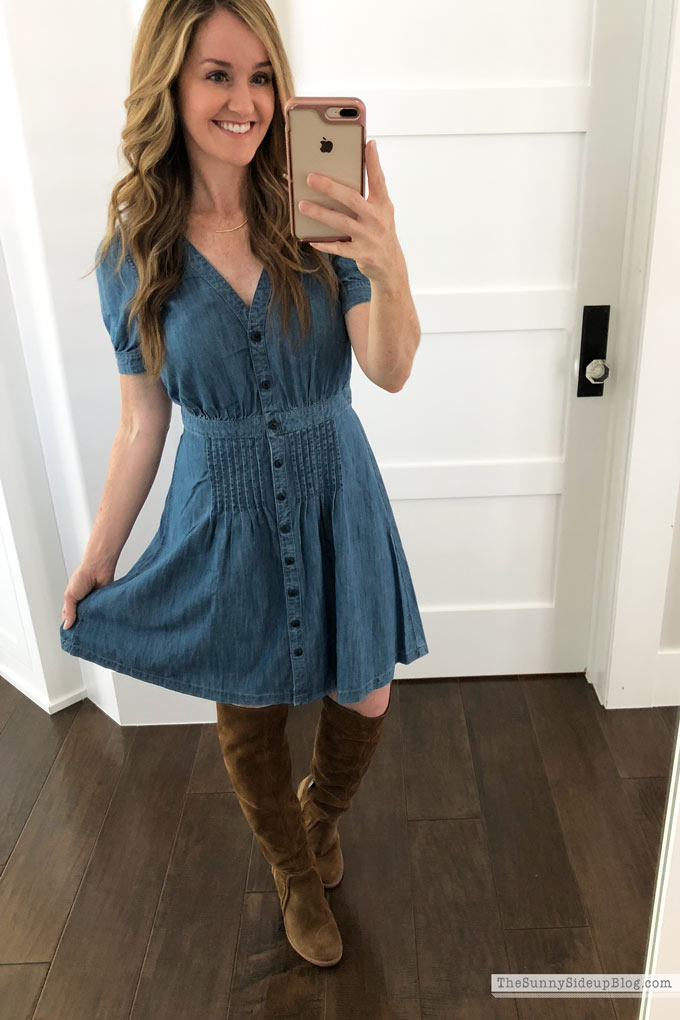
And since we’re talking Madewell, Denim, Western Farm girl.. here is another favorite new denim dress I’m in love with. I buy a new denim dress every Fall because it’s honestly my most worn dress every year. This one is cute, casual and comfortable!
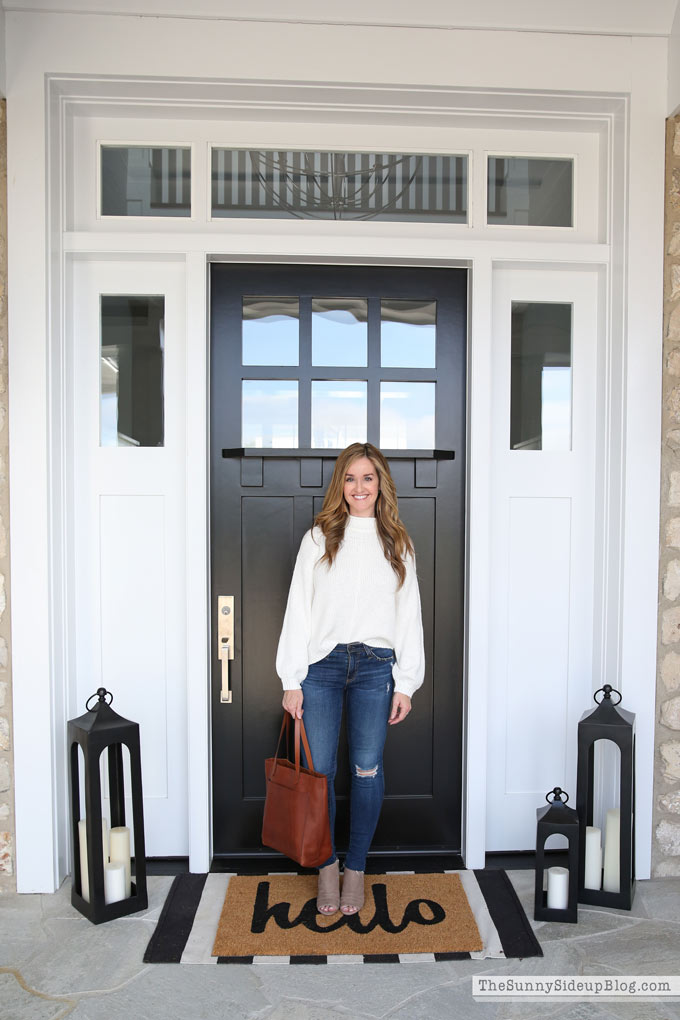
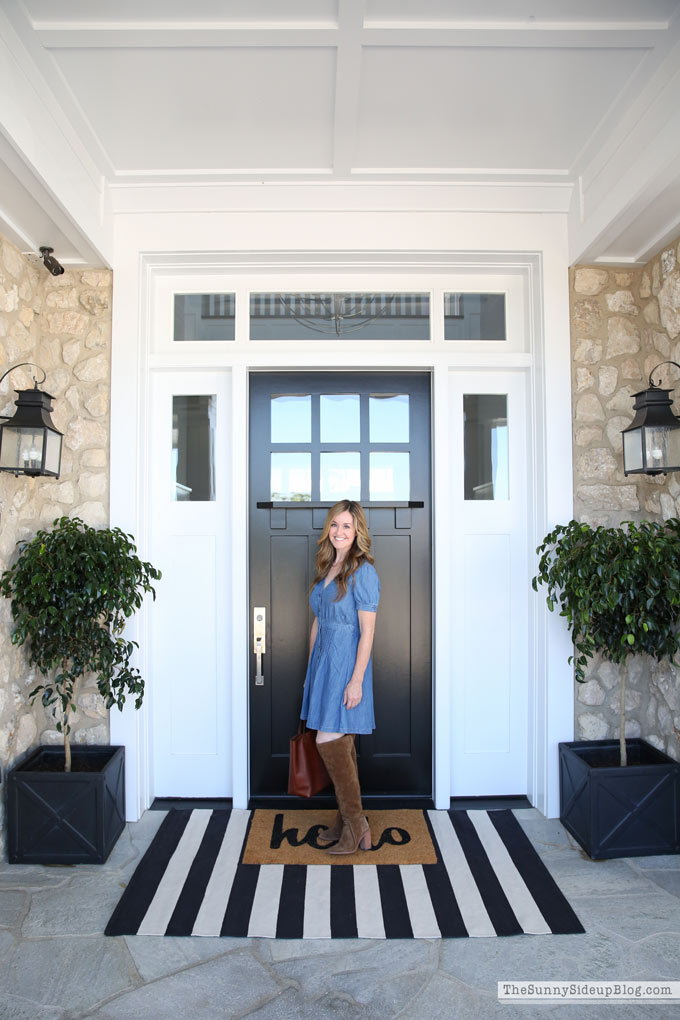
Had this pic taken quick on my way out. I got a bigger striped rug for my front porch and am still deciding if I like the larger size. It feels huge!
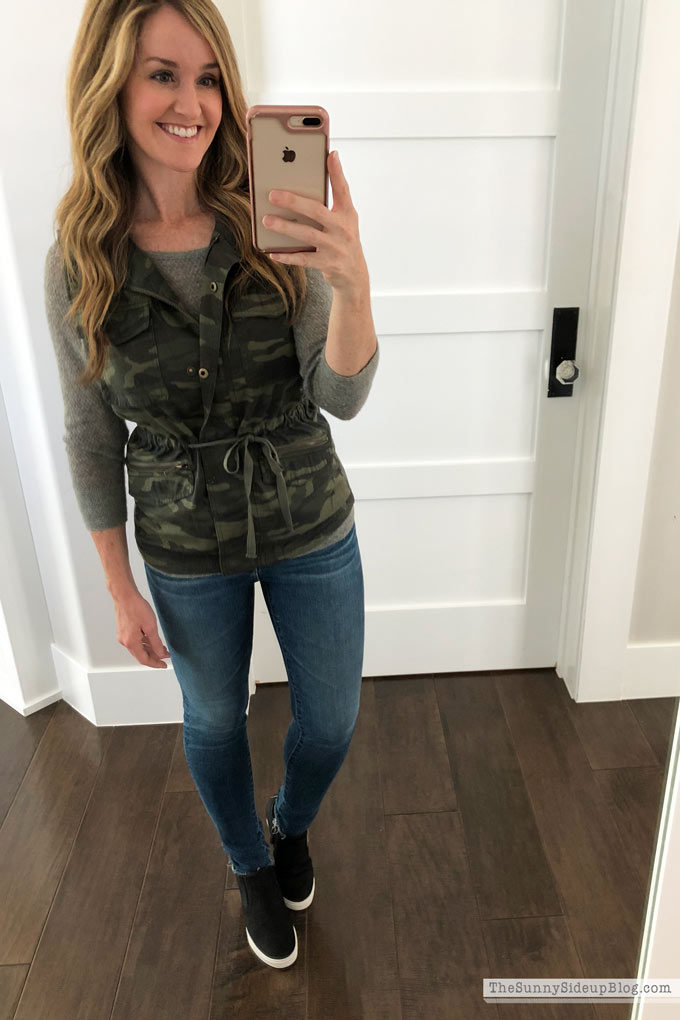
Last recent Fall favorite! And you thought you were going to get through this whole post without seeing some camo.
But then you remembered you knew better. :)
Cutest camo utility vest! So flattering because it cinches and ties at the waist. Perfect for cool Fall football games! El is performing at half time at her high school’s game tonight. We’re so excited to watch her dance!
Speaking of.. I better get us all ready and out the door. Looking forward to the game and all things Fall! Love this time of year.
Did I mention that already?
*Huge thank you to Nordstrom for sponsoring this post! And for carrying so many fun brands and styles for Fall. And for keeping me looking my farm girl best.
The holiday season will be here before we know it which is so exciting! But I know for a lot of us it can also bring up feelings of panic and stress. In the past 14 years I’ve been a mom I’ve had well planned, organized Decembers along with my fair share of stressful, last-minute-everything Decembers. Just ask my mom about the year she was visiting for the holidays and came with me to buy last minute gifts and wrapping paper at Wal-Mart on Christmas Eve. I left her in my car with my kids with the DVD player on while I ran in the store and the car died! We were stuck in a parking lot in the rain with three tired little kids until my husband and dad could come and help us. Not exactly the way we wanted to spend Christmas Eve! We laugh about that year now but it wasn’t so fun at the time. Ha. :) (still so sorry mom..)
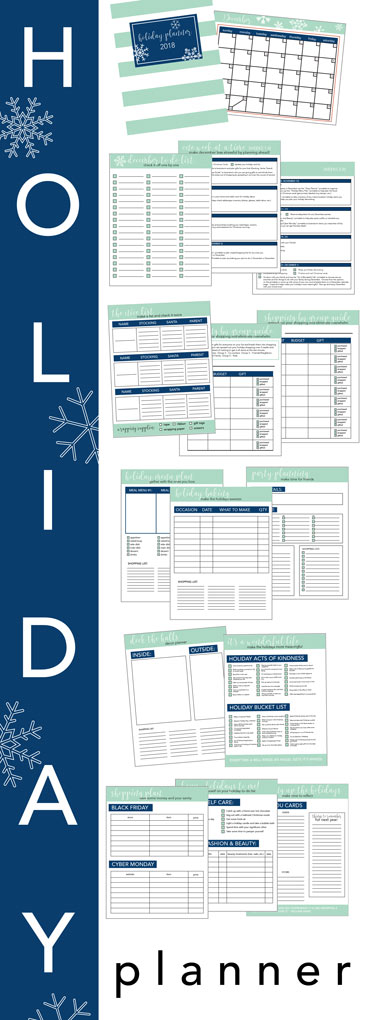
I decided that year that I was DONE spending December stressed out with a to-do list a mile long. Over the years I’ve learned some tips and tricks on how to organize for the holidays and and I’m so excited to finally share these tips with all of you! I’ve created a HOLIDAY PLANNER that is 30 pages of planning sheets. It includes everything you need to organize your holidays. I am seriously so excited about this!
This holiday planner is over 30 pages in a printable PDF. The pages are 8.5 x 11. Right now you can buy it for just $12! You can purchase it HERE. (I will be sharing how I put my planner together in an upcoming post!)
Included in this planner:
October/November/December monthly calendars (both vertical and horizontal options)
October/November/December to-do lists (I’ll be printing out multiple copies of these!)
Week at a Glance (LOVE this! I laid out exactly what we should be working on each week so that we can fit everything in BEFORE December!)
The Nice List (Organized shopping for your kids)
Shopping by Group Guide (So excited about these pages too! They make shopping for everyone on your list a breeze!)
Holiday Menu Plan (Because we have to cook.. ) ;)
Holiday Baking
Party Planning
Decor Planning (can’t wait!)
Holiday Self Care/Fashion and Beauty
Black Friday/Cyber Monday Shopping Page
It’s a Wonderful Life (make the holidays meaningful!)
Wrapping Up the Holidays
This planner has everything you need to be organized and on top of your holidays! I know it’s only September and we don’t want to rush past the Fall. I plan on fully enjoying pumpkin spice everything this year! But starting in October I’m going to follow my week at a glance and start doing a few simple things each week to plan and prepare for the holidays.
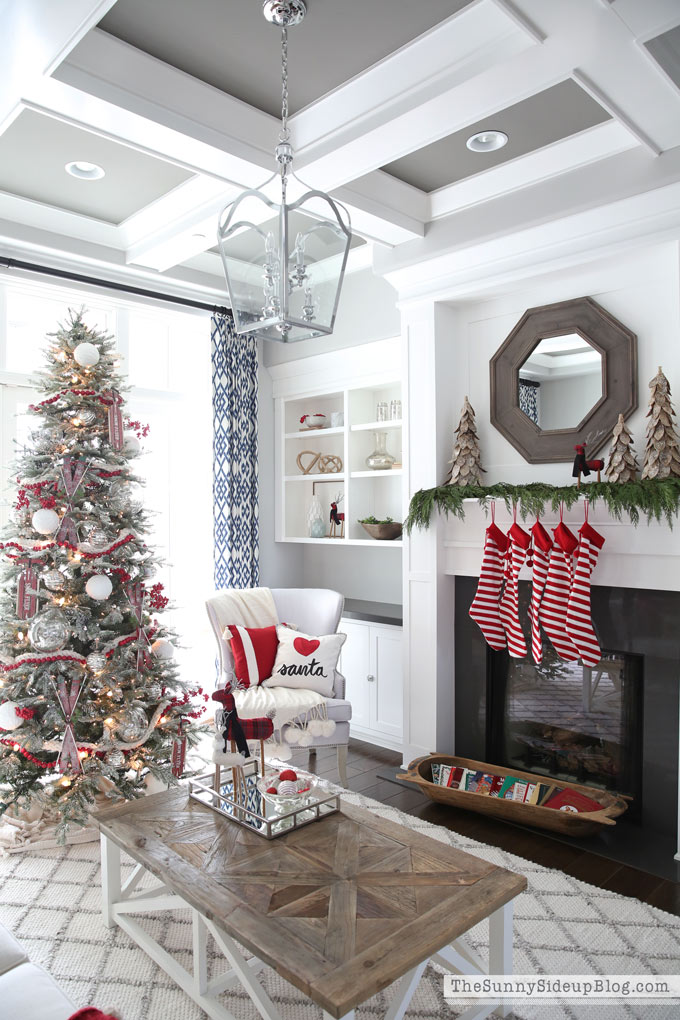
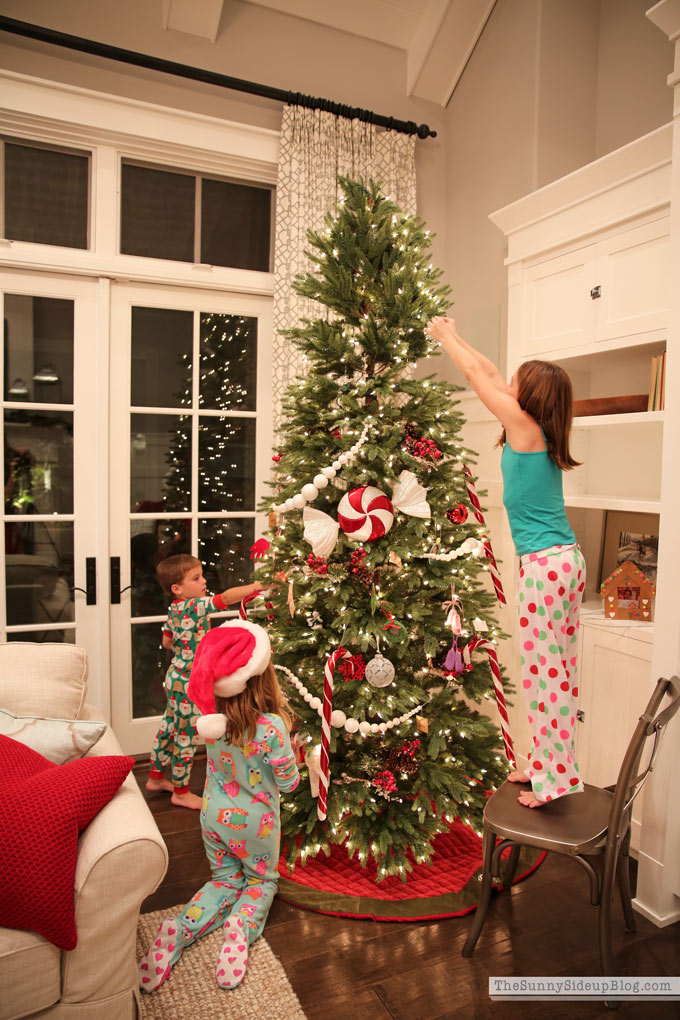
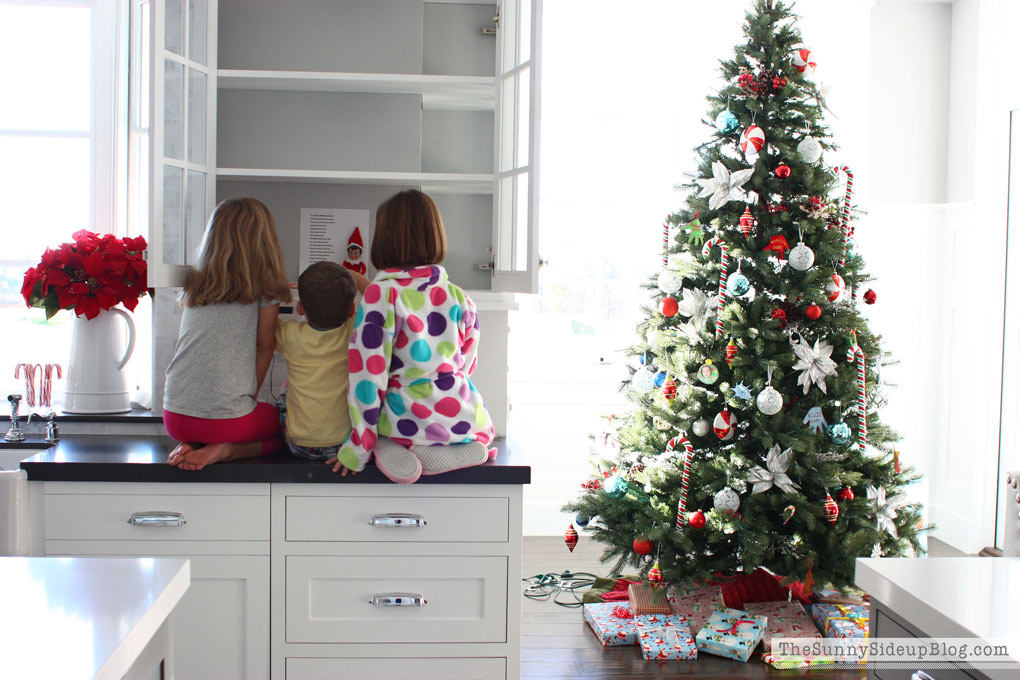
That way I can spend December fully engaged with these three. Decorating trees and making paper snowflakes and enjoying Christmas movie marathons in our pjs and looking at lights and going to holiday musicals and singing carols and teaching them the reason for the season..
all while we anxiously wait for Santa to come. :)
They are growing up right in front of my eyes and I don’t want to miss a minute of the holidays with them! I will be sharing more about how I’m organizing my holiday planner in an upcoming post but I wanted to tell you all about it now for those of you who want to buy it and get it printed and ready. That way when October comes you can start working on a few simple things each week and organize your holidays! It makes a HUGE difference!
I hope you all love this holiday planner as much as I do! I know it will eliminate stress and give us all breathing room in December to feel the magic of the season with the ones we love. :)
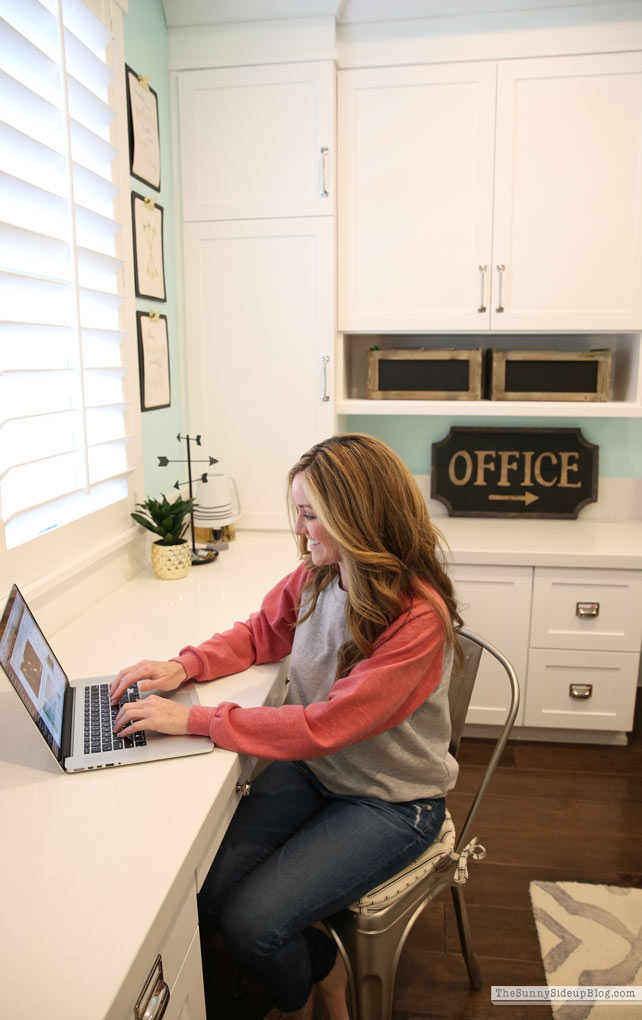
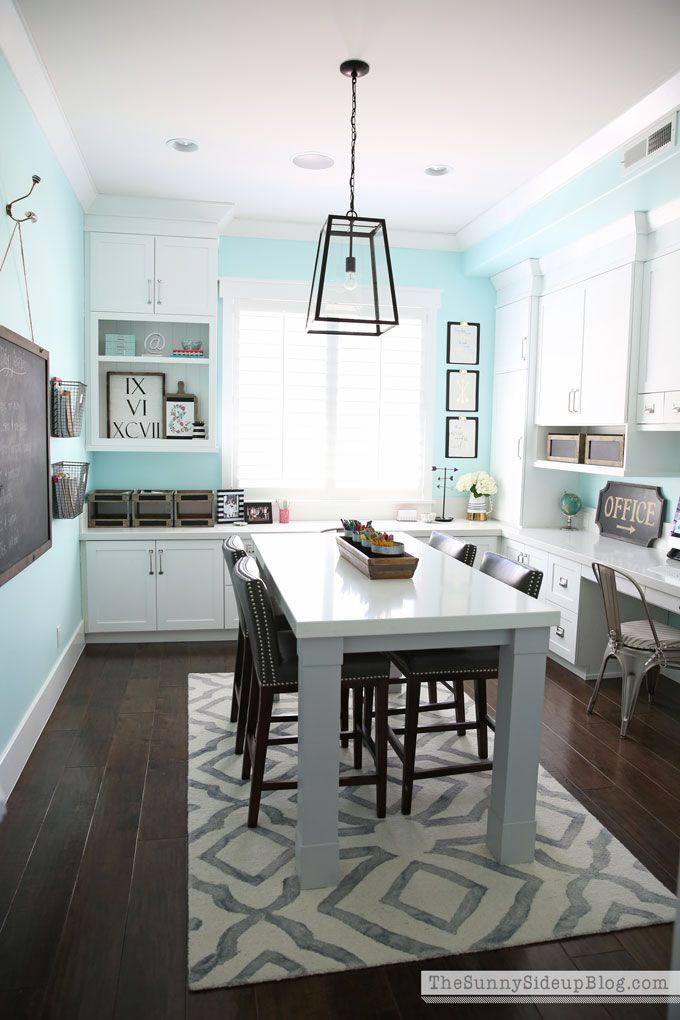
Happy Monday everyone! I’m so excited about this week! It’s busy but lots of fun stuff going on. First up.. Organized HQ starts today! Seriously you guys.. it’s like the Superbowl of organizing! More than 20 organizing pros from across the country are joining to share their knowledge to help you get organized. They will be covering everything from quick meal planning to healthy eating on budget, home management, creating routines, self-care, photo organization, decluttering, eliminating paper clutter, home decorating, budgeting and finances, cleaning methods, and lots more! My session is this Wednesday and is focused on office organization. A favorite topic of mine as you all know. :) I love listening to stuff like this when I’m getting ready in the morning! I bring my laptop in the bathroom and put on make-up and do my hair and learn a few new tips and tricks and it just motivates me throughout the day. You can still get your free ticket for a short time! {HEAD HERE TO SIGN UP!}
Ok.. speaking of office organization!
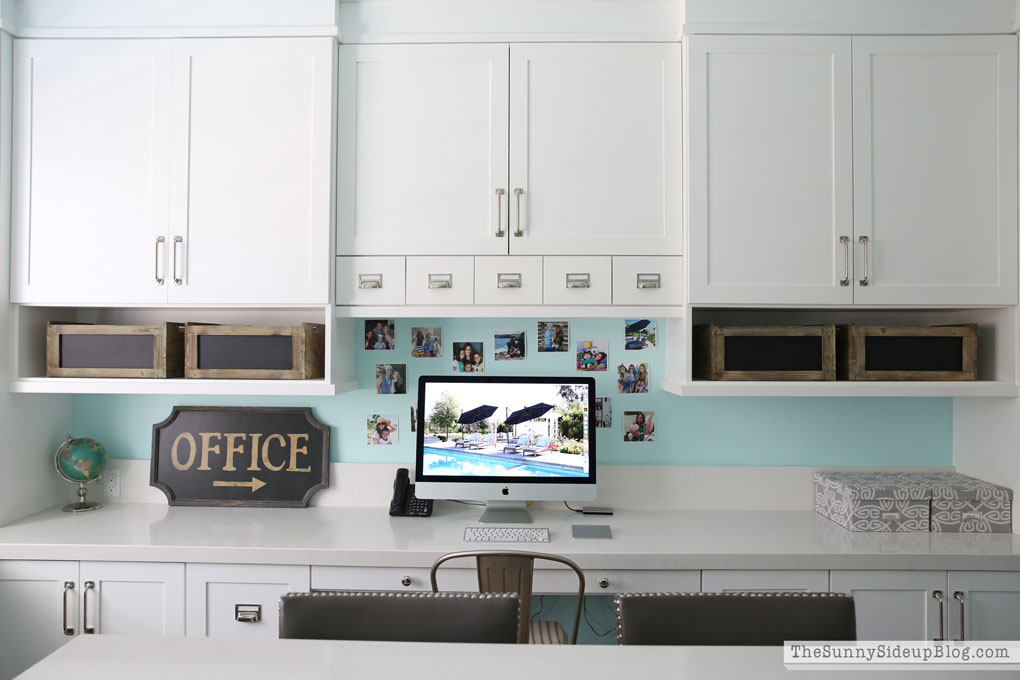
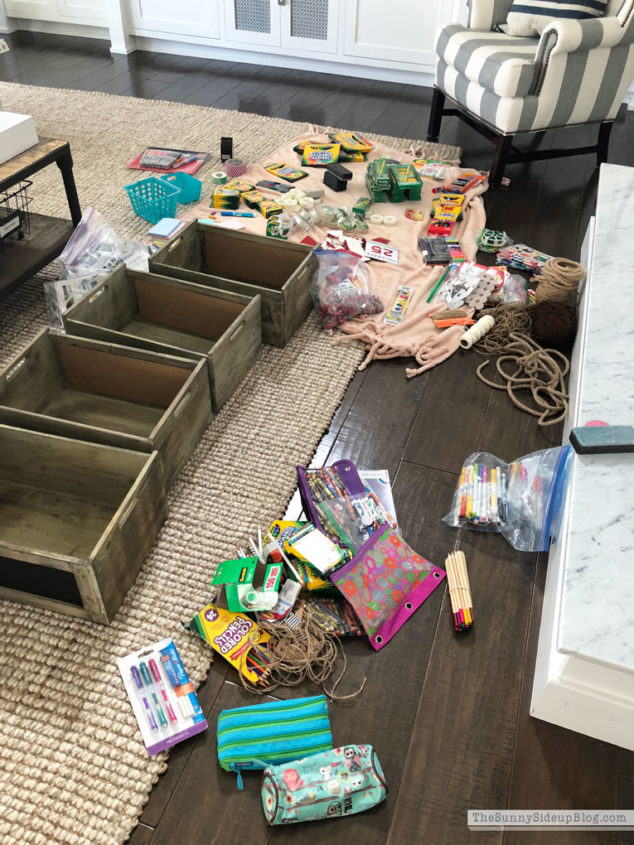
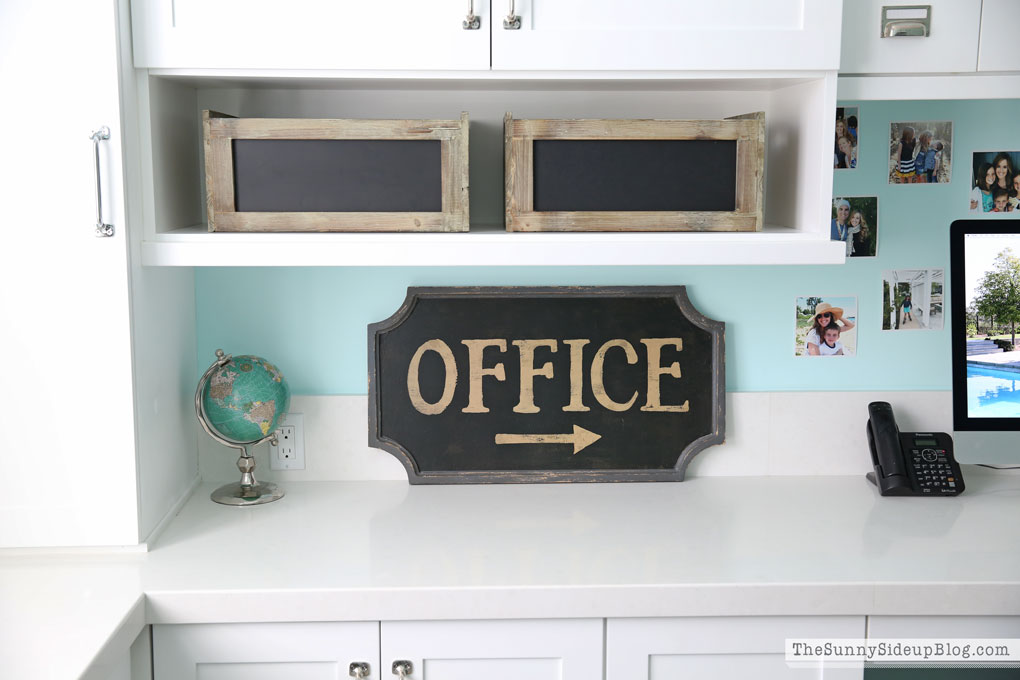
Still wrapping up a few things I wanted to go through over the summer and didn’t quite get finished in this space. See the chalkboard crates in the openings below my cupboards? I’ve loved having them for extra school/office supply storage but they quickly became dumping grounds and needed a serious clean out!
I’m slightly embarrassed about the hoarding situation going on here. With most things I’m so good at purging but when it comes to school supplies, notepads/planners, and throw pillows I’m a lost cause. Ha. :)
I dumped everything out in our family room (where most of my organization takes place!) and got to work categorizing. I just love categorizing. :)
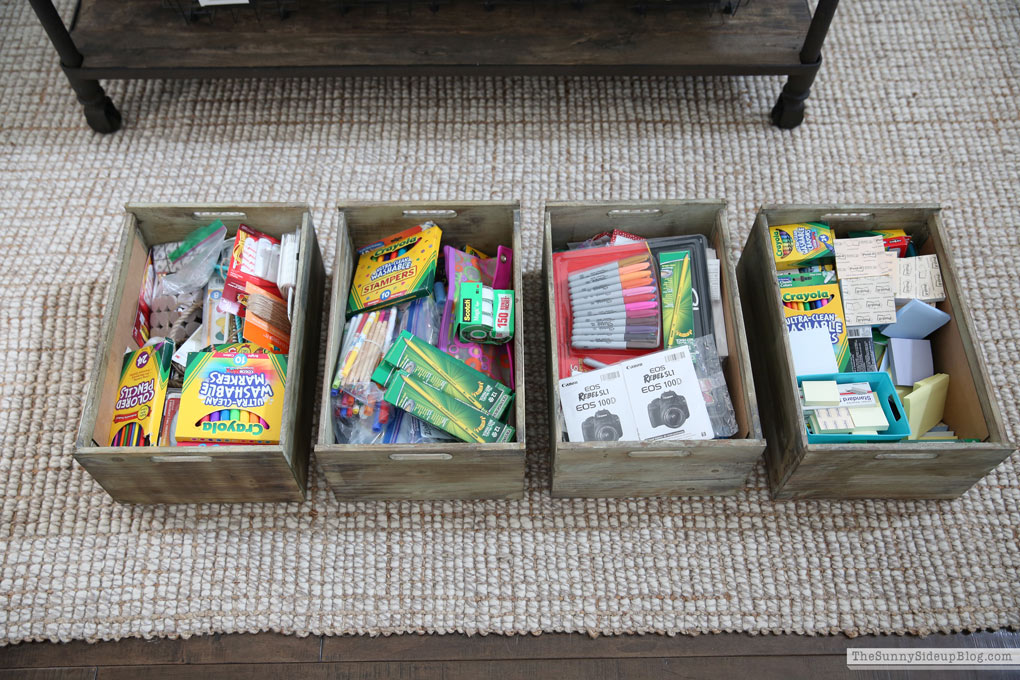
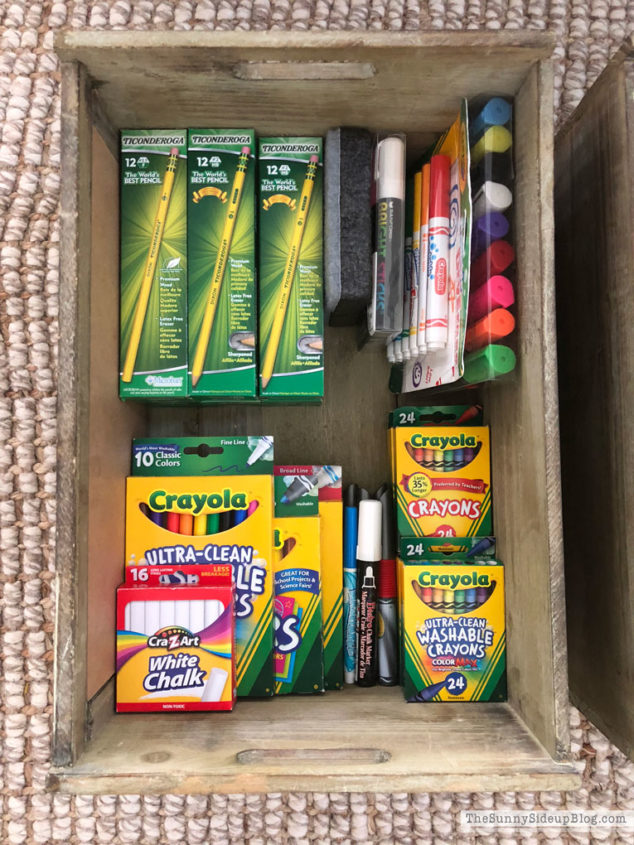
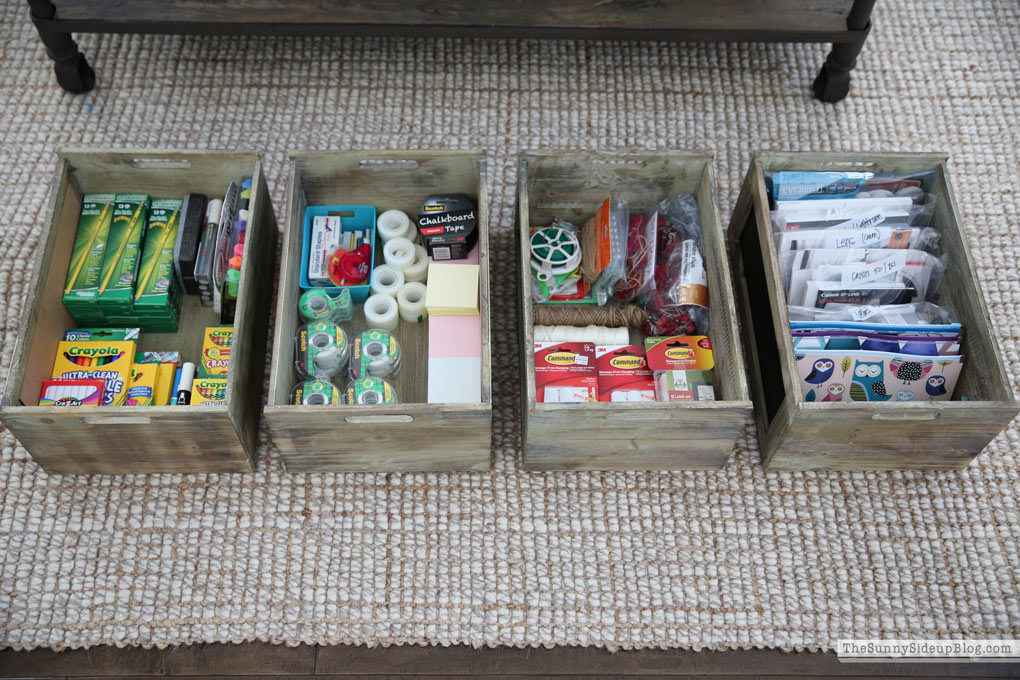
Pretty soon my crates looked like this..
One for markers, crayons, pencils.
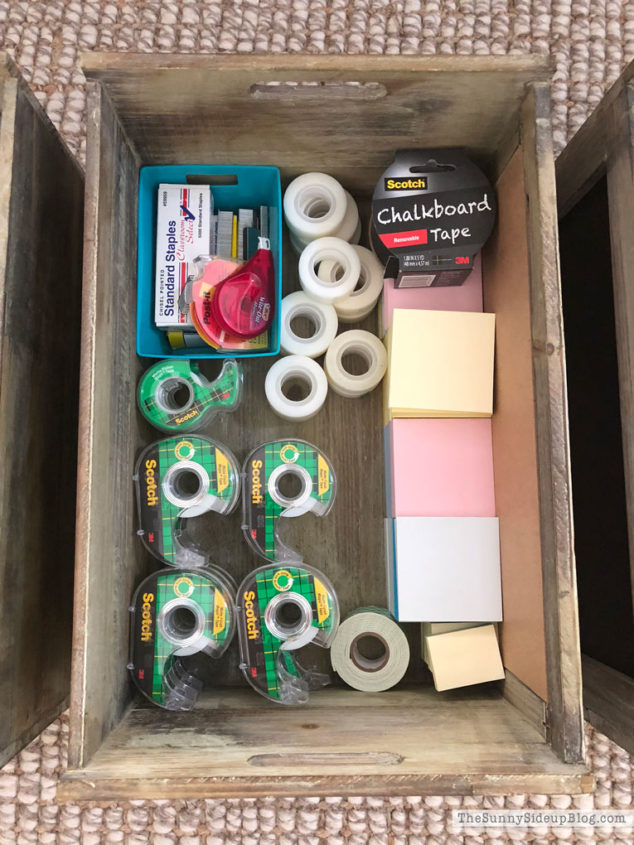
One for tape, staples and sticky notes. This cracked me up btw. We are ALWAYS out of tape at our house and rummaging around looking for some. Um.. guess where all the tape was hiding? I had so many of them in these crates but they were underneath other things so I kept thinking we were out and I needed to buy more! Reason #7,592 why it’s so important to keep things organized. You know exactly what you need and DON’T need to buy. Christmas I’m ready for you this year. ;)
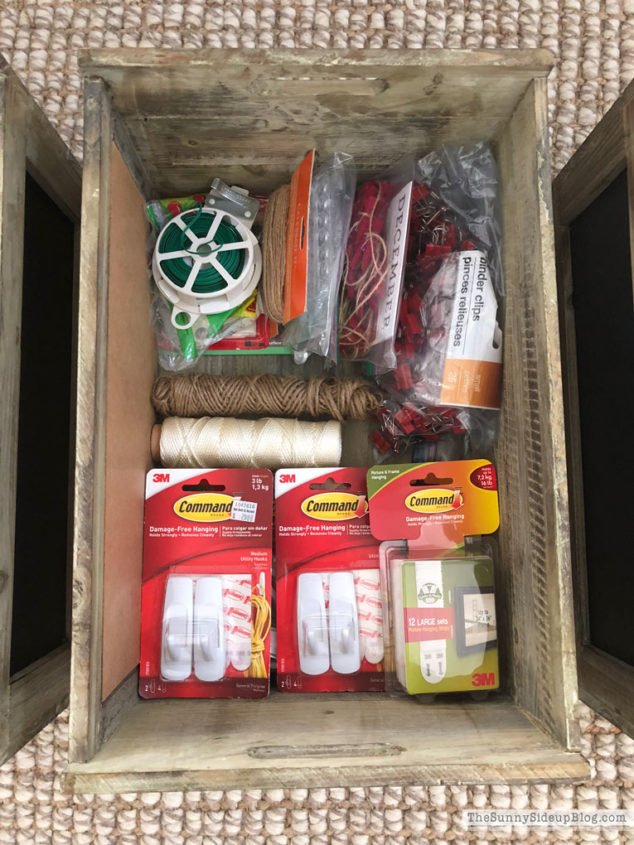
One for miscellaneous craft/home supplies.
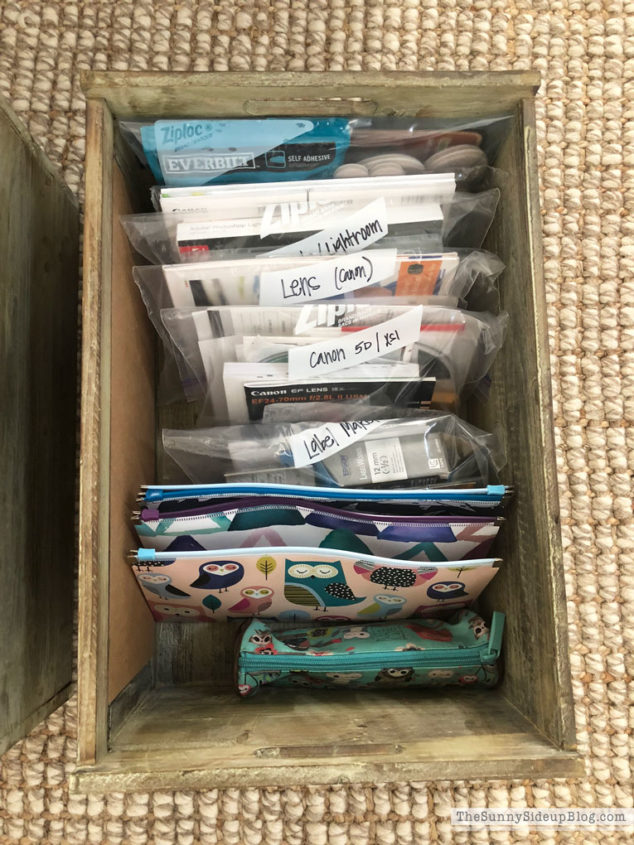
And one for important manuals I refer to and our pencil/crayon cases for when we need supplies on the go.
SO much better. This took no time at all.. I don’t know why I lived with them messy for so long! I feel like this every time I organize something. It makes my life so much easier when things are neat and tidy and I know where they are and what I need. Little projects like this (just 20 minutes a day) add up to an organized home. They really do! These bins will stay this way because once I organize something I work hard to keep it clean.. it’s easy to maintain things when they are organized in a way that makes sense!
I thought about labeling these bins and might at some point, but I know where things are and kind of like the solid black. For now they look the same on the outside but are a happy surprise on the inside when it’s time to grab new supplies. :)
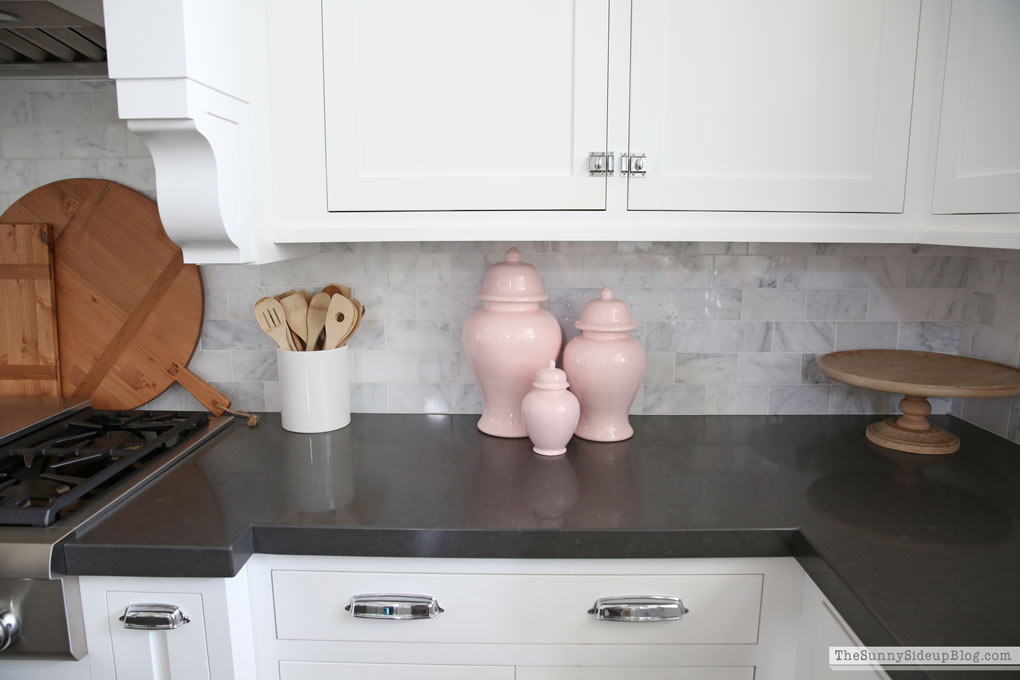
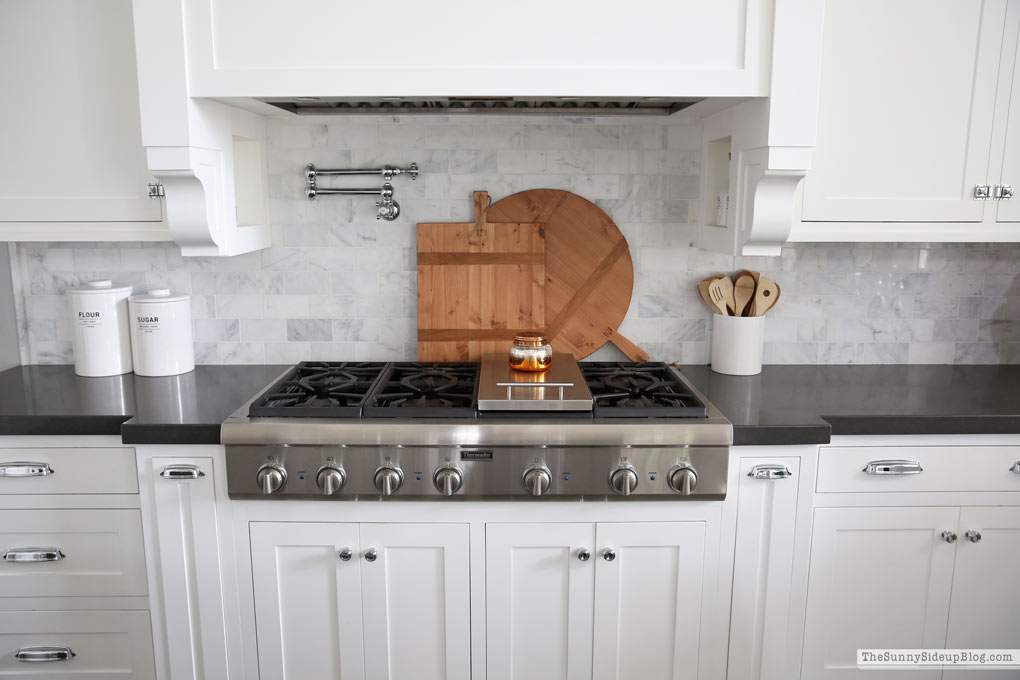
A few other fun new things around the house! Remember my living room makeover with new pillows from Lauren at Lo Home? I had to get some of her fun Cherry Blossom ginger jars! Love them. They come in lots of colors and I’m seriously tempted to pick up some in a darker color for Fall. They look good everywhere!
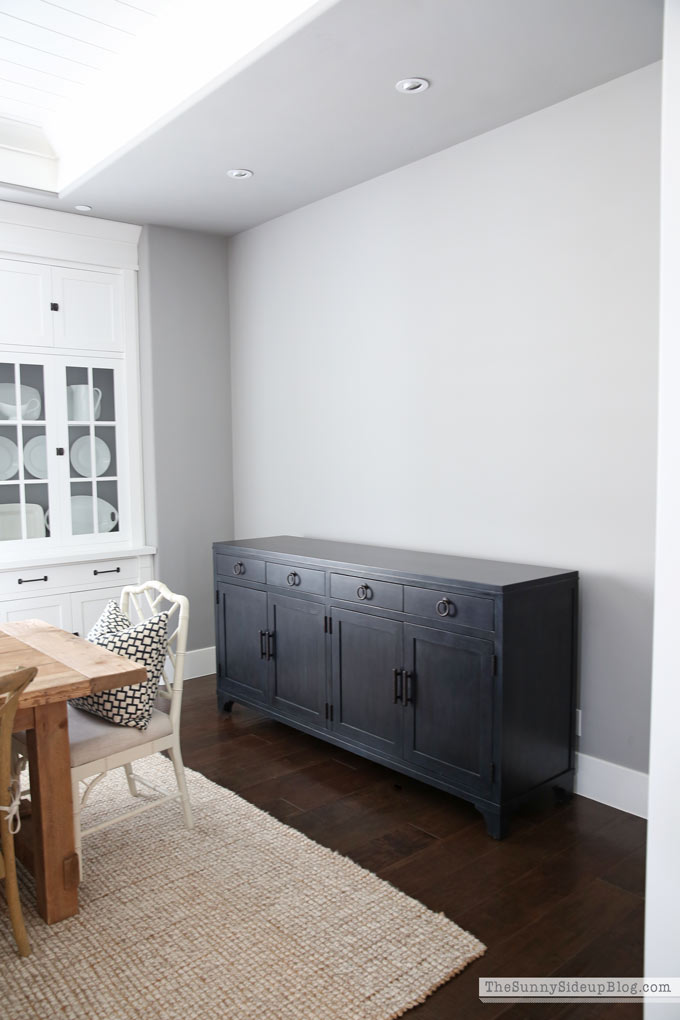
I also got a new console table for our formal dining room! Kenny and I celebrated our 21st wedding anniversary last week and he asked if I wanted jewelry and I asked him if he even knows me at all. Console tables are the way to my heart. :) I’m so excited about this one! When we designed this room I specifically created a cut out on the right side of the room for a large sideboard table that we could use to spread out food on when we entertain. To be honest I’ve had a hard time finding the right piece of furniture for this spot because it’s really long and not very wide. I also knew I wanted a navy table so finding a navy table that was the right length and width and that I loved and that worked well with the other furniture in the room proved to be a challenge! I got this beautiful table here at One Kings Lane but I also found it later at Wayfair too. It cost more than I wanted to spend, but after years of searching for the right piece of furniture and not being able to find anything I jumped on this and told Kenny diamonds would have cost more. ;)
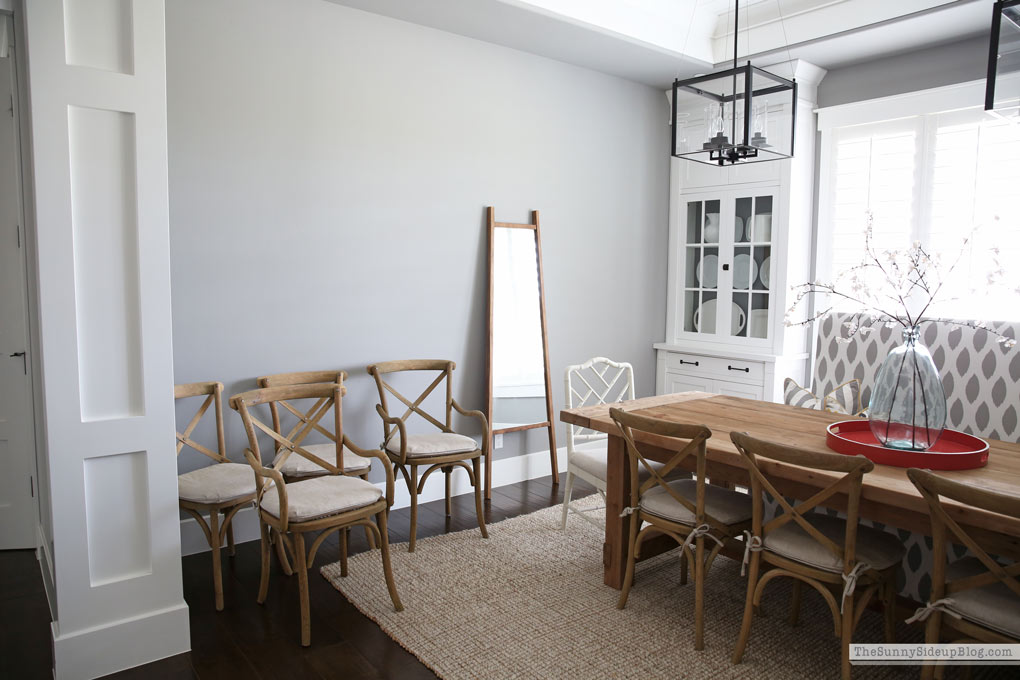
I never really finished decorating our formal dining room. I got a good start with the farmhouse table and chairs and bench, but never finished. Finding this table has completely motivated me to get this space done and I’m so excited for what I have planned! Now I’ve got this whole room all decorated in my mind!
It’s sitting in limbo right now for a few days and then some changes will be happening! (That ladder mirror was from a local store and doesn’t really go there!) Poor Kenny.. maybe diamonds would have been less after all. Ha! I’ll be sharing dining room progress on IG/stories!
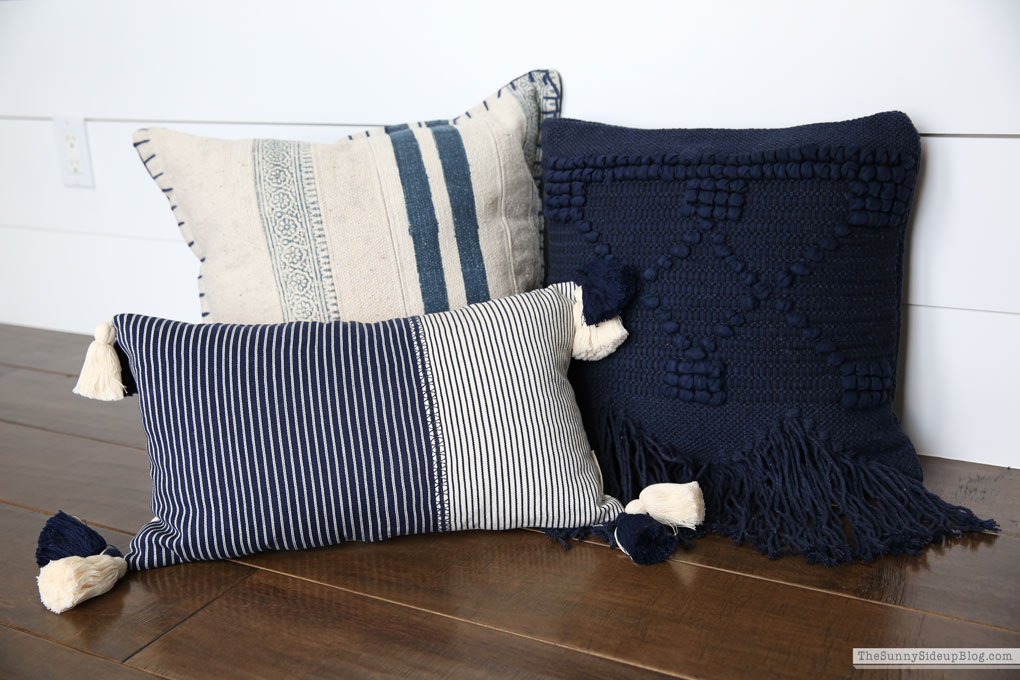
Got these darling new pillows from Lu Lu and Georgia for the theatre room and now I love them so much I want them downstairs! Do you all ever shop there? They have so many fun things for home decor! I’m kind of obsessed with that site lately. These all sold out so quick but they have some in other colors and they have a place where you can get on their waitlist for when they come back! They usually get stuff back in stock that sells out quick.
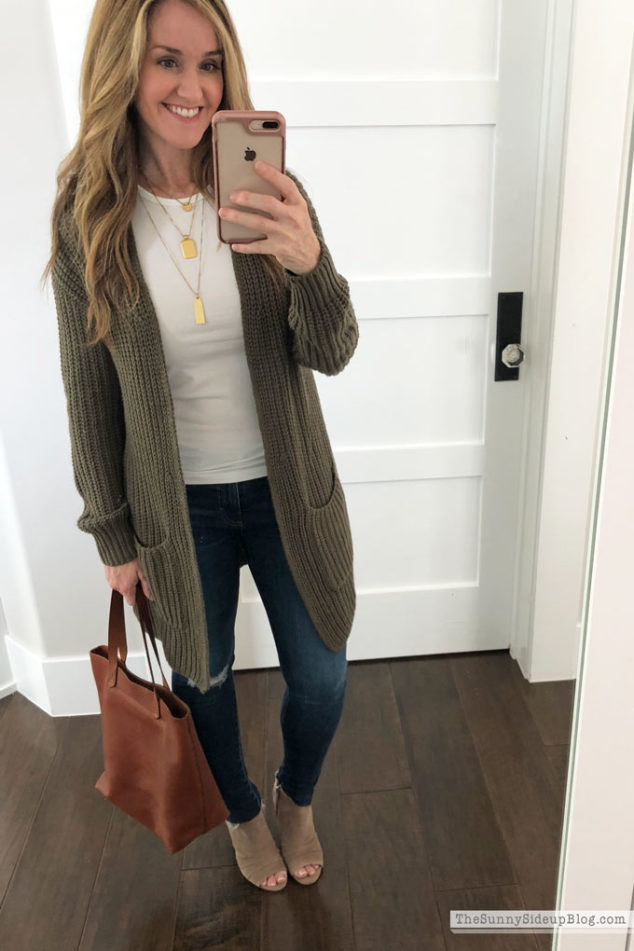
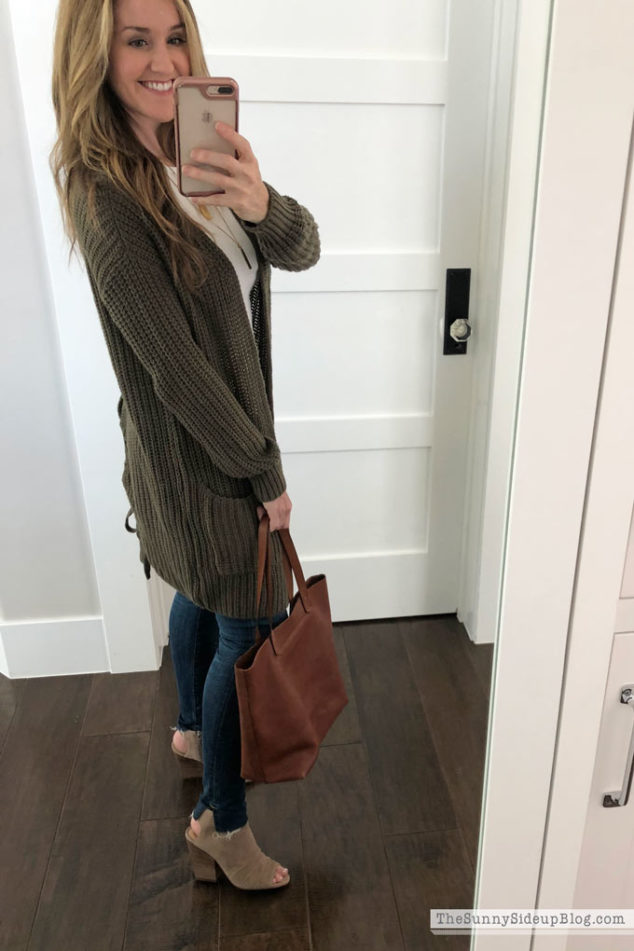
On the fashion side of things.. getting so excited for things to cool off around here so I can dive into Fall clothes. They are my very favorite! We had a cool, cloudy day last week and I got to wear this cute new cardigan I picked up on sale. LOVE how slouchy and comfy it is!
I tried to get a pic of the back and failed miserably but look at it on-line because the back is the cutest part! It runs really big so order down a size (I’m wearing the xxs and you can see how slouchy it still is). My jeans are also 40% off right now!
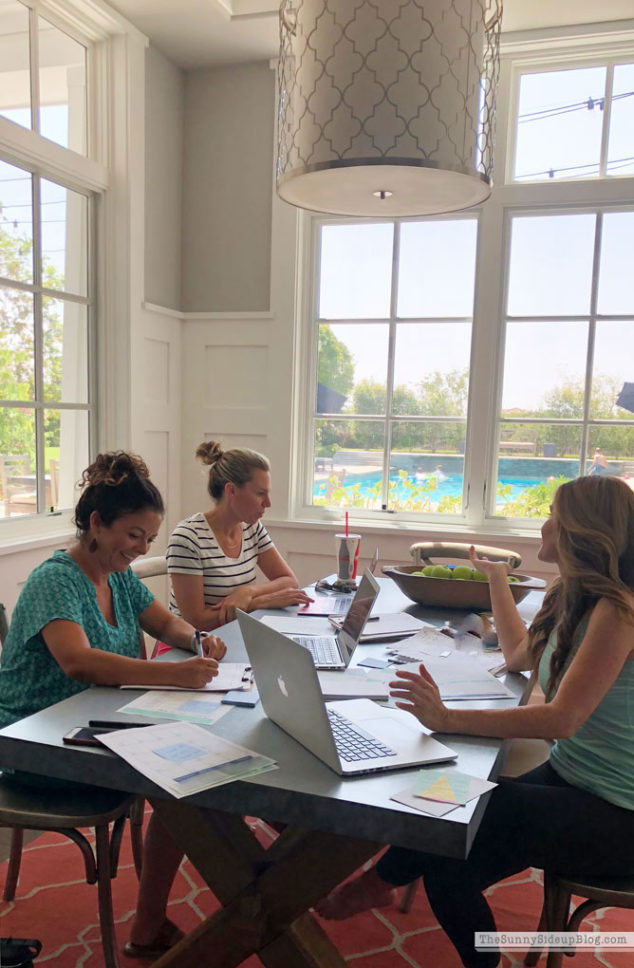
Ok.. signing off for now but you guys! I’m SO excited about my next post! I worked hard all summer long to create something that is going to help us get so organized for the holidays! I even hired a couple of my close friends to help because I wanted this to be so good. I found this pic on my phone.. El took it one afternoon this summer while we were working. Can’t wait to share what I’ve been up to with you all! Coming soon to a blog near you. ;)
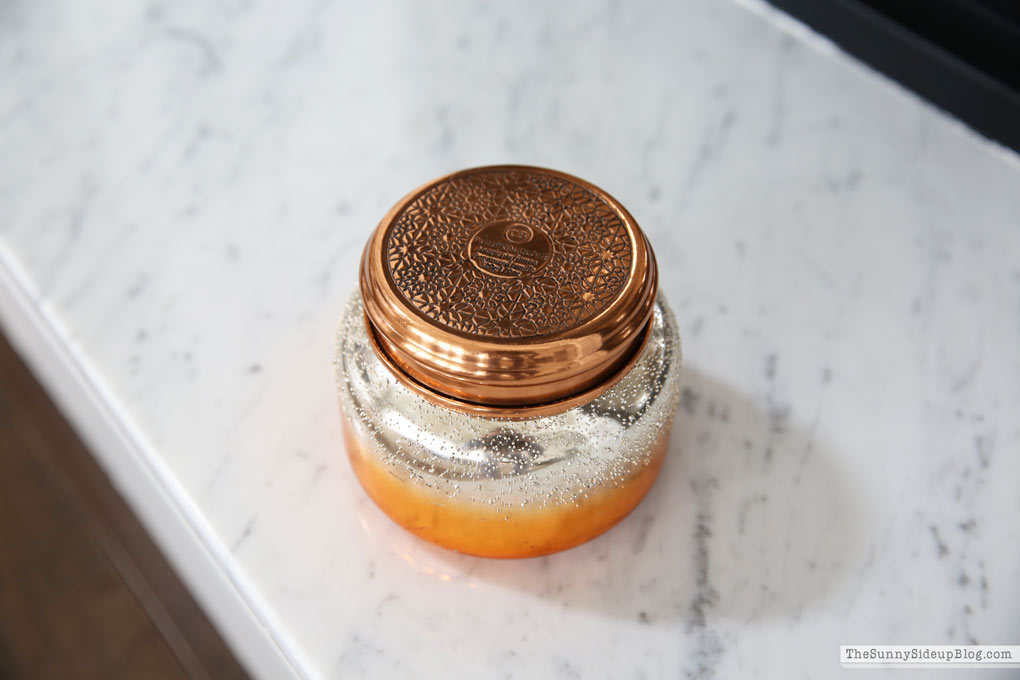
Happy September! So happy to say that! Or type that. Or whatever it is I’m doing. So happy it’s September! :) Our family did a little shopping over the weekend and I picked up the BEST smelling Fall candle. EVER. I can’t say that I discovered it on my own. I went to lunch with friends a few days ago and one of my friends gave it to another friend for her birthday and we passed it around the table smelling it for half of lunch and I said I’m buying that candle immediately.
Then I went out and bought that candle immediately.
It’s “Pumpkin Clove” and you can order it here from Anthropologie and the outside of it is as beautiful as the inside smells and you’re welcome because seriously.. so good you guys! I’ve been burning ours today and the house smells heavenly right now! I couldn’t wait. My kids are back in school and we had a cloudy day. That’s all I needed to be ready for Fall. I’m so excited to decorate! I was going to start today but decided I wanted to deep clean and organize a few more things and take down some summer stuff first so I got started on that. But by this weekend I will be busting out my pumpkins!
I was looking back at past posts to remember what I did last year and thought I’d share a few pictures of how I decorated and some tips that always help me when I’m thinking Fall decor.
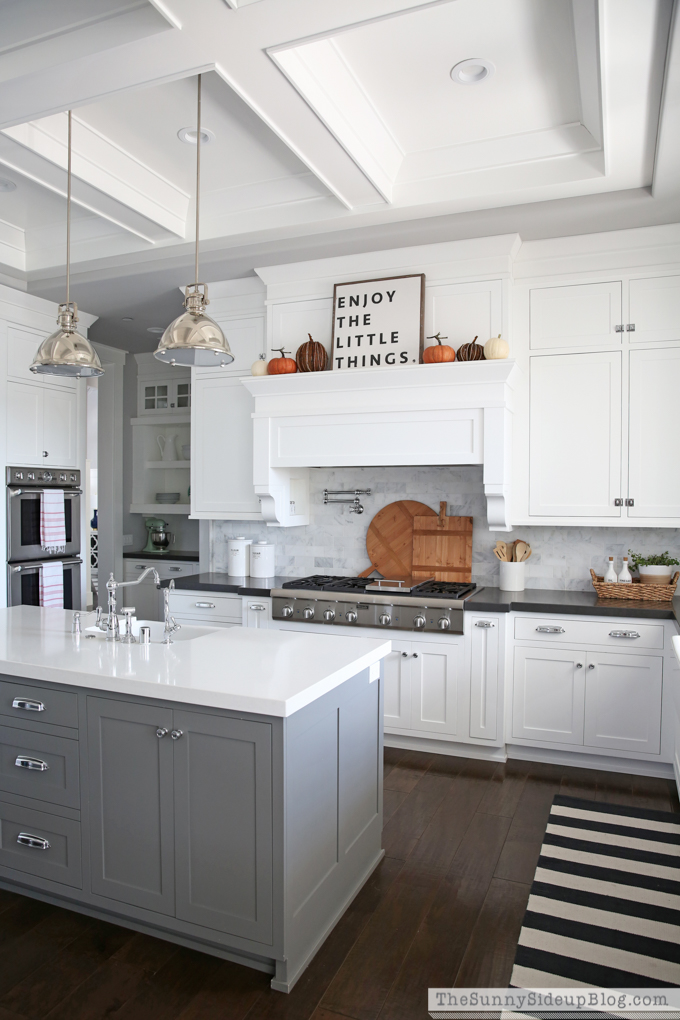
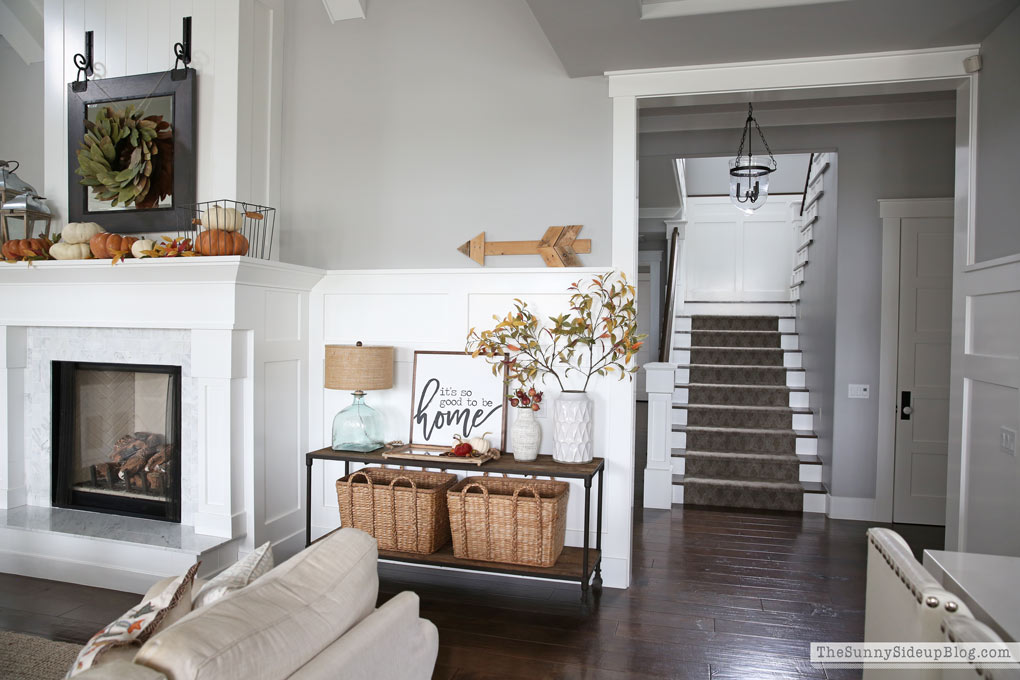
I tend to stick with traditional Fall colors and neutrals. Which of course you don’t have to and it’s fun to experiment with different looks! But I like WARM colors for Fall. Feels cozy to me. :)
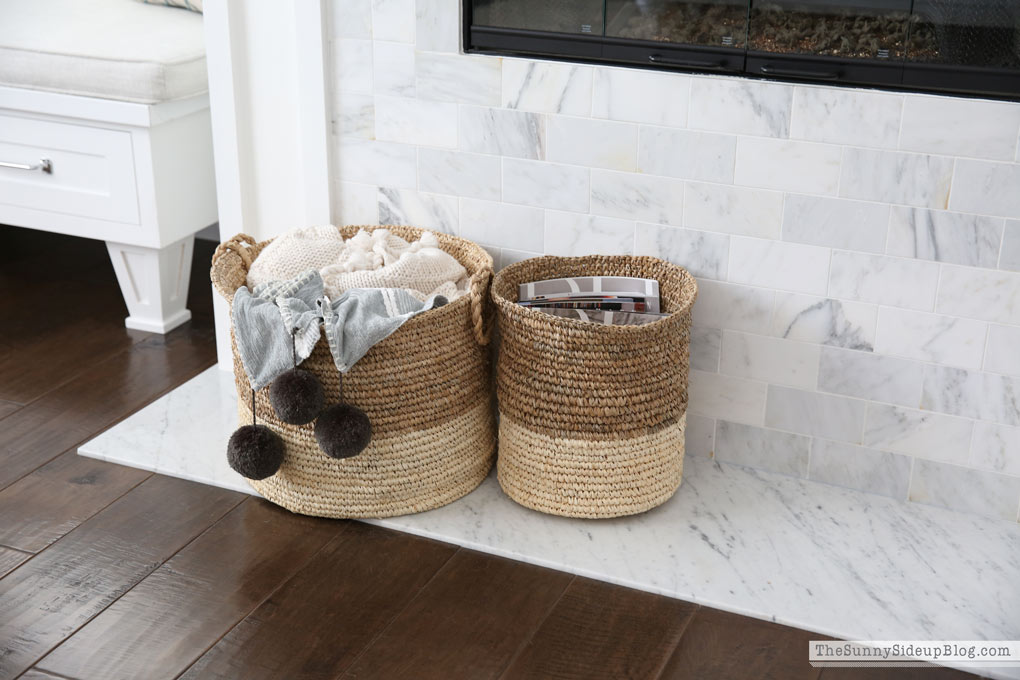
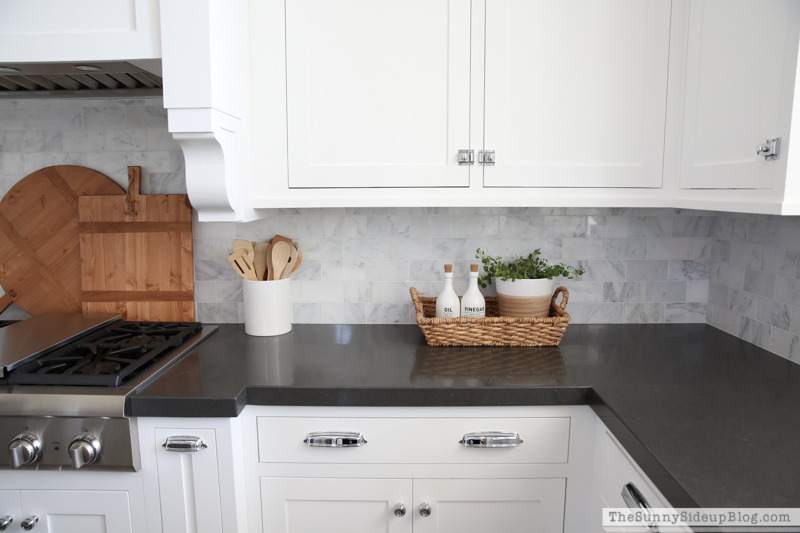
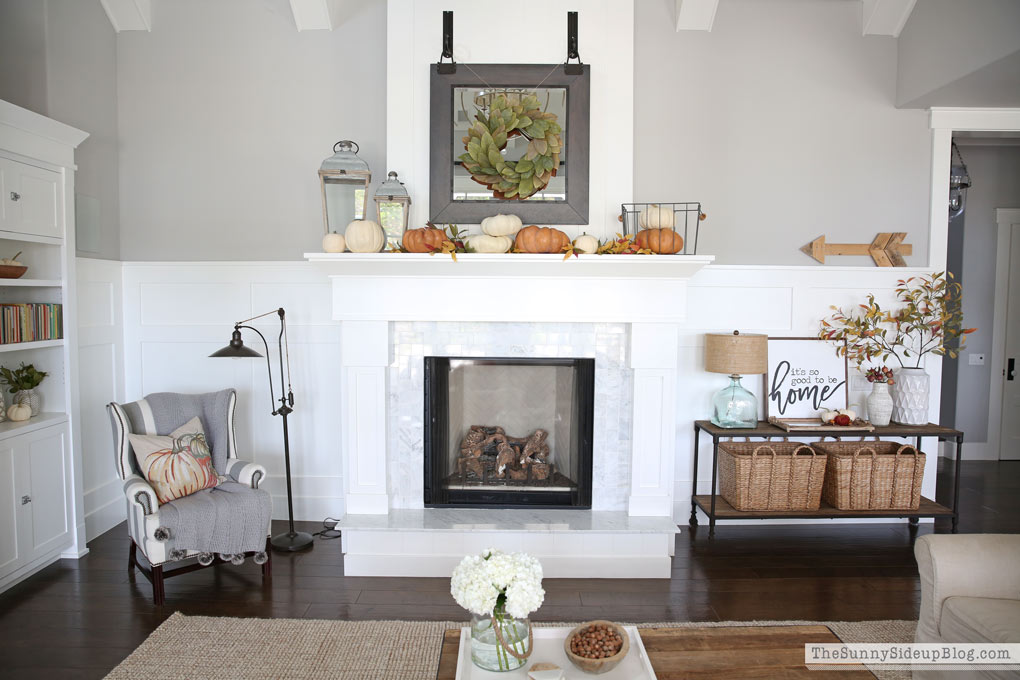
Tip #1 – Bring on the baskets! Baskets are one of my favorite things to use when I decorate for Fall. Really when I decorate for any season but they feel especially perfect for this time of year because they bring so much texture into a space. Set one by your couch to hold throws.
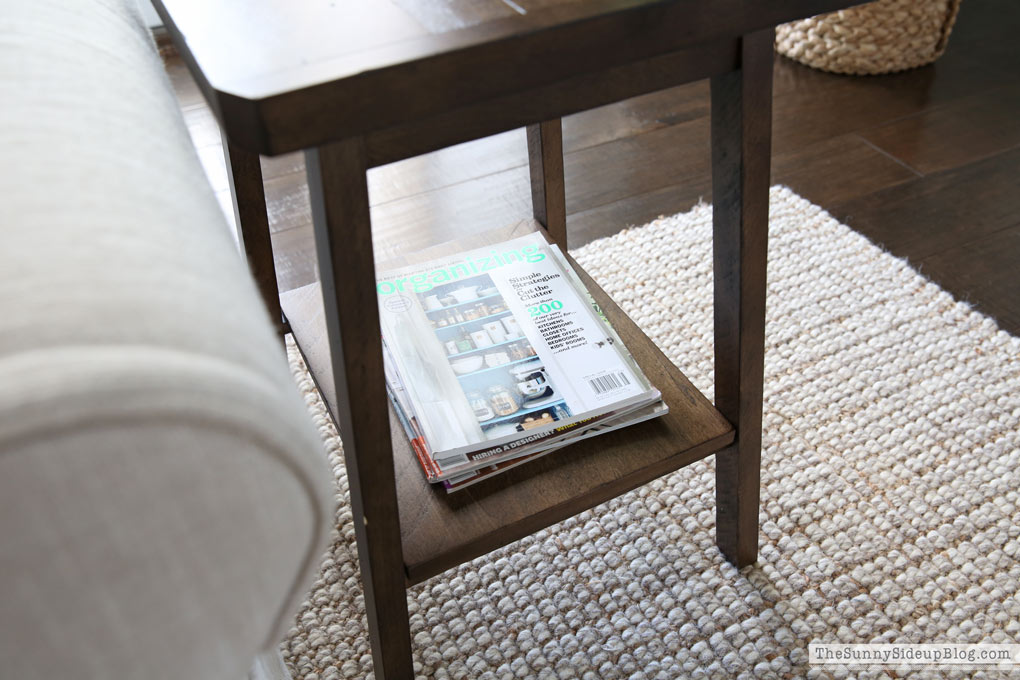
Put one near the fireplace to hold magazines or books.
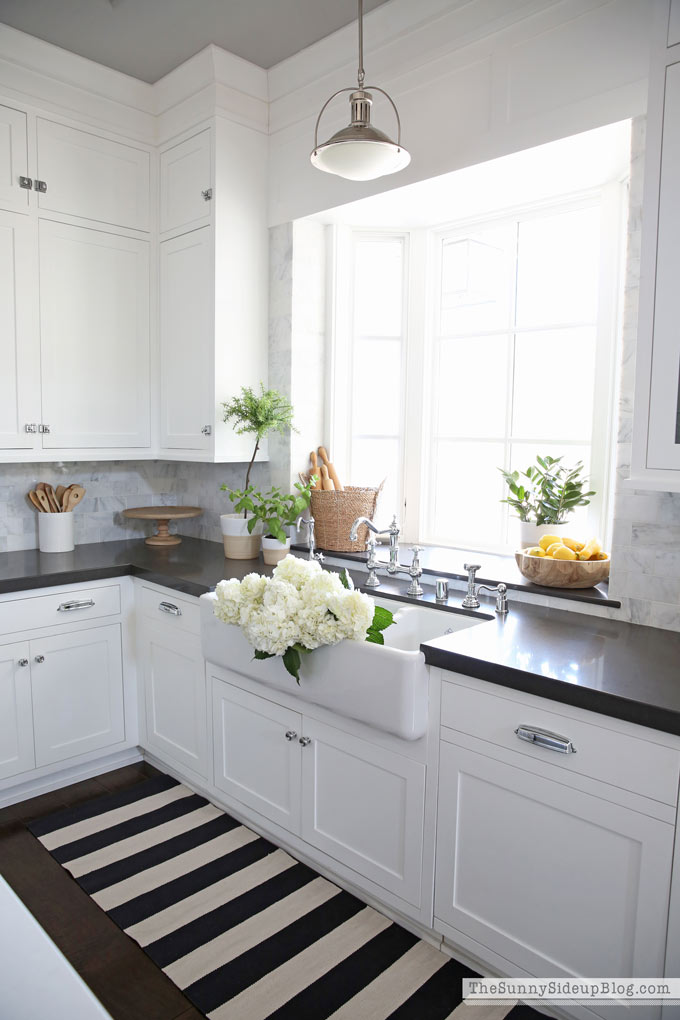
Place one on the kitchen counter to hold a plant. They look great in every space! I’ll link some of my favorite baskets below but if you don’t want to buy anything new try rotating the baskets you have and using them in new places.
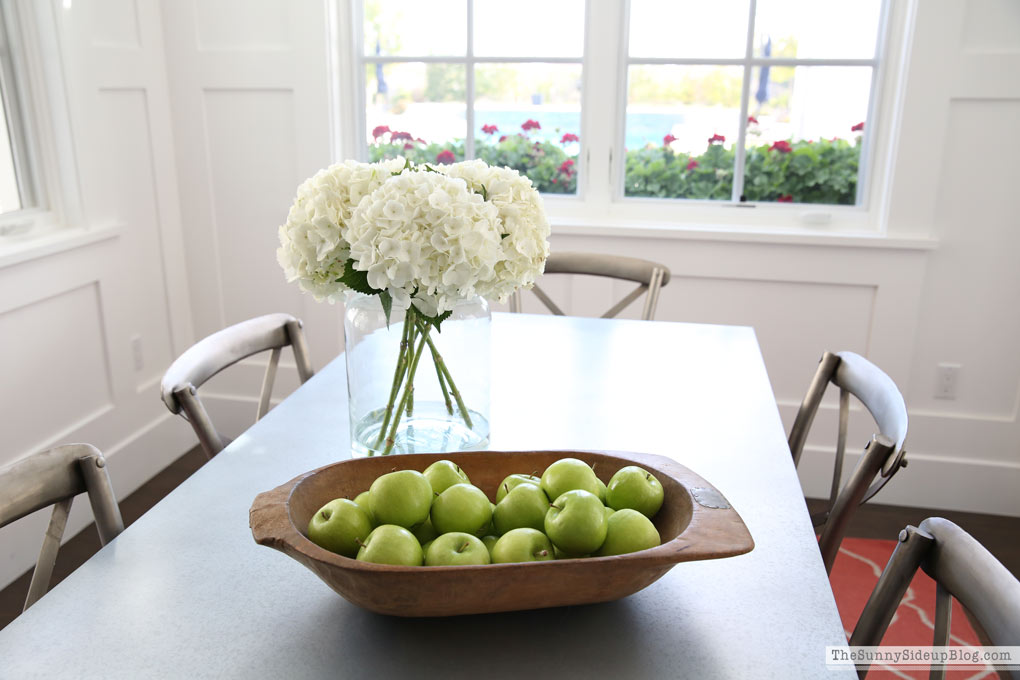
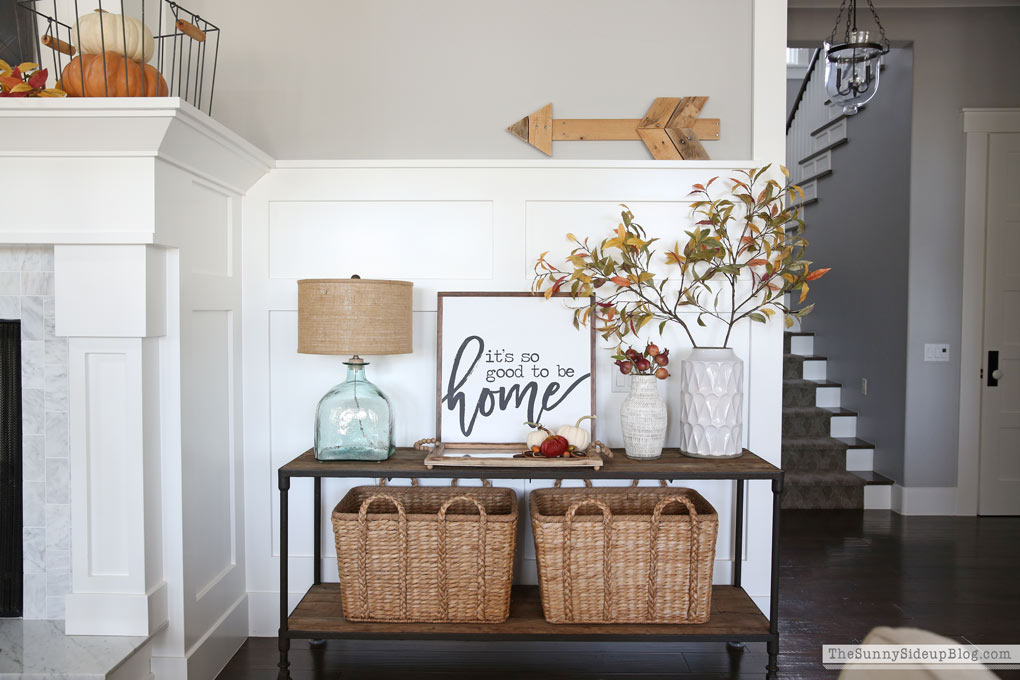
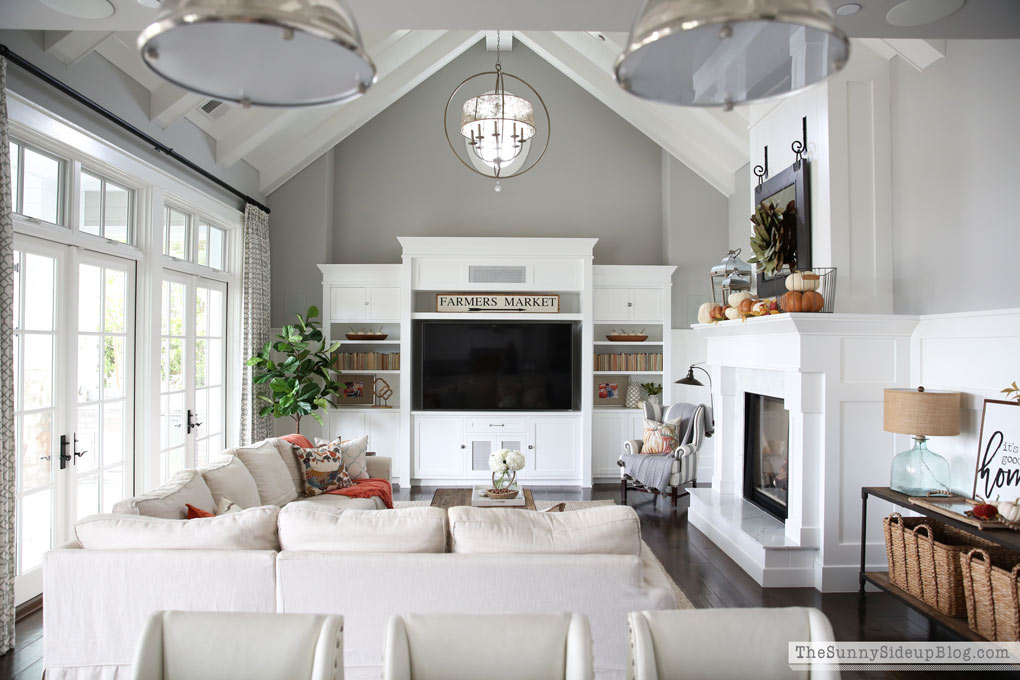
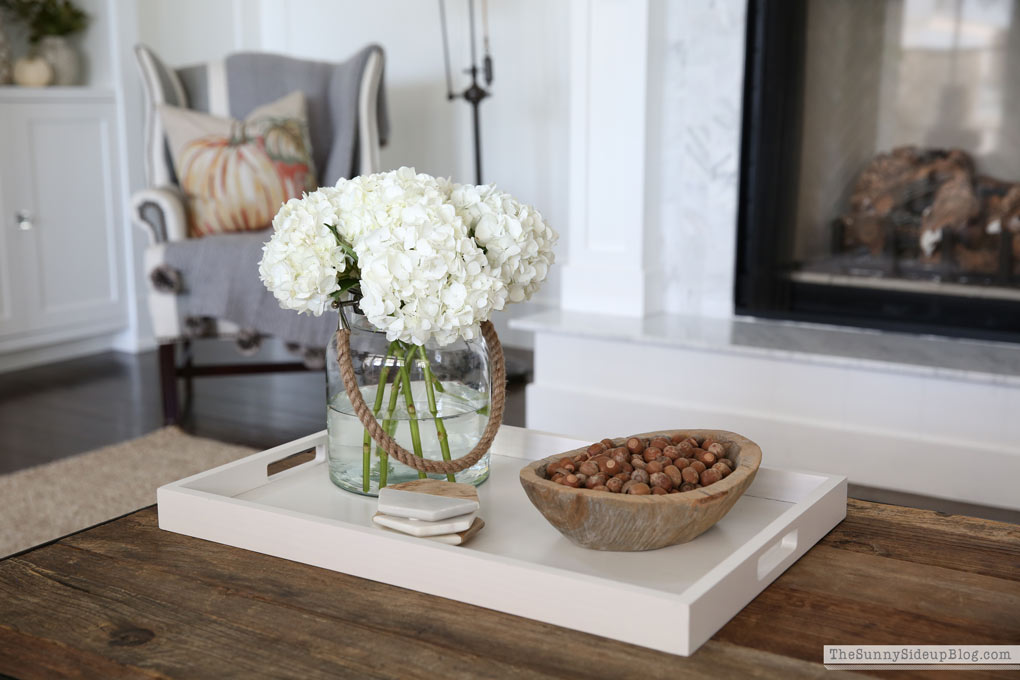
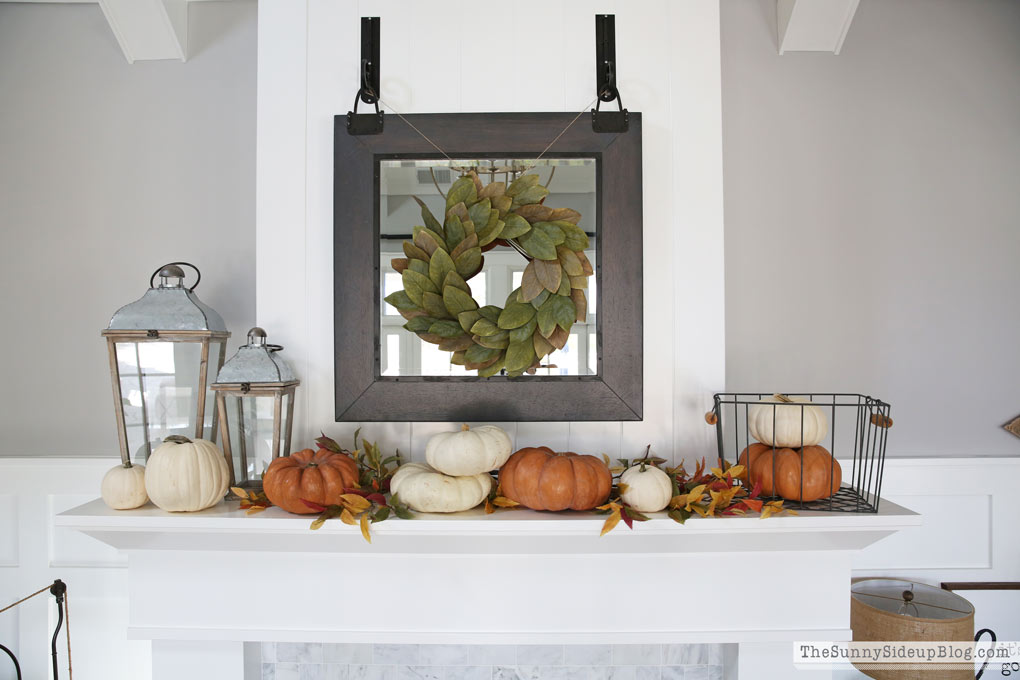
Tip 2 – Bring the outdoors in! There’s so much beautiful faux Fall decor out there to buy, but don’t forget to bring in some things from outside! For a lot of you that’s a piece of cake with all of the beautiful leaves changing outside of your windows. We have to be a little more creative in my neck of the woods. :) Some fresh flowers and real acorns from my parent’s yard do the trick for me every year.
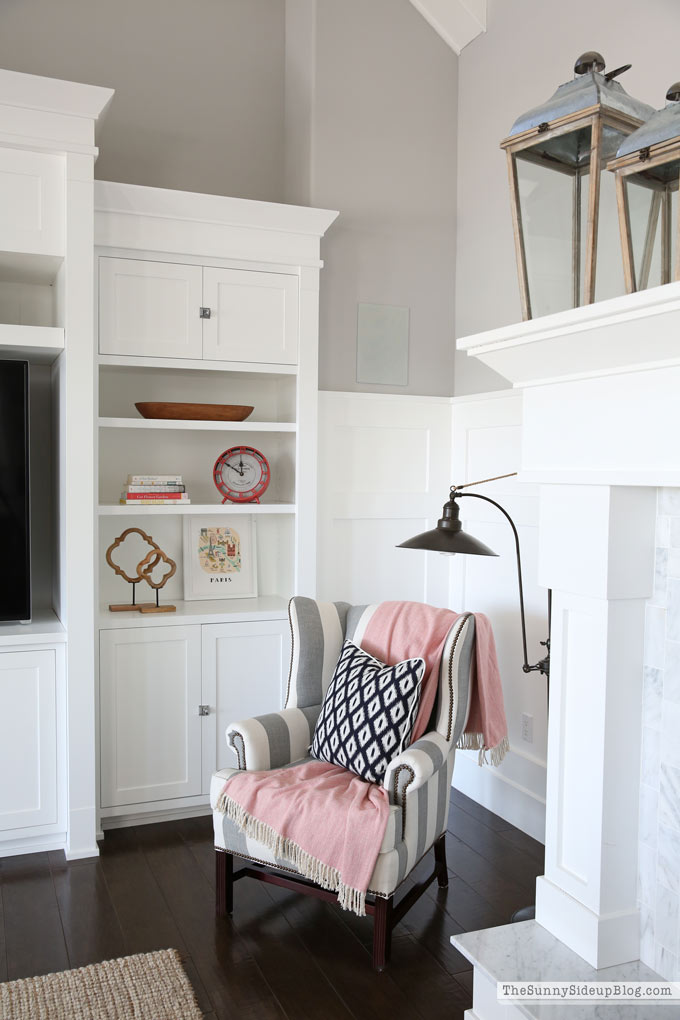
Tip 3 – Pull out ALL the throws! My favorite part of decorating for Fall is bringing out all of my cozy throws! Experiment with colors and textures. Layer throws with poms, fringe, tassels.. everything goes! You can’t have too many throws in the Fall. In my humble opinion that is. :)
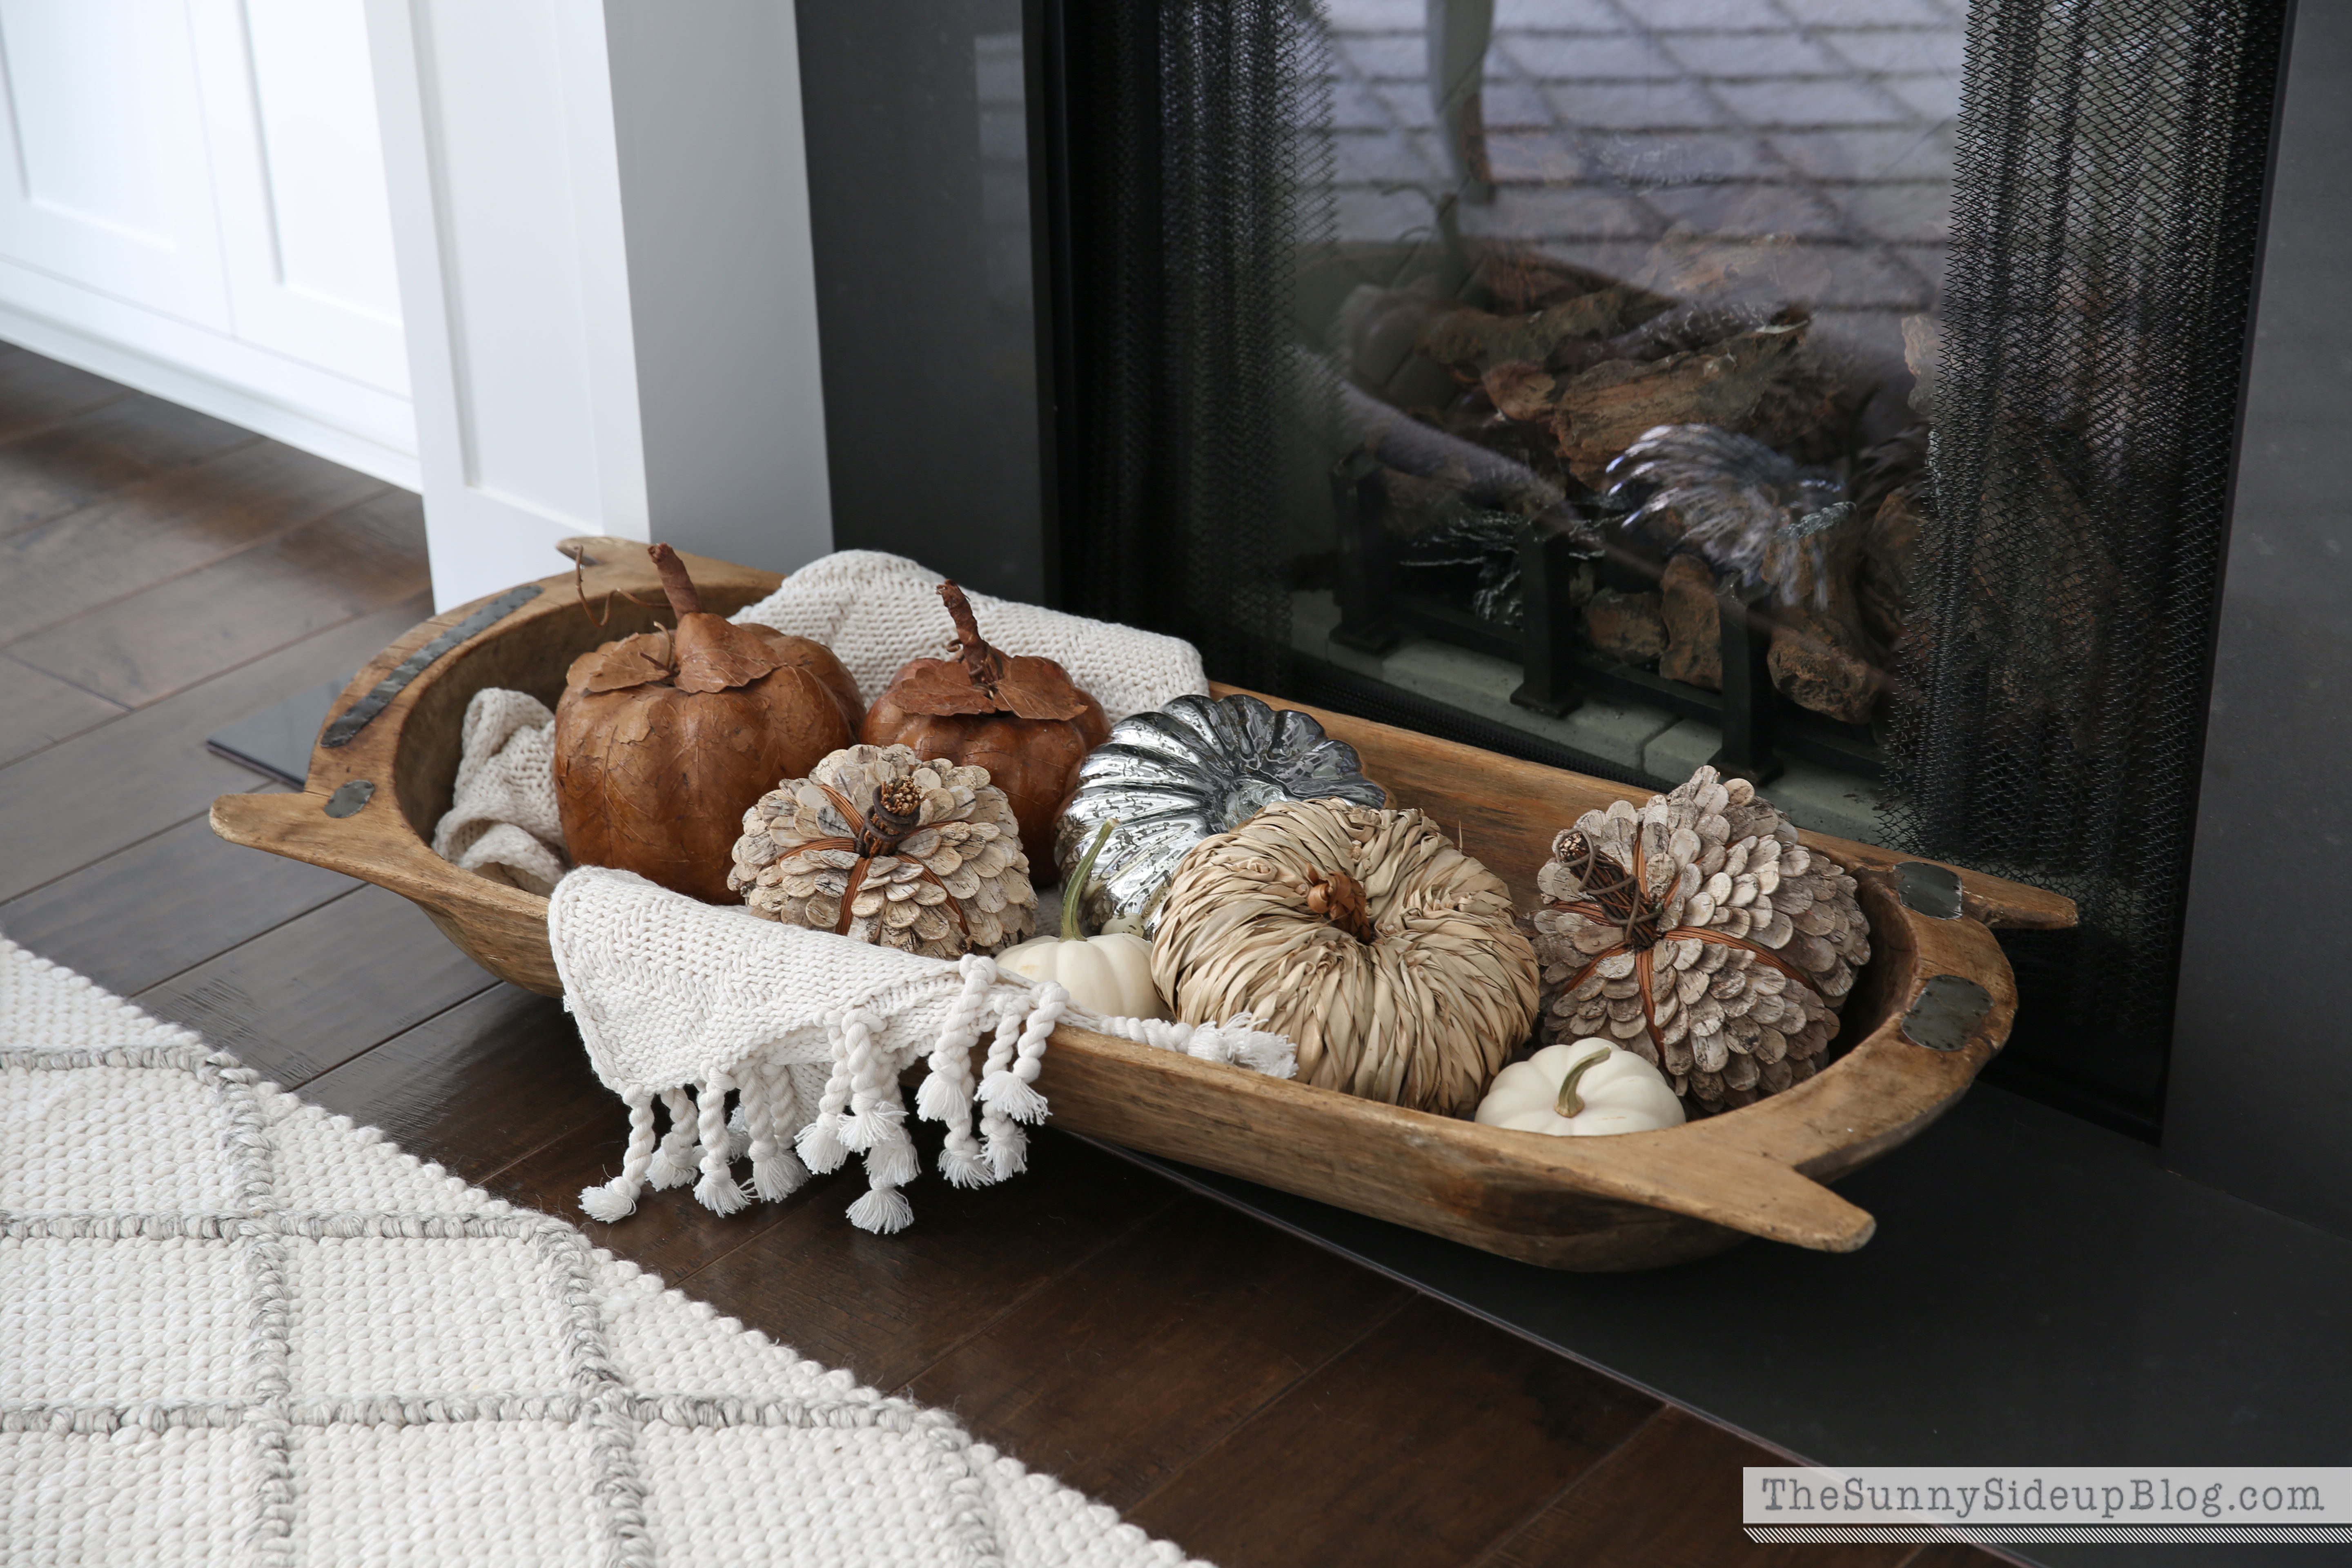
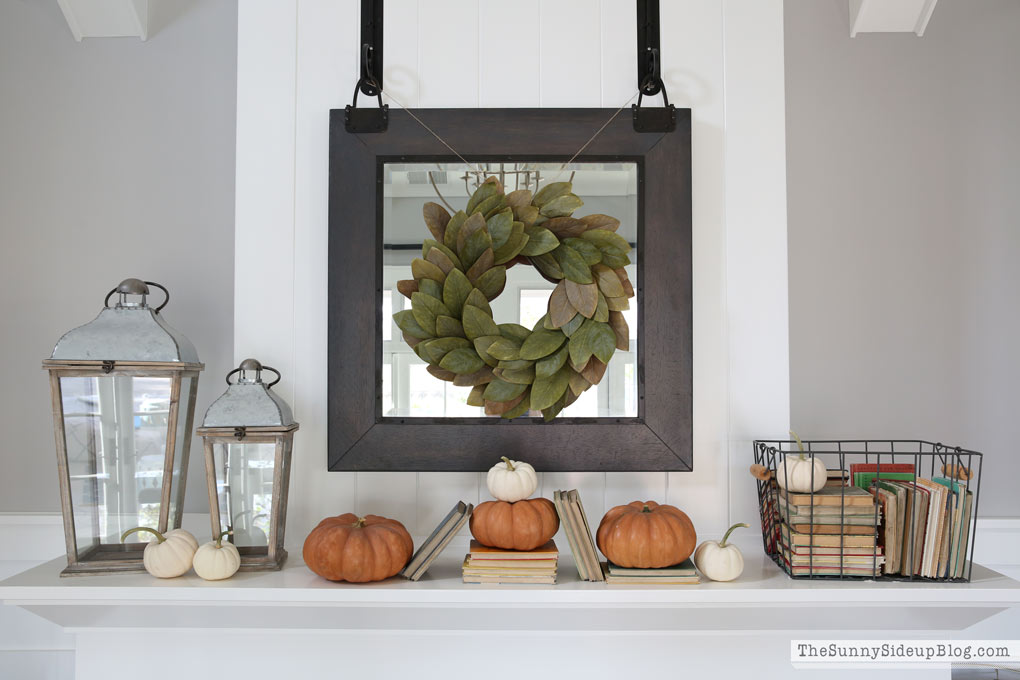
Tip 4 – Layer and Stack! I mentioned layering your throws which will add a lot of texture and visual interest. Also play around with stacking things. I love stacking pumpkins on top of each other!
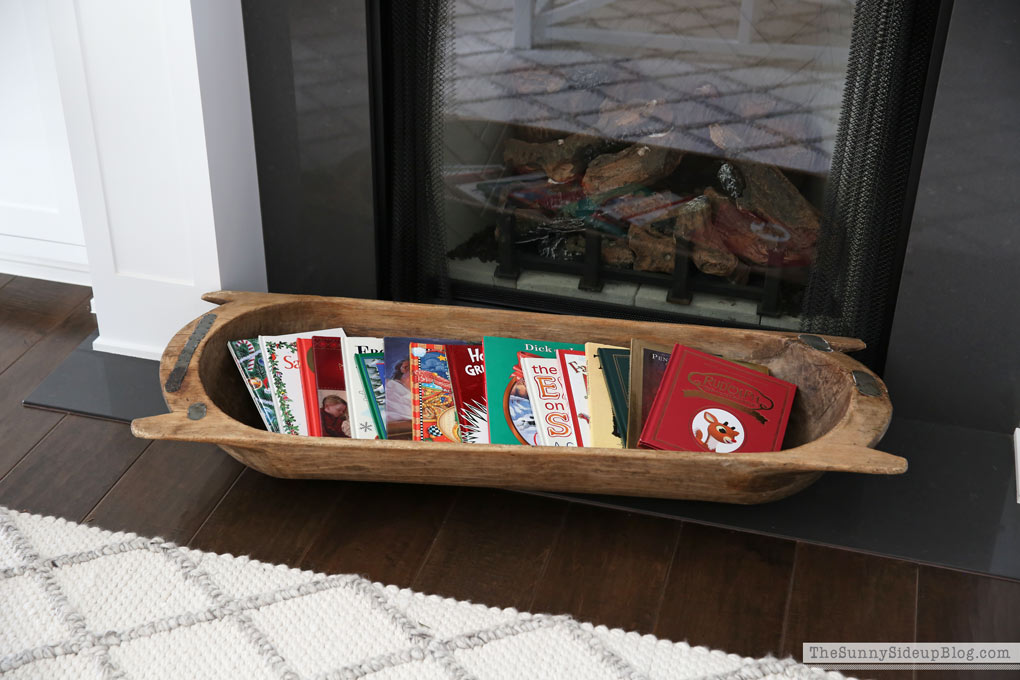
This is my same mantel the year before. Books are another fun item to decorate with in the Fall and are also perfect for stacking! I’m always sad to take my Fall mantel decor down every year. The pumpkins just make me too happy. :)
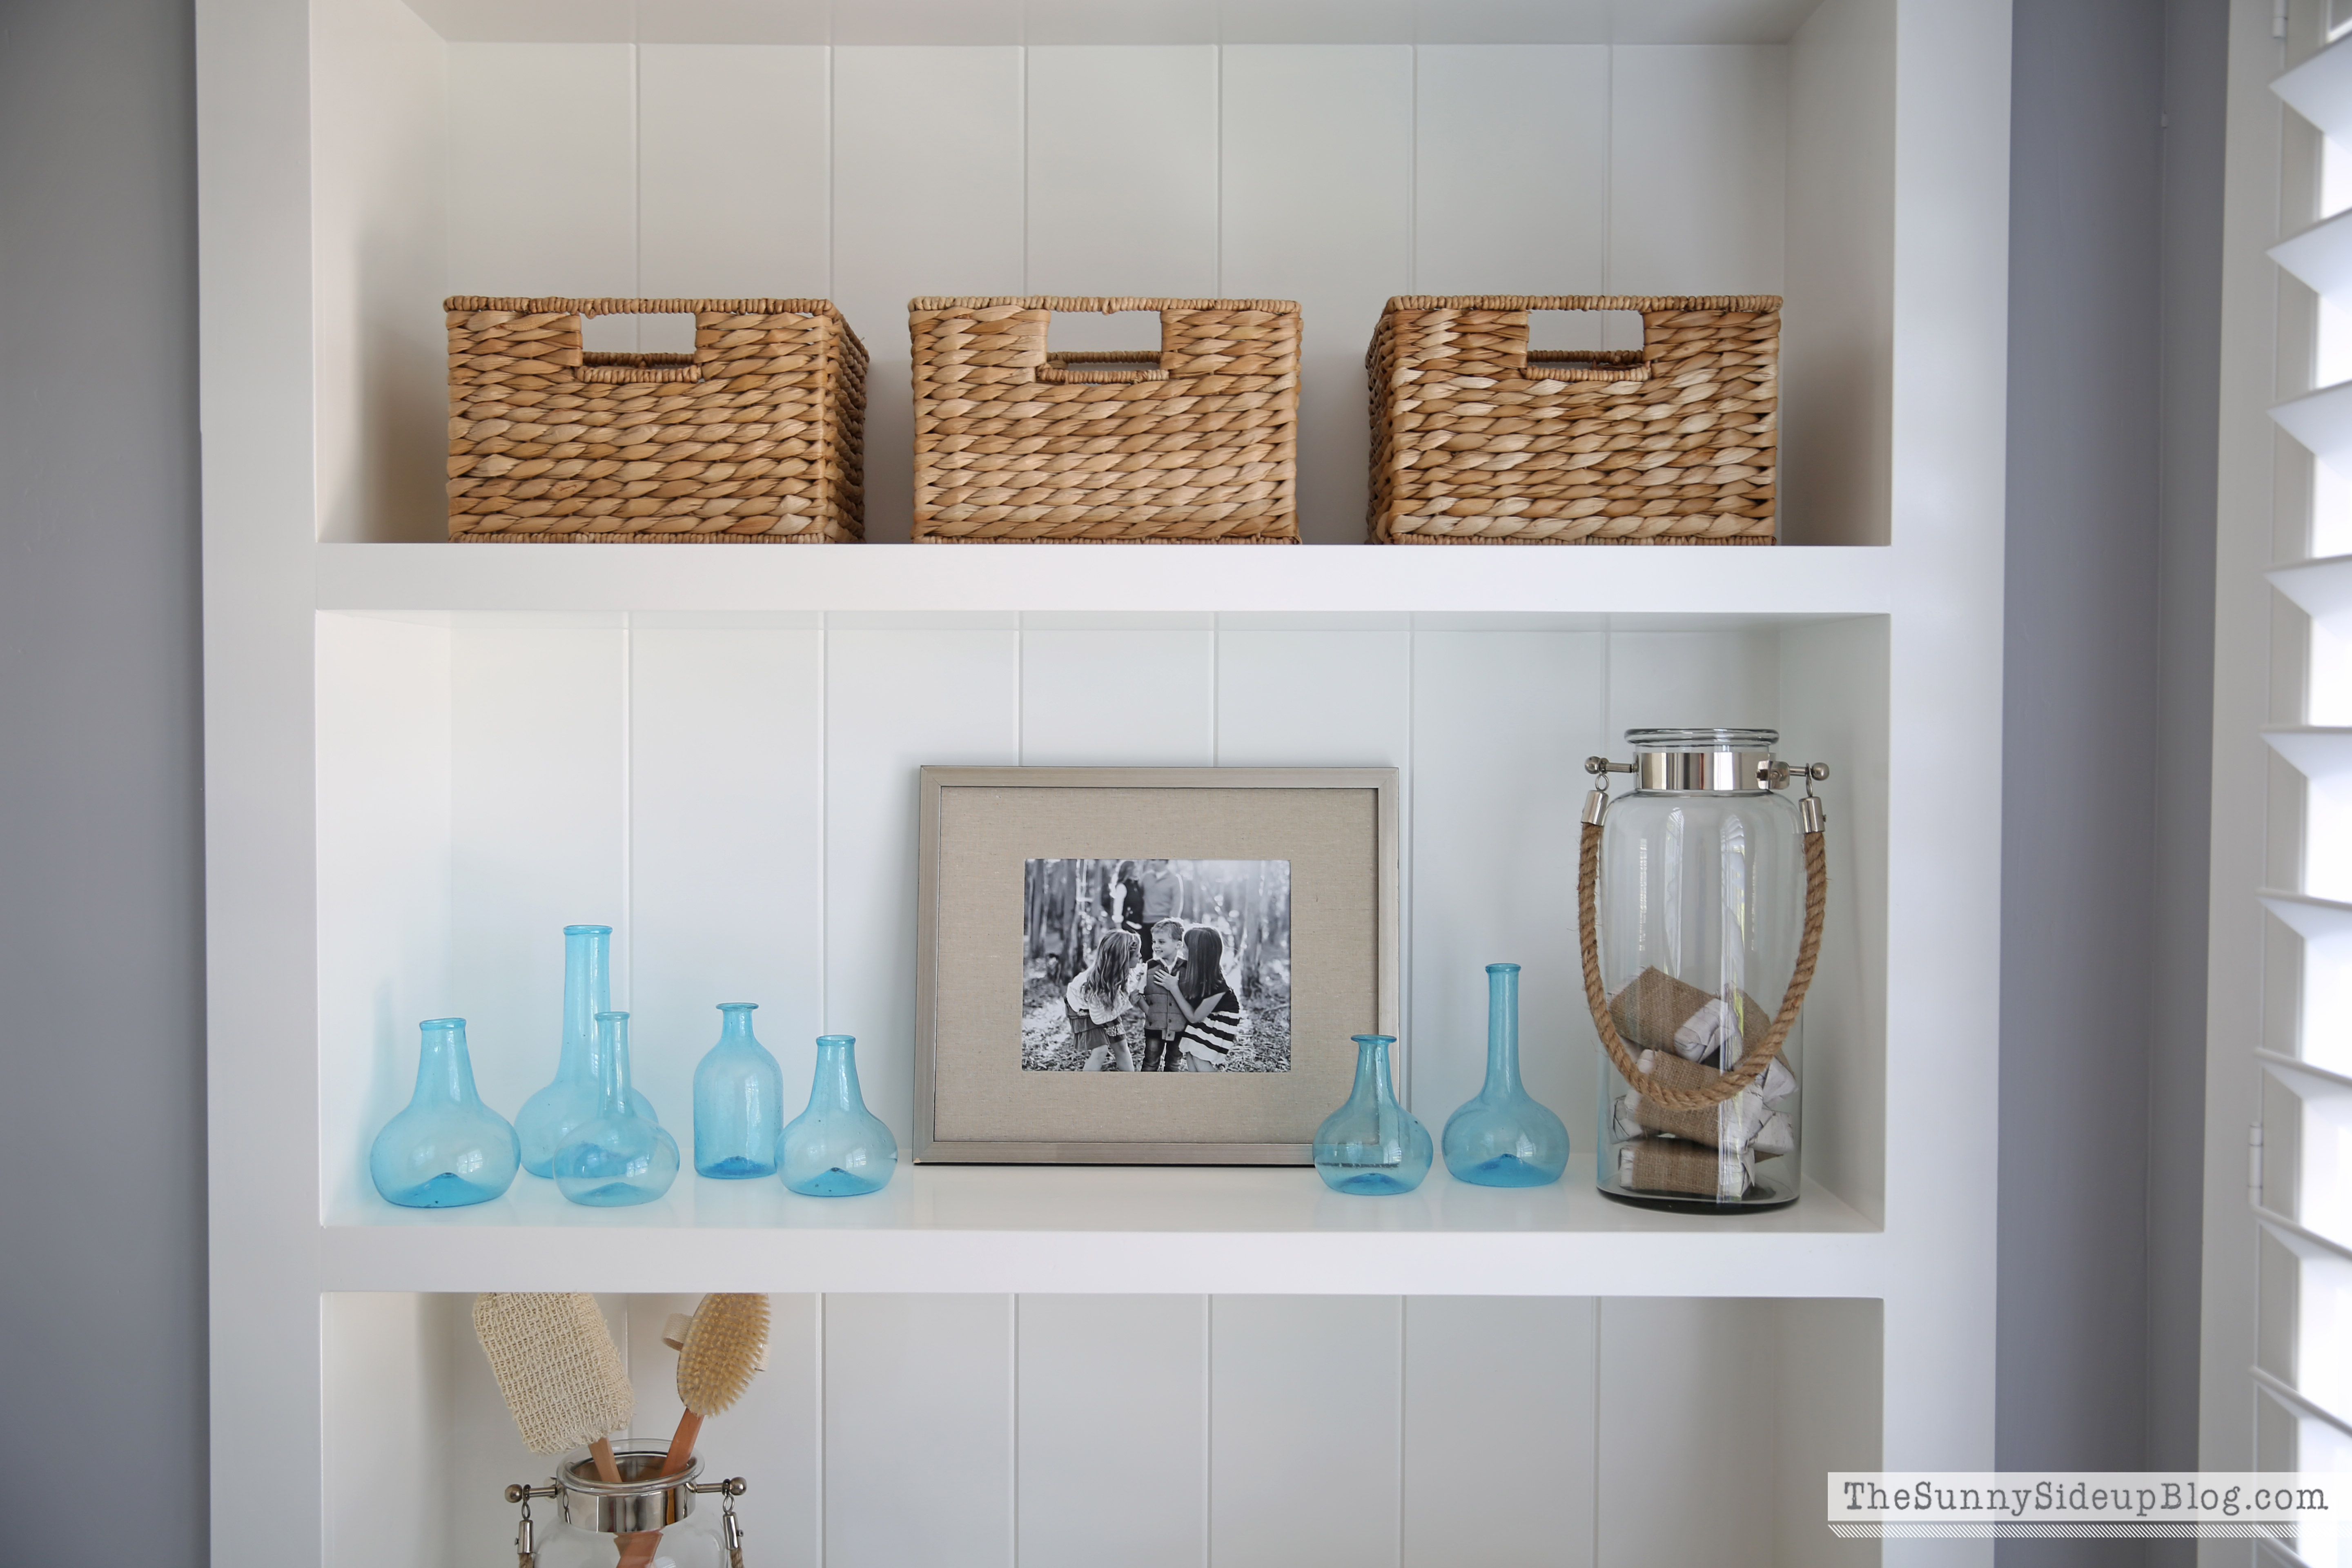
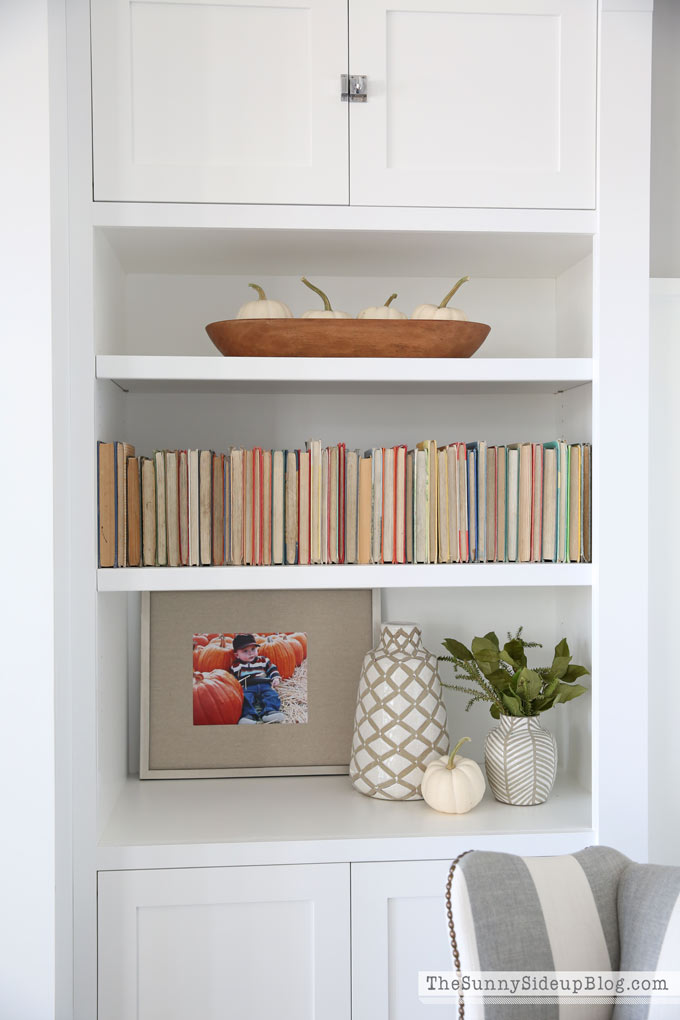
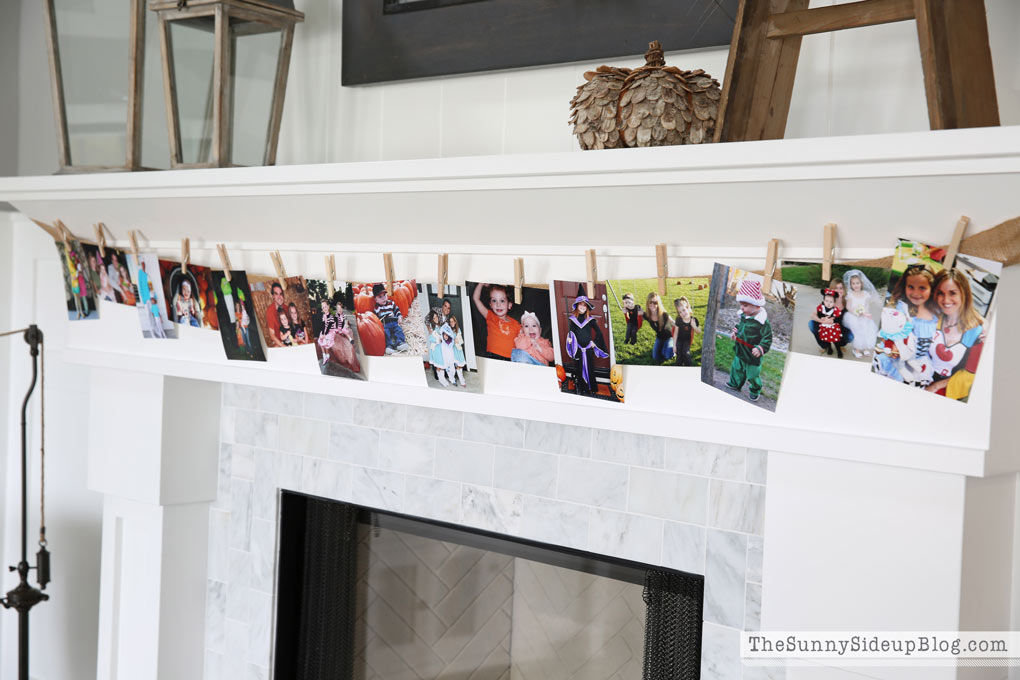
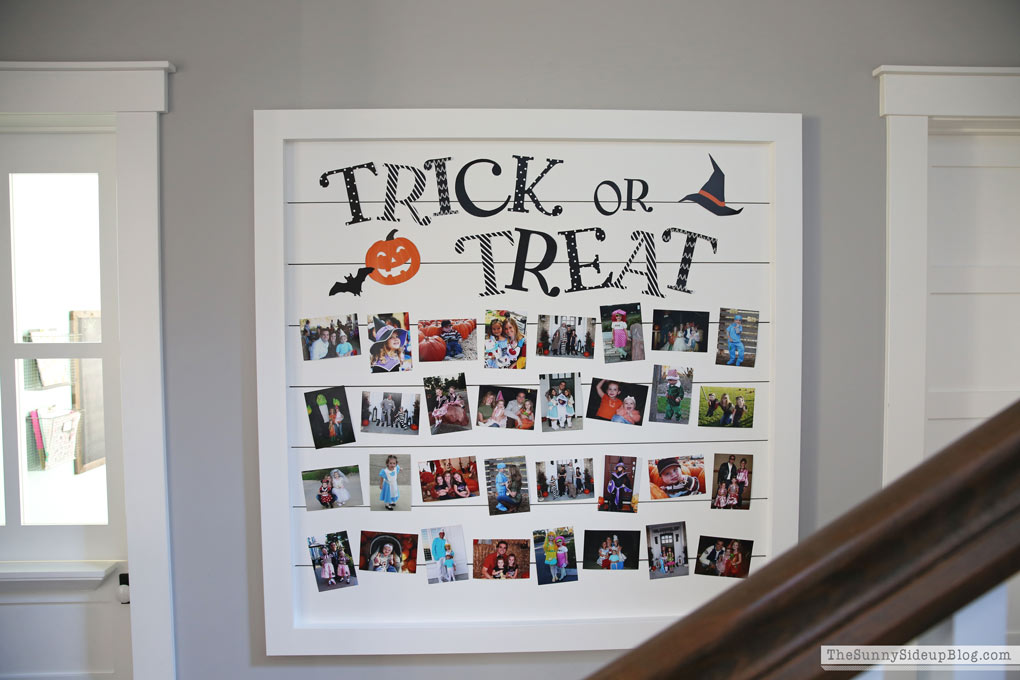
Tip #5 – Pull out past Fall family pictures! This time of year is a perfect time to get some of your pictures off of your computer and displayed in your home. Those cute pictures of your kids when they were little at the pumpkin patch, fun times in their Halloween costumes, or maybe a picture of you and someone you love at a football game or your family last year around the Thanksgiving table.
Use them in your decor and seeing them displayed around your home every day will make the holidays that much more meaningful for you and your family.
Bonus tip #6 – light that pumpkin spice candle immediately! You can’t be unhappy when a pumpkin clove/spice candle is burning. You just can’t. It’s not possible. So buy two if you need to and soak it in! That’s the plan at our house. :)
I’ve linked favorite Fall decor below if you need some ideas or are looking for a new throw, basket, pumpkin, etc. to spruce up your home. It’s Fall! YEA. Happy decorating friends!
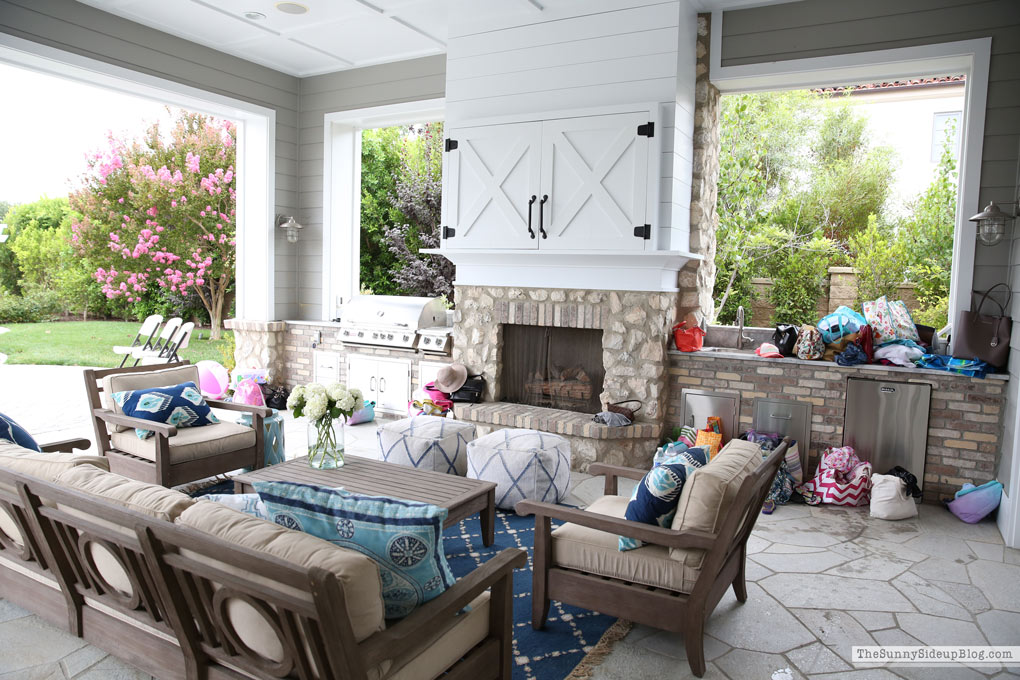
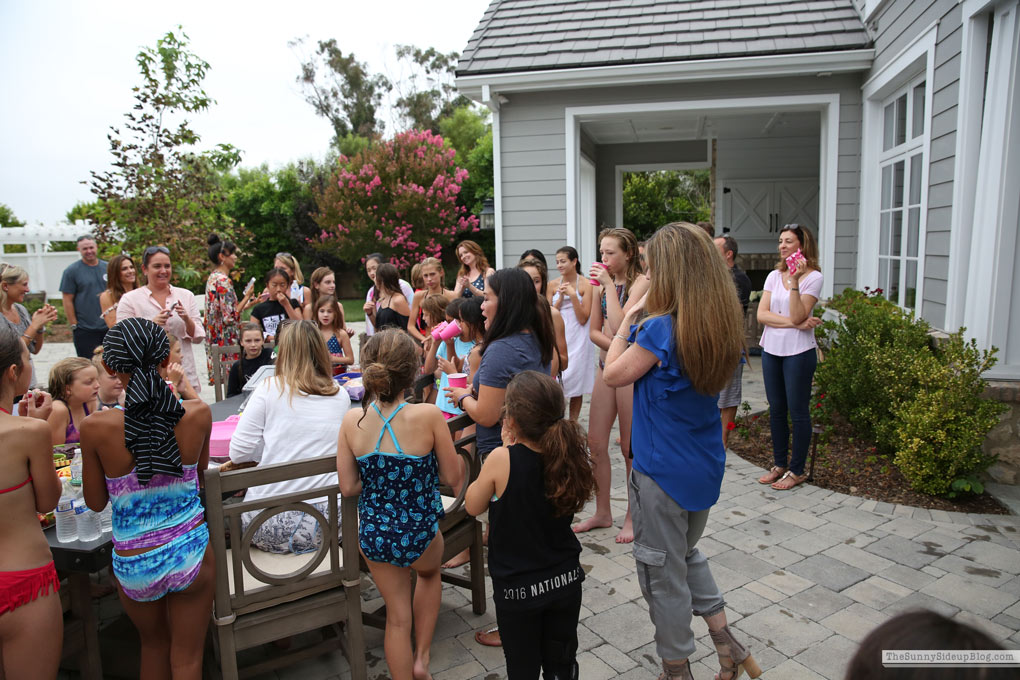
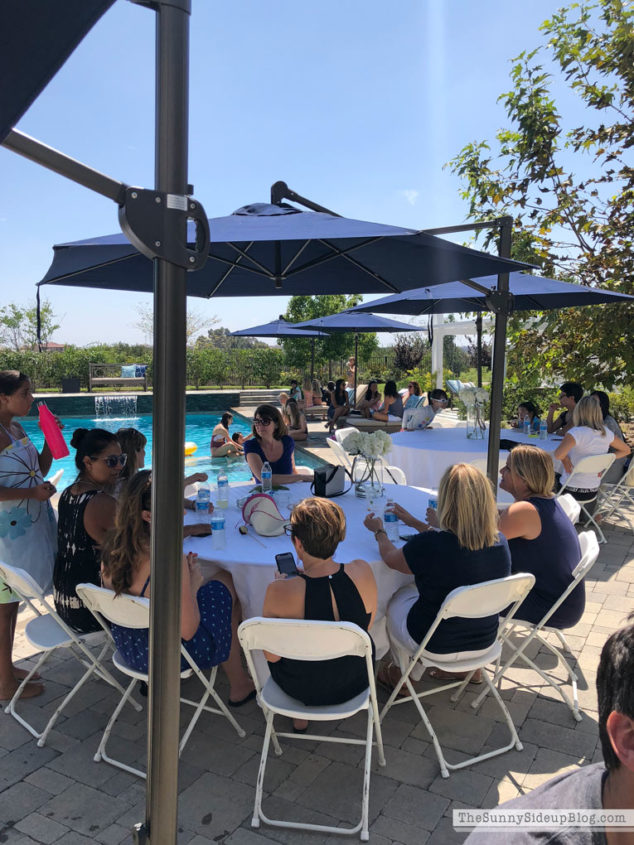
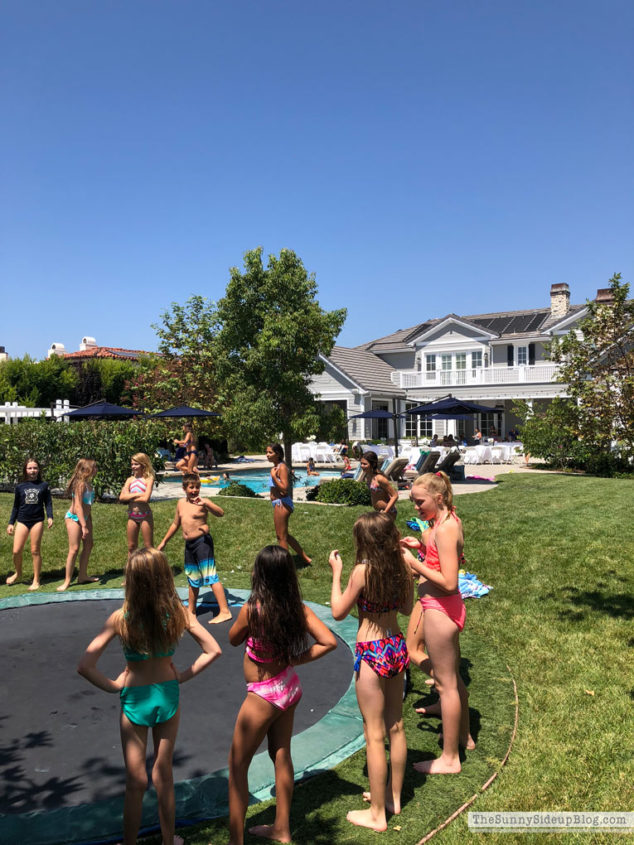
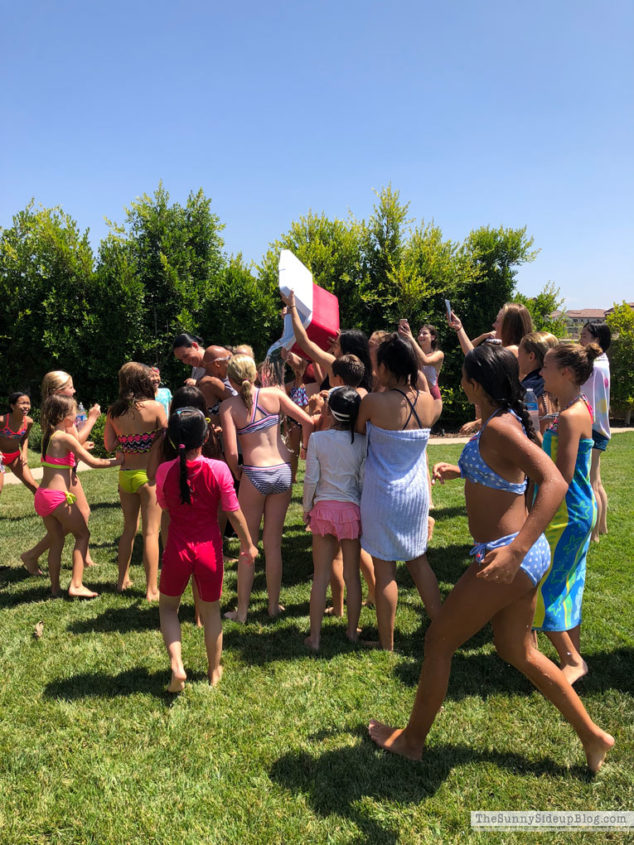
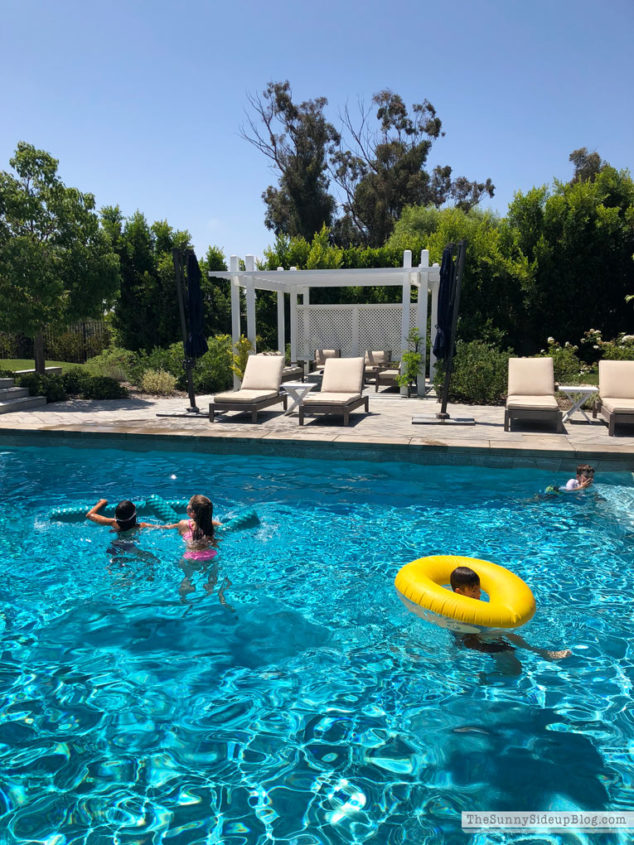
Happy Labor Day weekend everyone! I hope you’re all enjoying it so far! We kicked off our weekend by hosting a pool party for my daughter’s competitive dance team. We hosted this party last year for the first time and I meant to share some pics and never did!
*affiliate links used
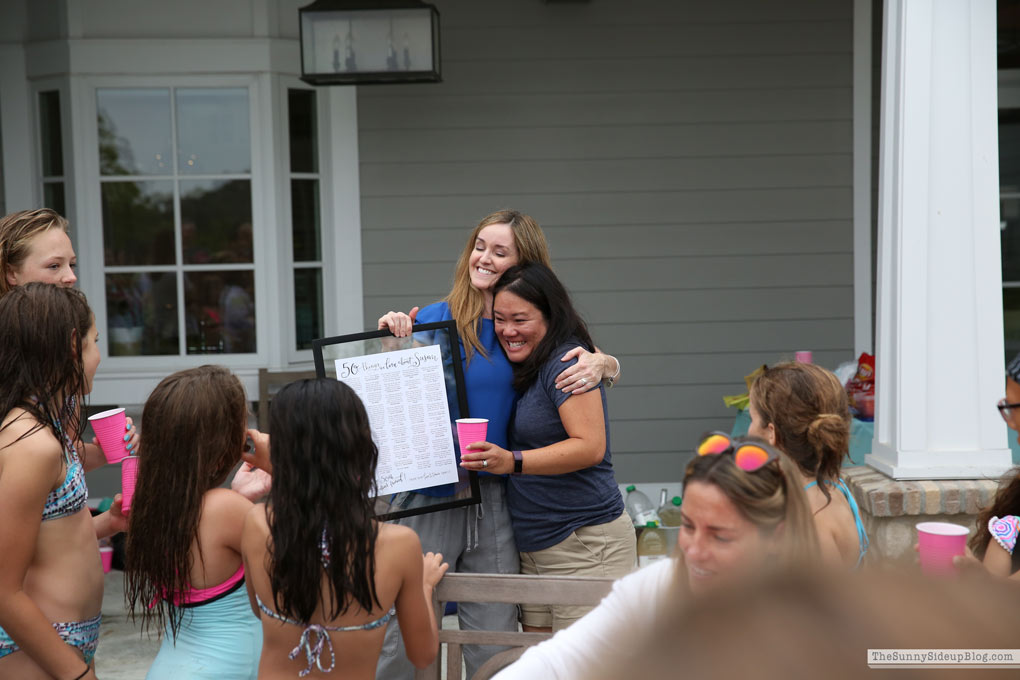
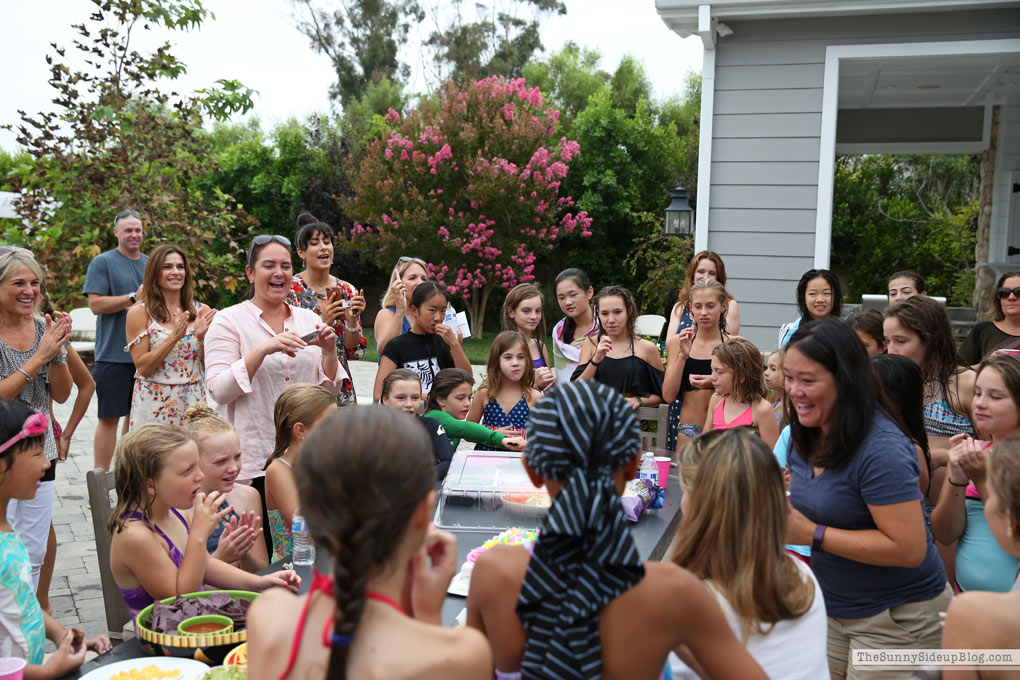
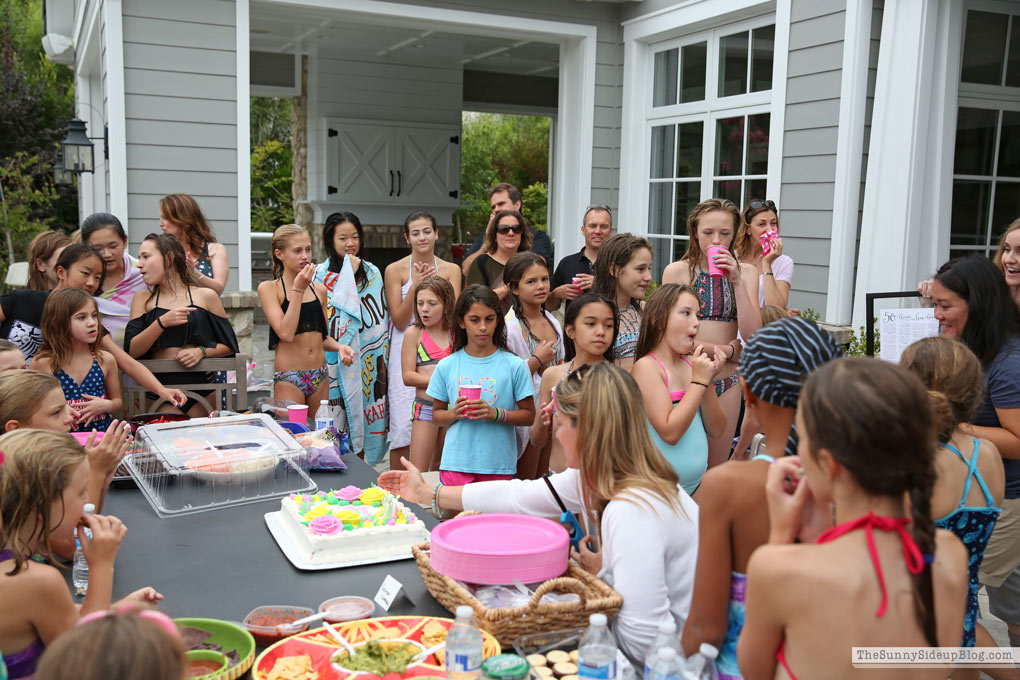
So here are a few pics I found from last year. Not my best look here (ha) but one of my close friend’s 50th birthday landed on the exact day of the company party so I presented her with a fun gift at the party.
I had all of the team parents write down one or two things they love about her and compiled it in a “50 Things We Love About Susan” frame. Some of my friends did this for me when I turned 40 and it was such a special gift! She loved it. :)
Last year on the day of the party it was cloudy and we were having the worst humidity. Just look at my hair in this pic for evidence! Humidity and I don’t get along. It makes me turn into Mufasa from The Lion King.
We had such a fun time throwing the party last year that we were excited to host again!
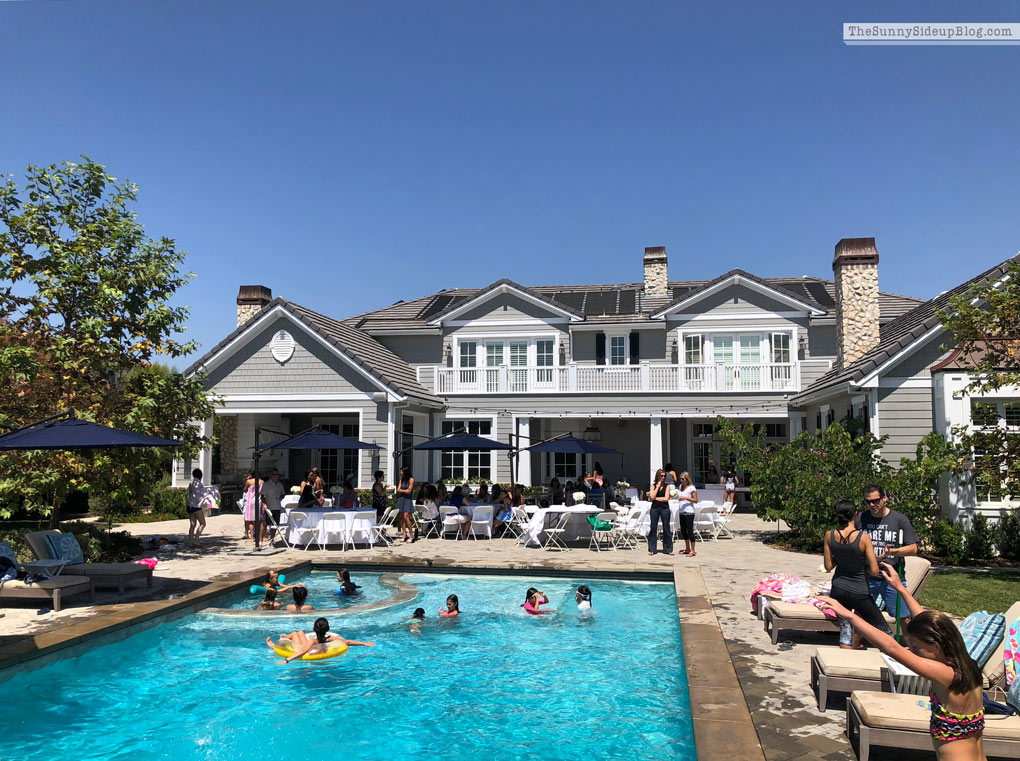
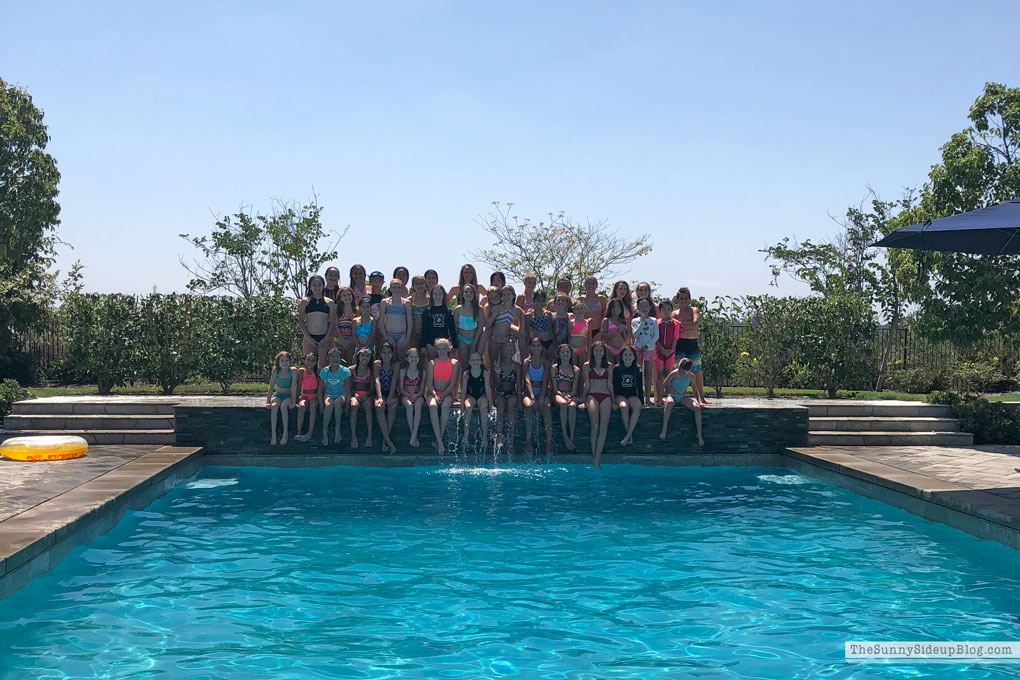
This year it was nice and sunny. :)
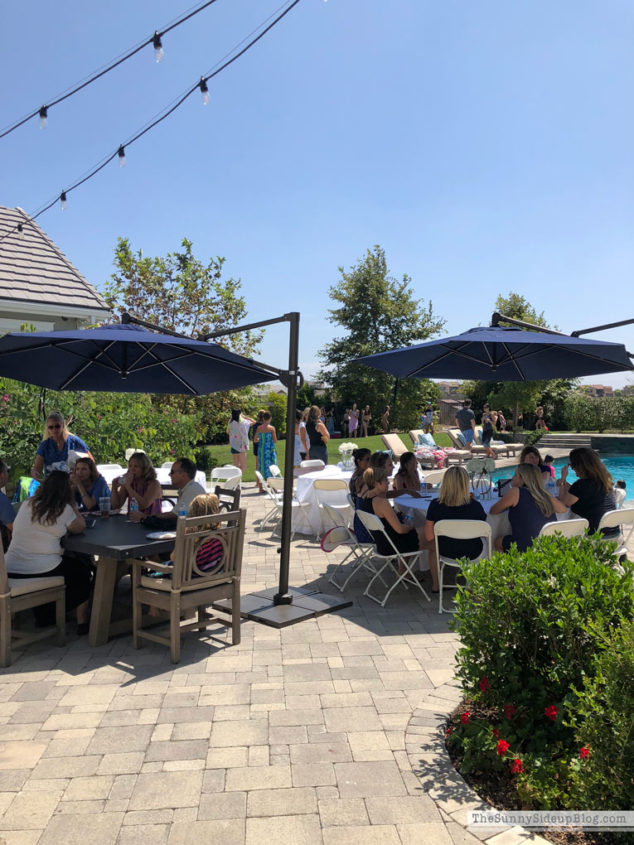
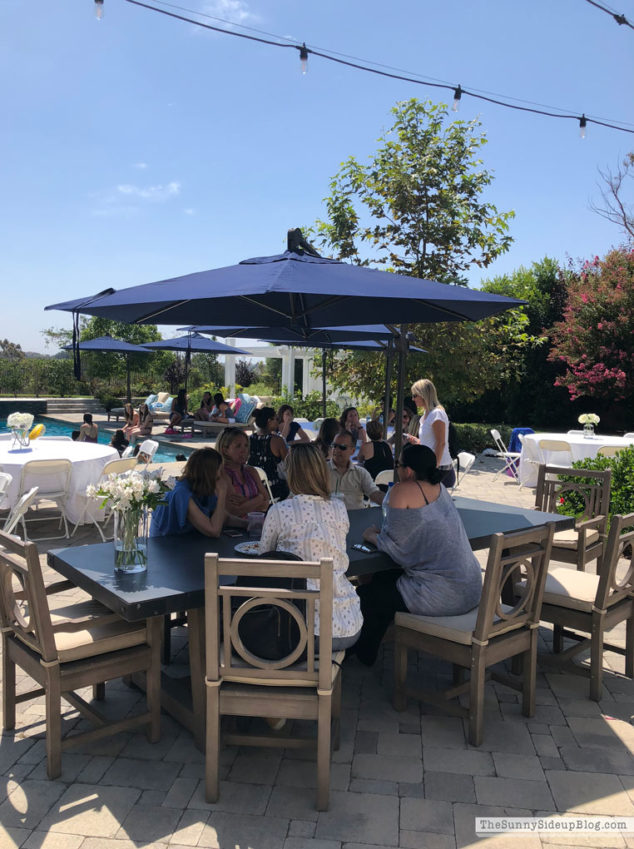
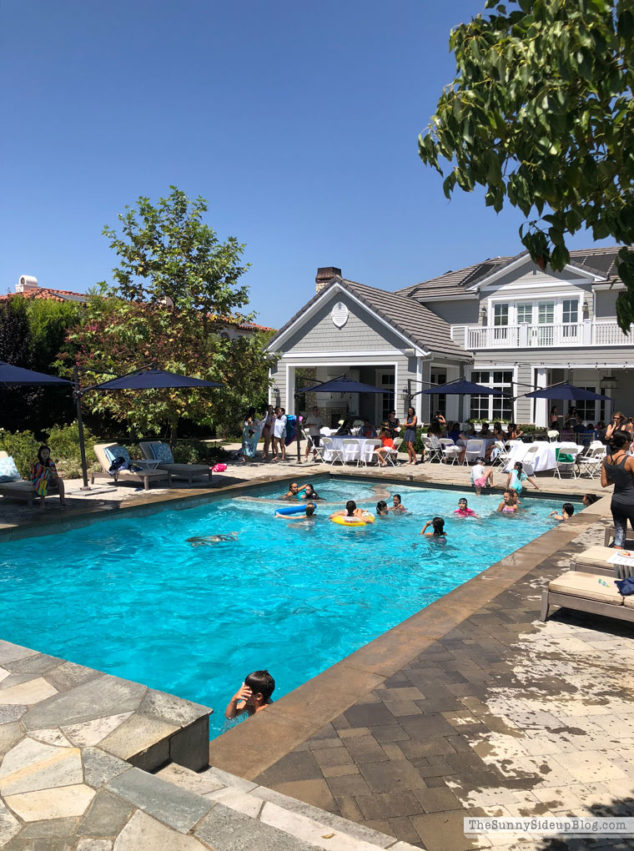
El’s dance coach sent me the final RSVP a few days ago and it said 94 people were coming. Mild panic set in! Definitely the largest crowd we’ve entertained. So we rented some tables and chairs and ended up putting our pool umbrellas over them for shade.
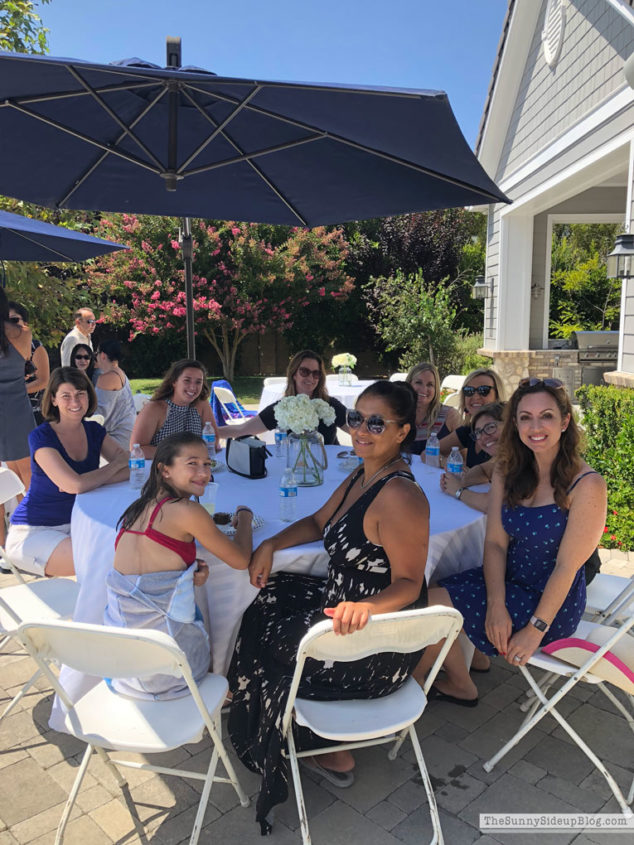
Adults had fun catching up.
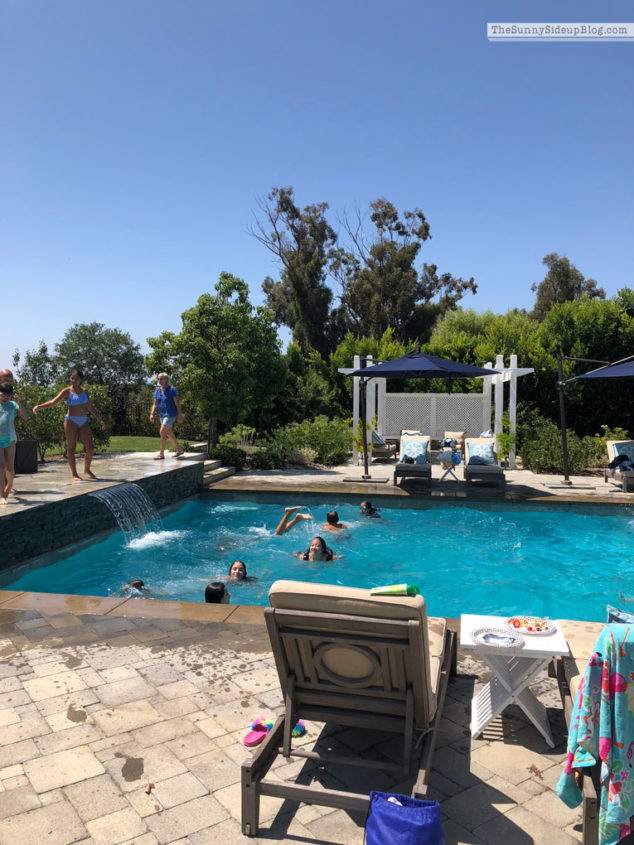
Kids had fun in the pool.
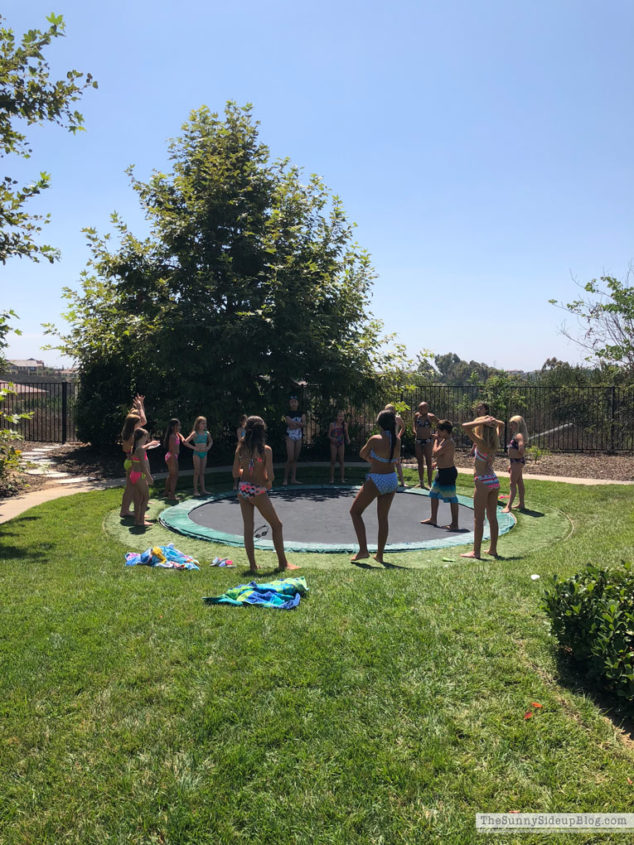
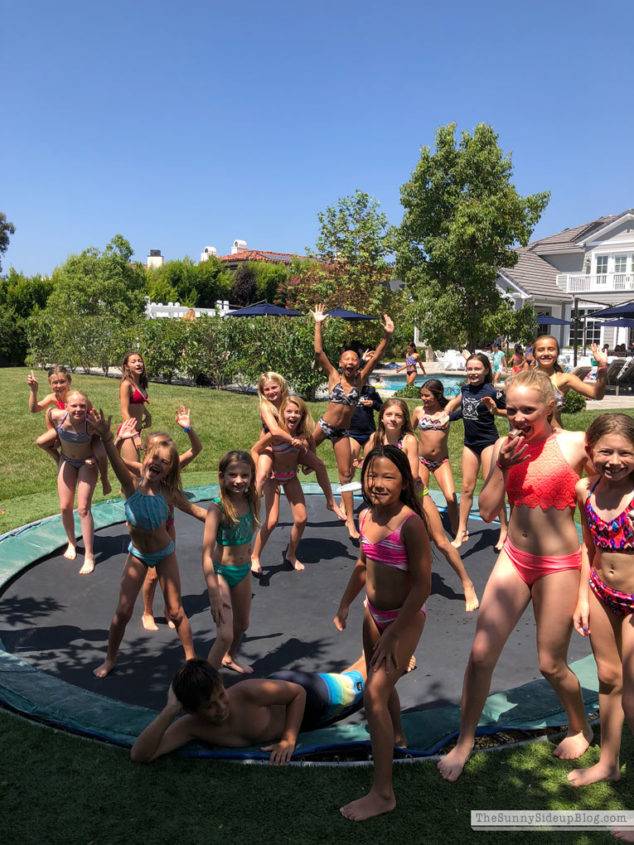
And of course the trampoline is always a hit. I know I owe you all a post on this in-ground trampoline! Seriously one of the best things we did when we built this house.
Hours of entertainment!
The girls soaked their dance coach! She was a good sport. :)
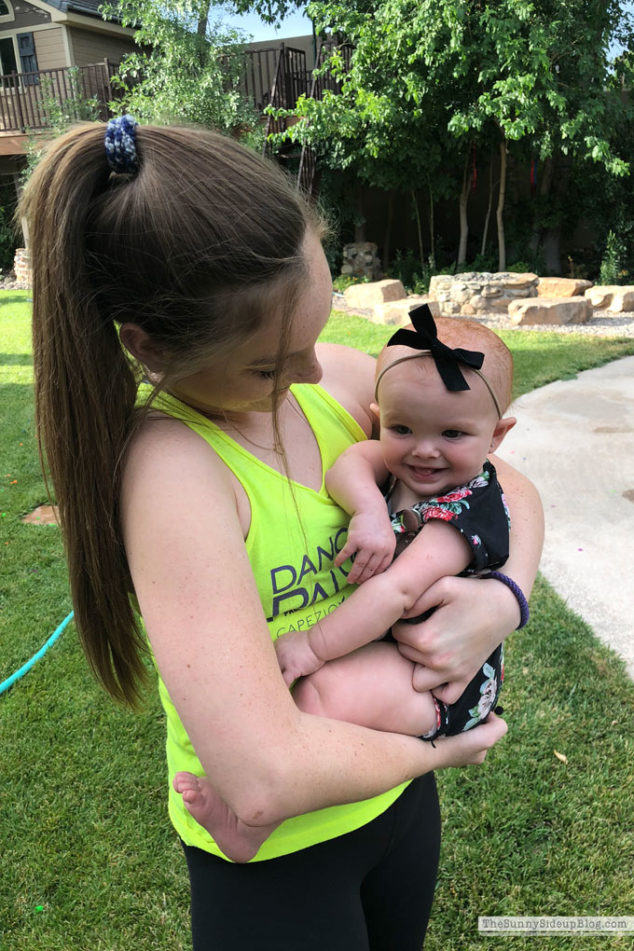
They are honestly all the sweetest kids!
With the sweetest moms. They all feel like family after spending so much time together at dance competitions!
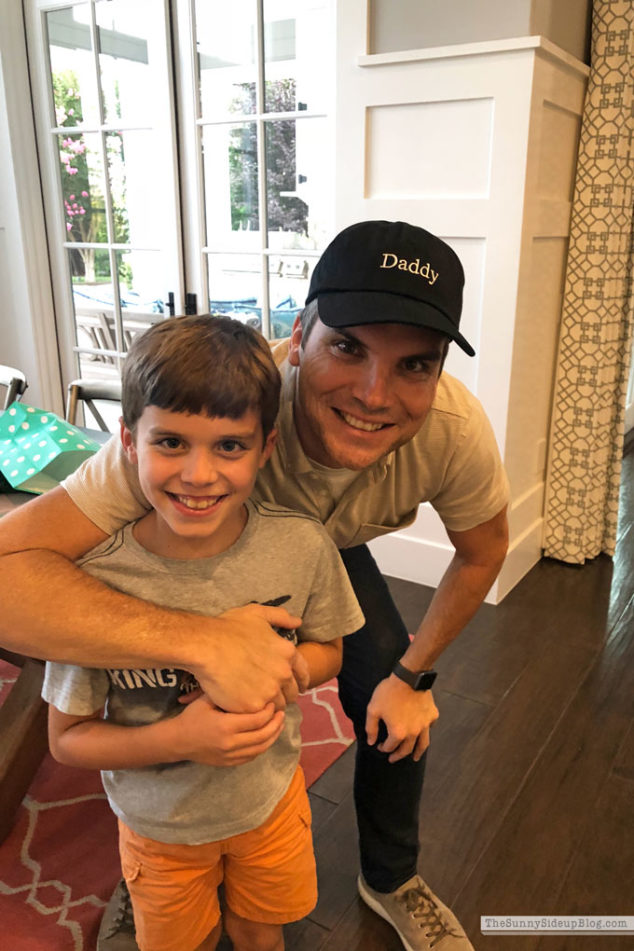
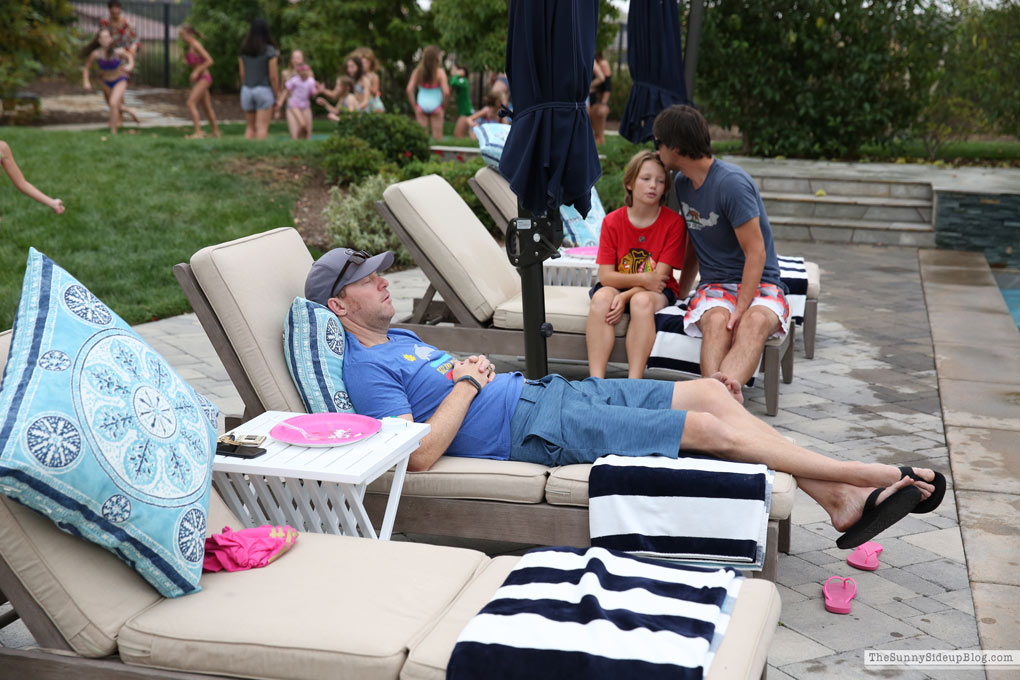
Kenny lived it up in the shirt our girls’ gave him for Father’s Day – remember my round-up post :) – and my hair stayed in tact so we called the day a success!
Of course after the party we felt like this guy. Ha! (This pic was from last year of one of our good friends.. he seriously cracks me up!) The party was such a fun way to start the weekend and now we plan on spending the next two days relaxing and catching up on a few home projects. I’ve been waiting for this weekend to order a few things for the house because the sales are always crazy good!
So many of my recent favorites are marked down! Here are pics of a few clothes I have and love that are on sale..
These outfits and my other favorites that are marked down this weekend are all linked below if you’re doing some on-line sale shopping too! I hope you all enjoy the long weekend!
Seriously!? Is it really Friday!? I was going to have this post up Tuesday morning. Then Tuesday turned into Wednesday.. Wednesday turned into Thursday.. and there you go. This week was a blur! I always forget how busy the first week back to school is until I’m living through it each year. But we survived and lived to tell about it! :) I have so many fun things to share with you all and can’t wait to get into a good posting routine again! But before I start with all of my organizing/decorating/fashion posts I’ve got lined up I’m feeling the need to wrap up summer with an iPhone picture dump! It’s tradition. :) Way too many pictures so I’ll keep the chit chat to a minimum. Or at least try to! Then I’ll be popping in again over the weekend so check back!
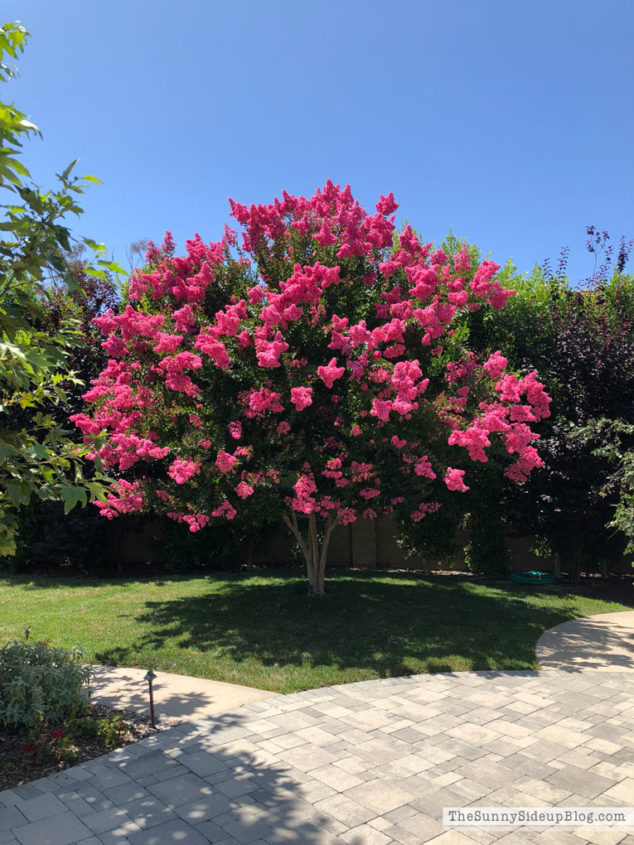
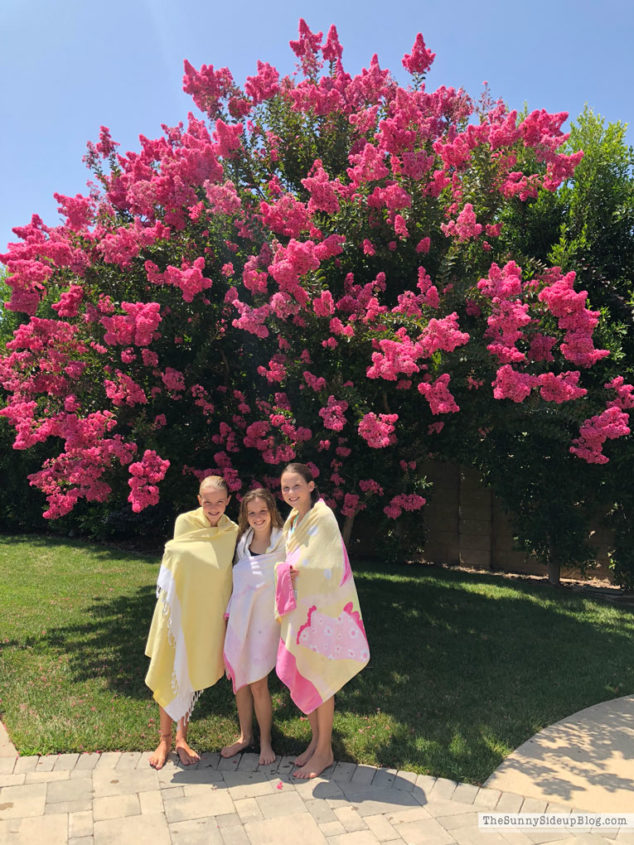
To be honest, August has always been one of my least favorite months. We’re over the heat and summer fun is winding down. We’re ready for school to start but starting school again is always an adjustment. It’s sort of an in-between month and one I’m always happy to have behind me. But then we moved into our home and I planted this Crepe Myrtle tree and bam! We get this showstopper in our yard every August. Just for that one month! I think someone knew I needed a little extra cheering up this time of year. :) (I snapped this pic with my cell phone and no editing! Isn’t it breathtaking!? I wish I could plant 10 of them!)
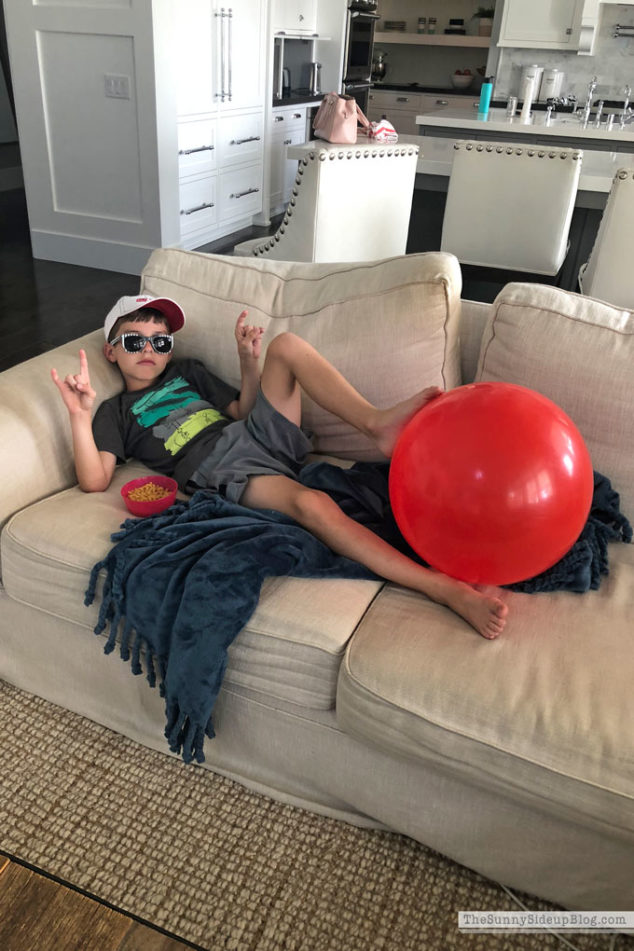
Once in a while my house looked like this over the summer.
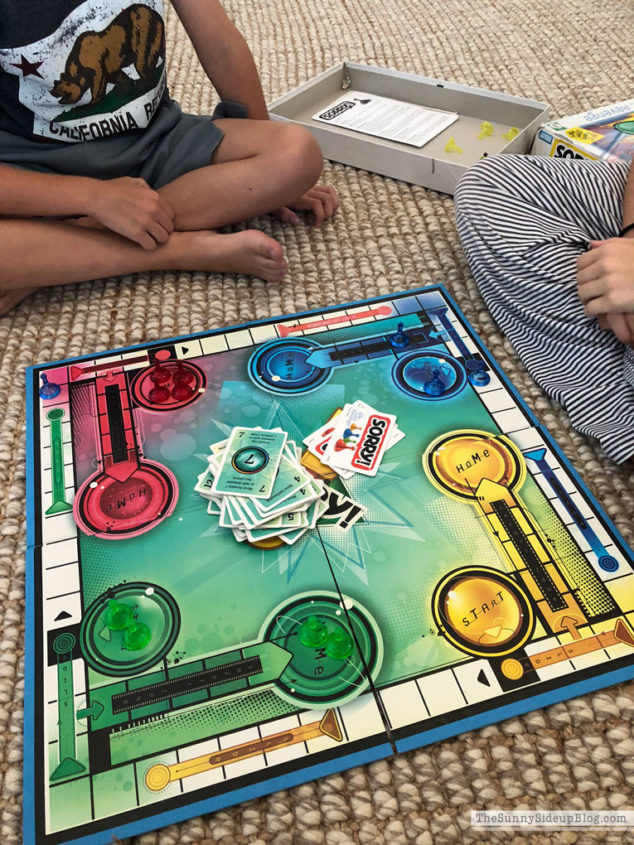
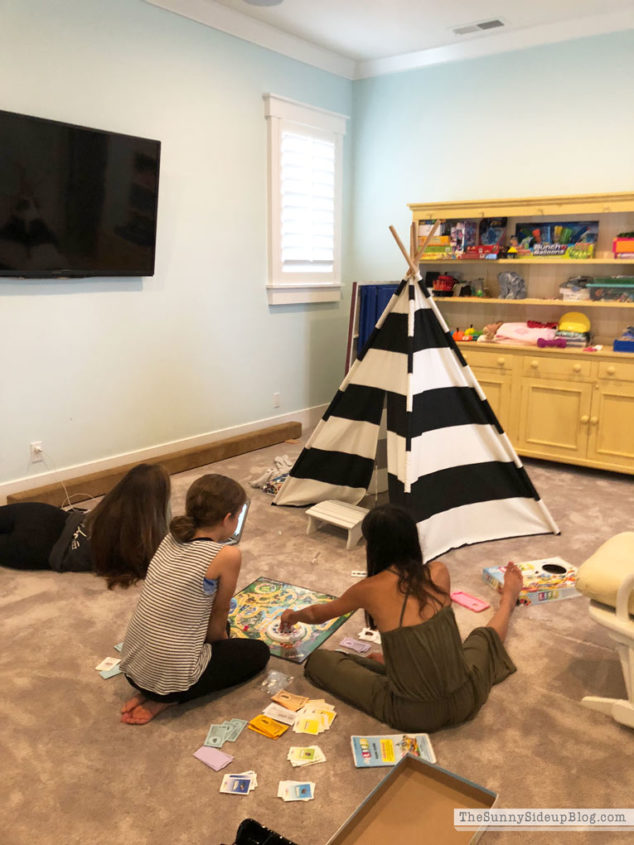
But most of the time it looked more like this. :) Our playroom is in such an in-between state right now! You can see what it looked like after we moved in in all of its organized glory here. I moved the furniture we used to have in this room out because my kids are getting older and using this space differently. I’m still deciding which direction to take this room and I’ll be filling you in on what I’m doing as soon as I know that myself. I’m not feeling too rushed since right now it’s a perfect spot for board games and tepee parties. :)
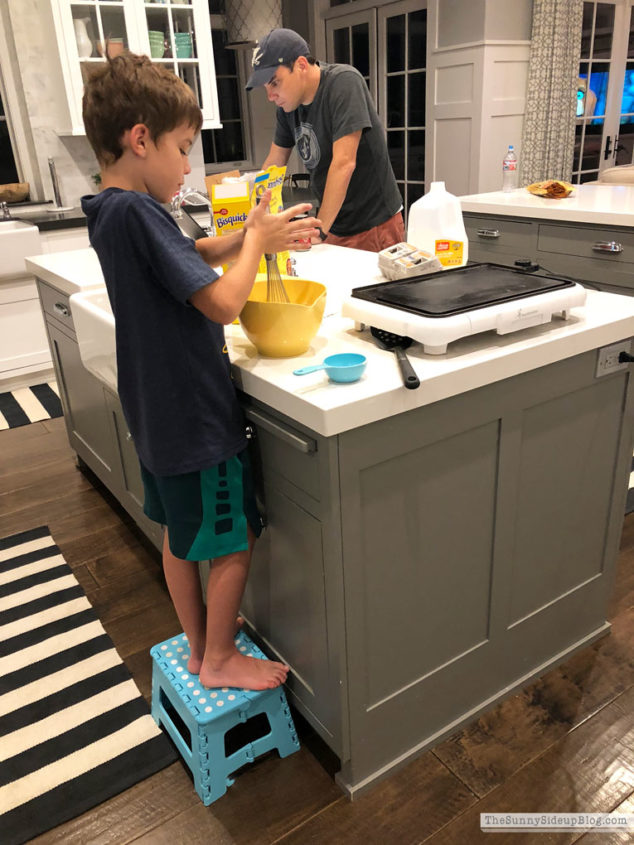
Lots of late night pancakes and waffles with dad.
I always keep a stool in our island cupboard because this one loves to help. :)
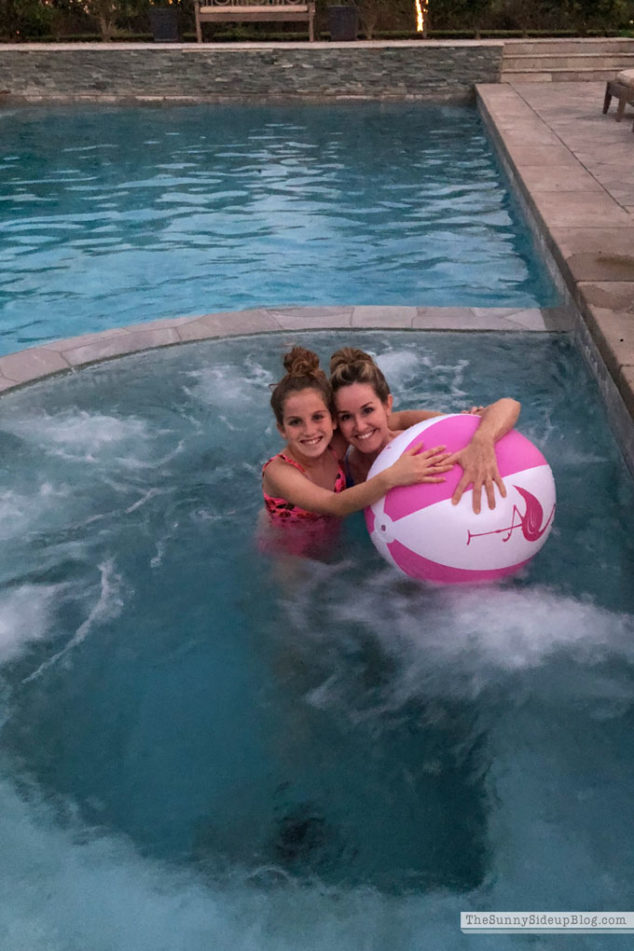
The hot tub is our favorite on cool summer nights.
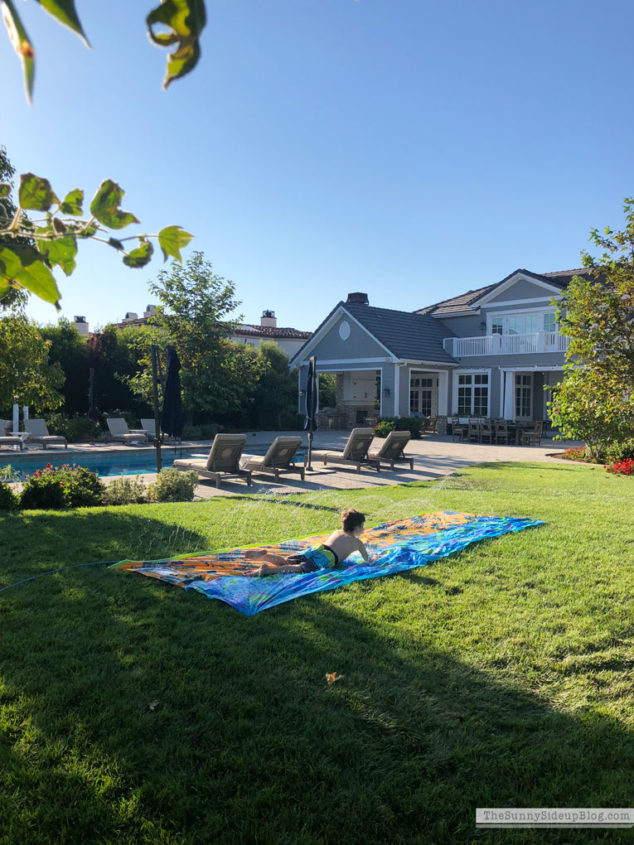
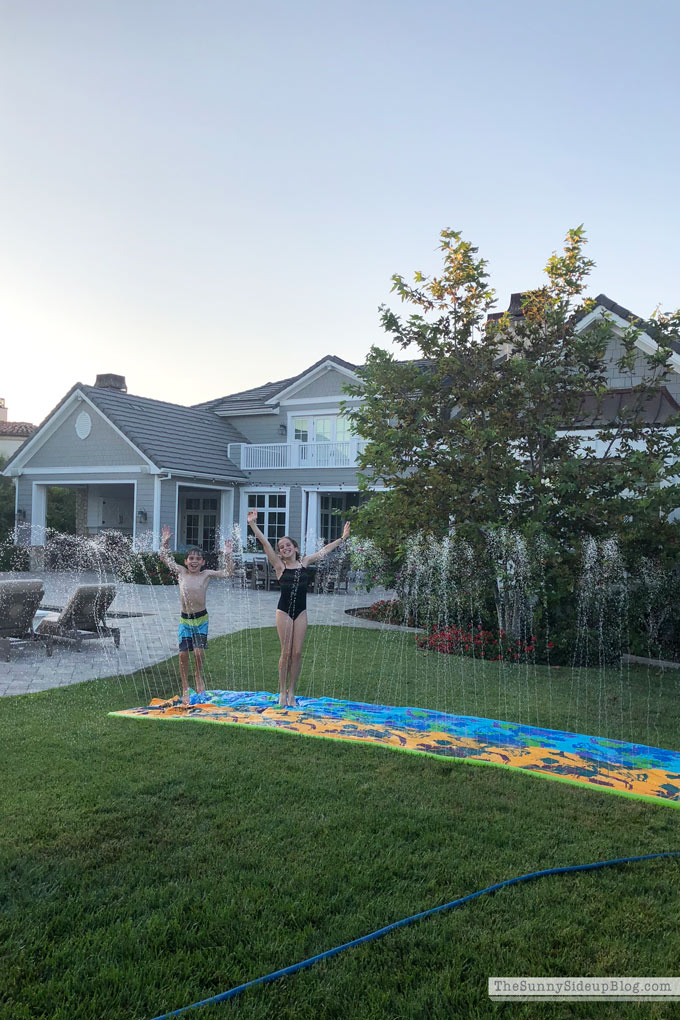
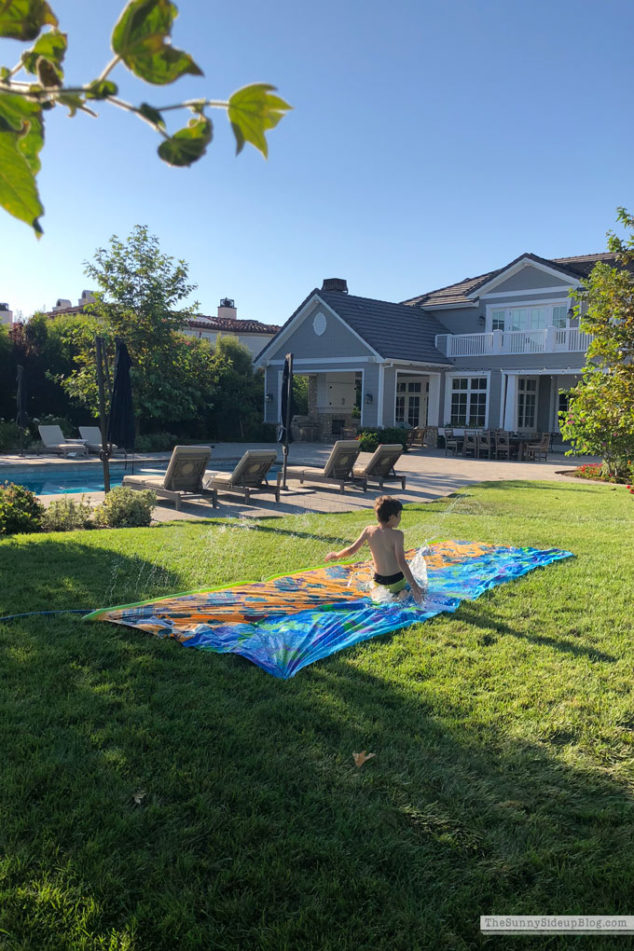
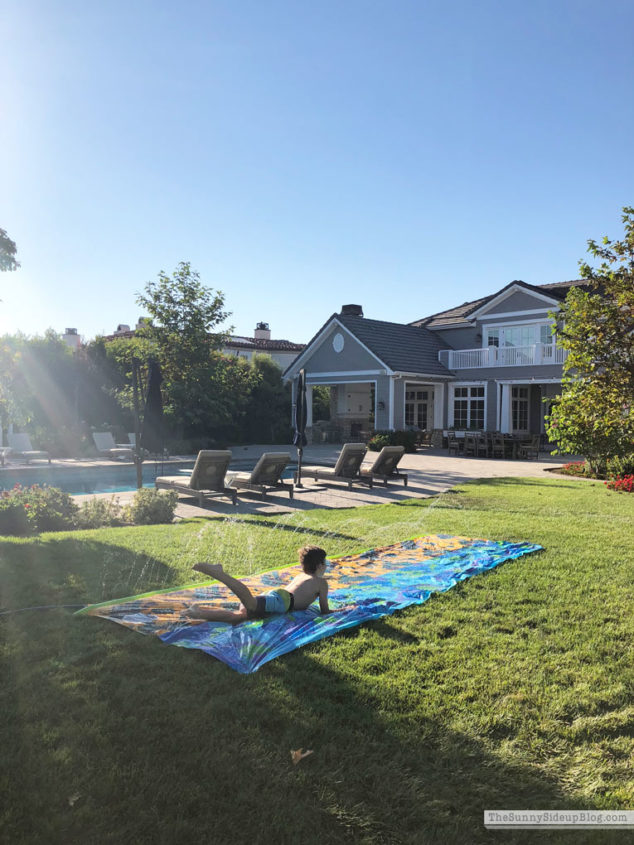
On a whim I bought this $12 slip and slide at a sports store a couple of months ago.
Hands down my smartest purchase of the year.
Summer fun at its finest. :)
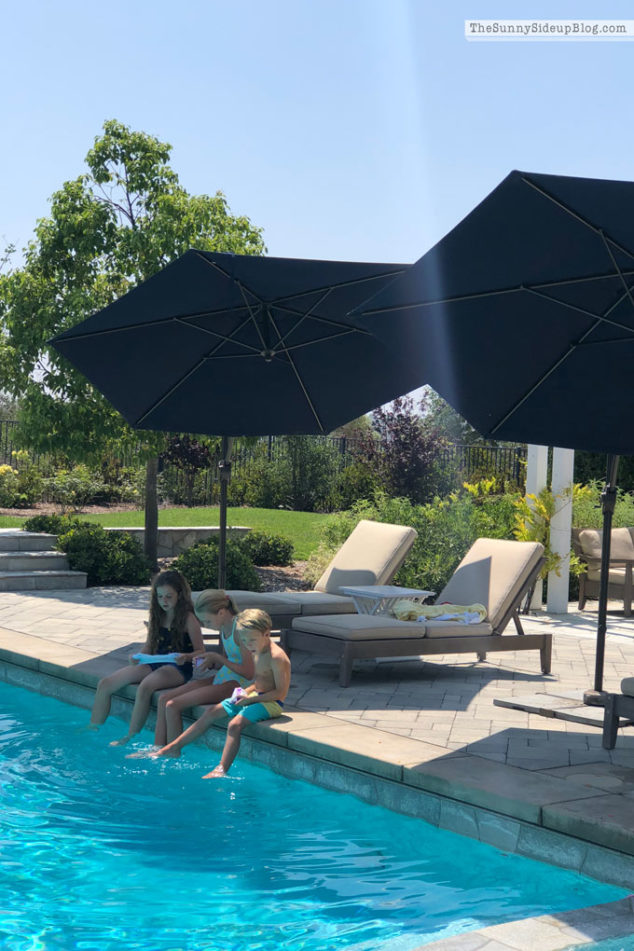
Our pool, yard and house were full of kids this summer and we loved it!
Of course uninterrupted alone time is also a good thing. :)
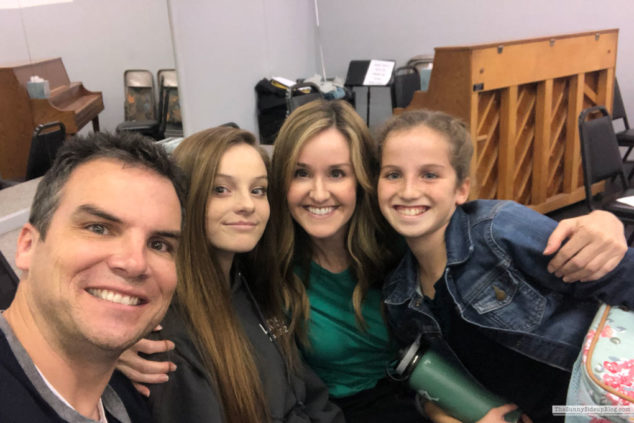
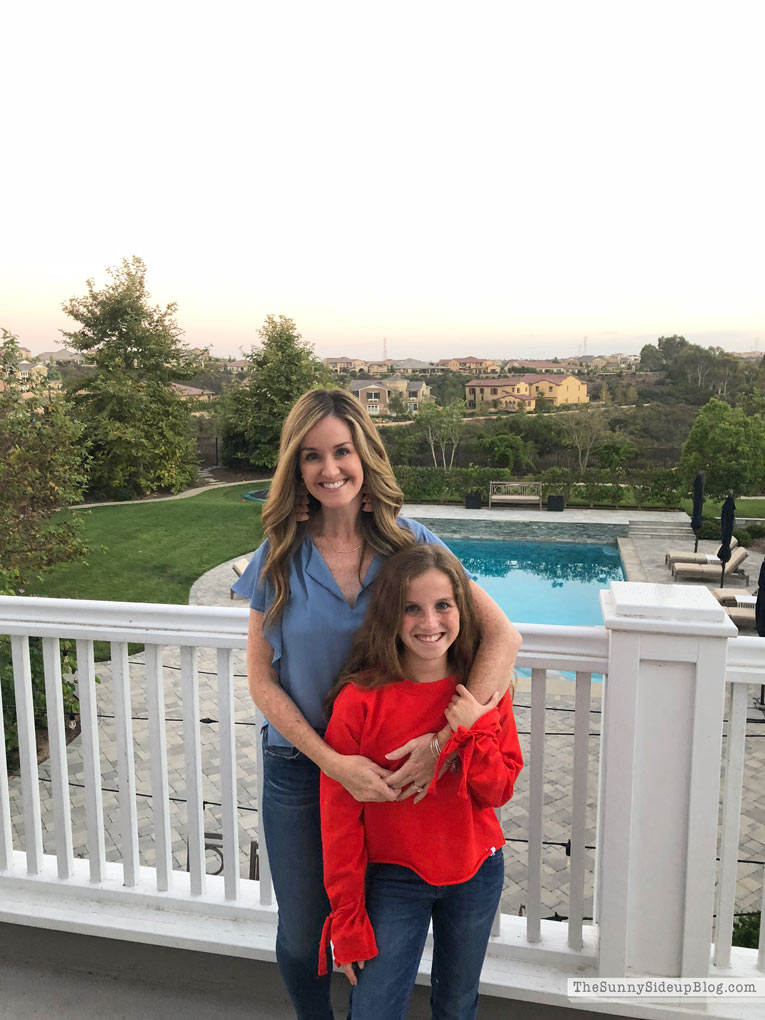
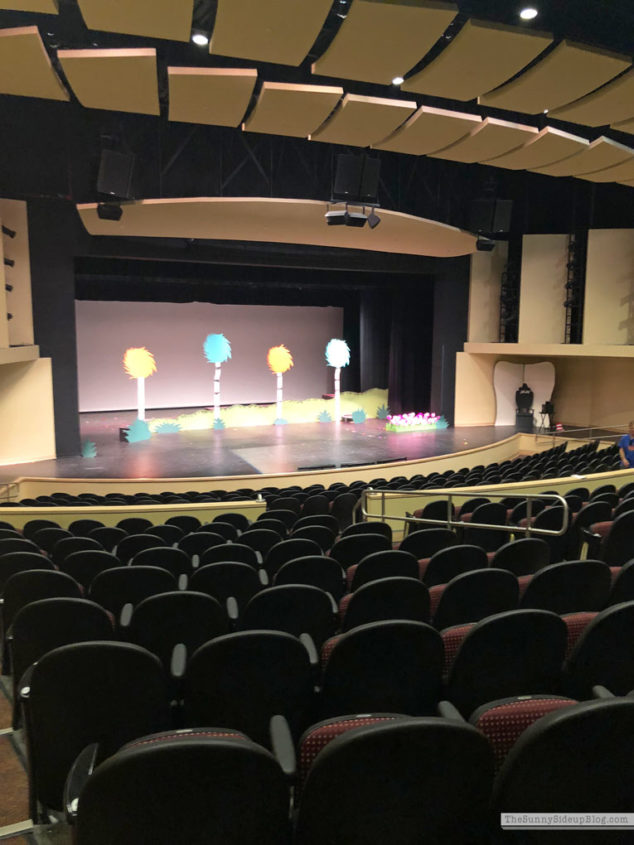
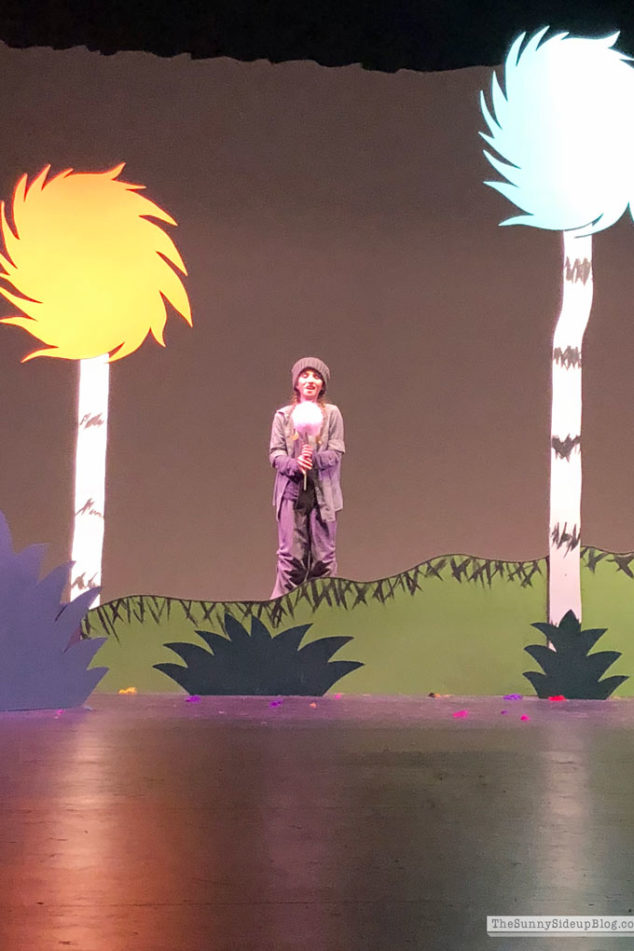
Ad played the part of Horton the Elephant in Suessical this summer and it was so fun watching her. She had three solo songs in the show and I cried through the first one! A combination of being proud and also my nerves. I get so stressed right before my kids do stuff like this. Honestly just TOO nervous. I need to chill out! Working on that one.. :)
She did great and the play was darling! Auditions for Wizard of Oz are up next on the agenda. The scarecrow is my favorite. :)
After the show with her sweet director.
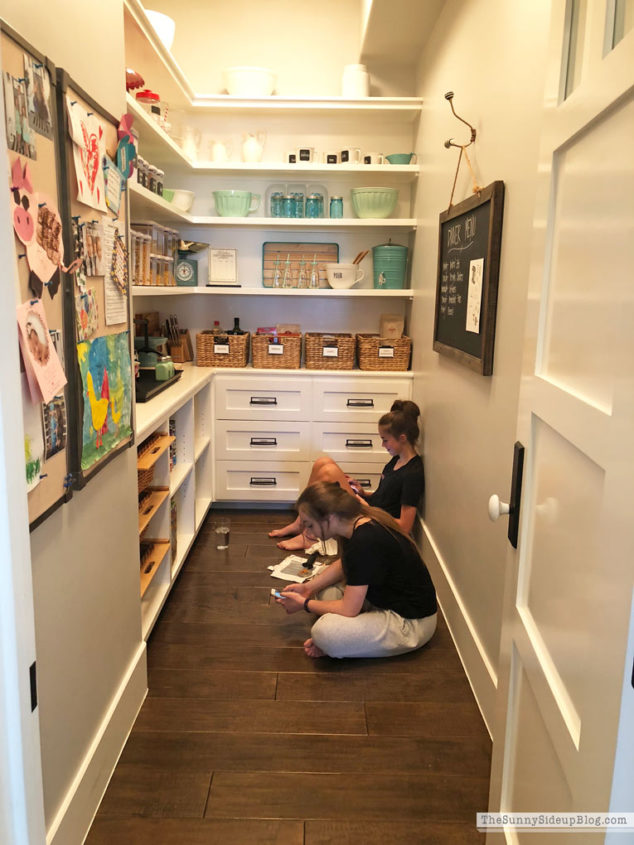
Found this pic on my phone and it made me laugh! I have no idea why El and her friend were hanging out in the pantry. I’m telling you.. kids were tucked away in every room of our house this summer!
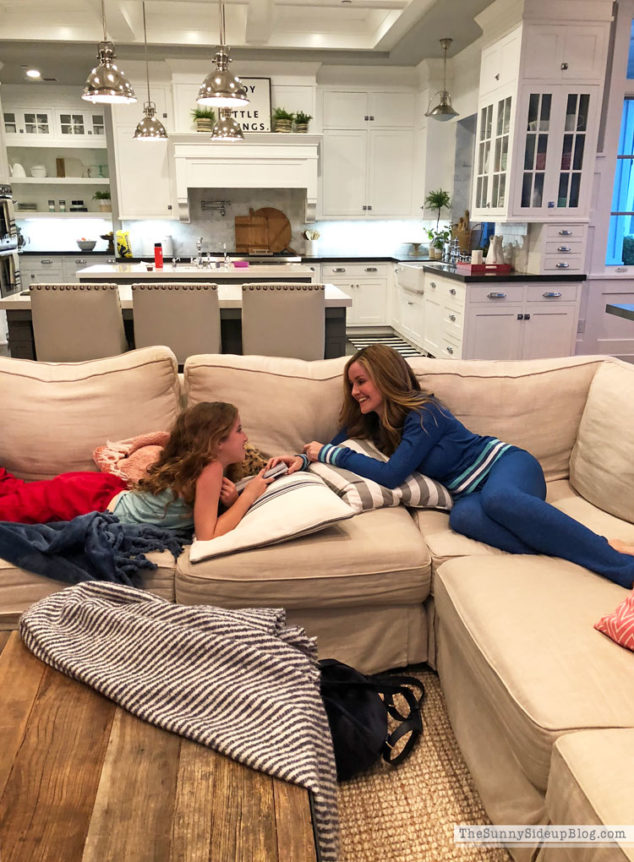
While El was at dance Ad and I watched LOTS of good classics.
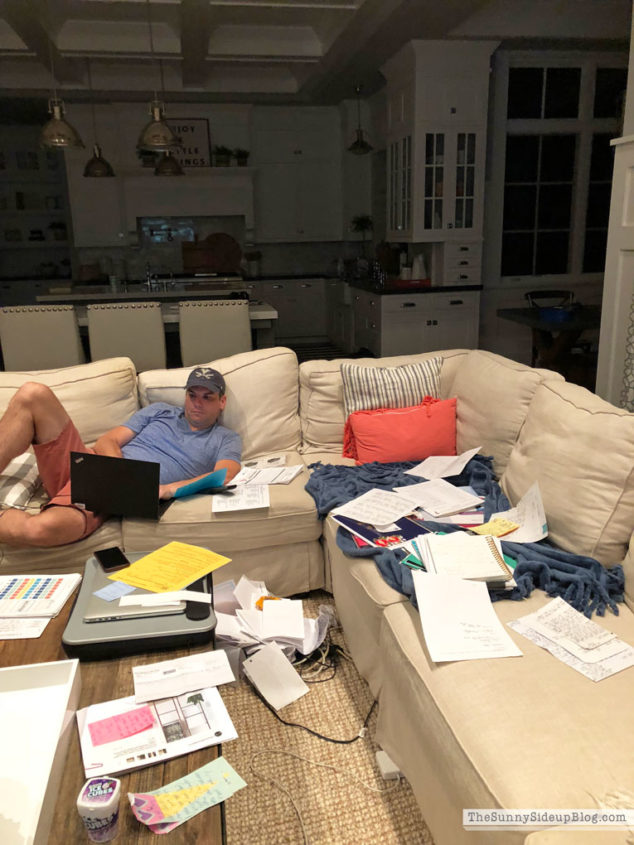
Late at night after the kids were in bed I completely tackled all things paper in our home! And made one huge mess in the process. Love how my husband is just doing his thing oblivious to it all. That’s a man who has lived through an organizing project.. or two or ten. :)
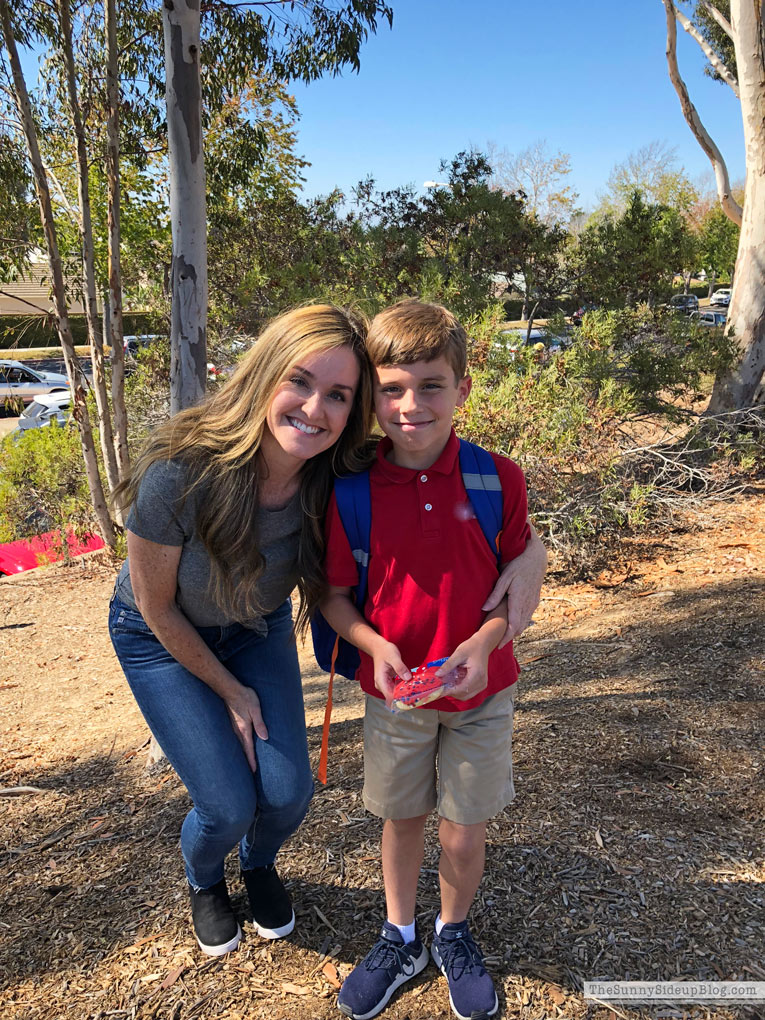
My little buddy started playing soccer. Happy for him. Scared for me adding one more activity to the list. I’m ready to hire a driver.. any takers? #kiddingbutnotkidding
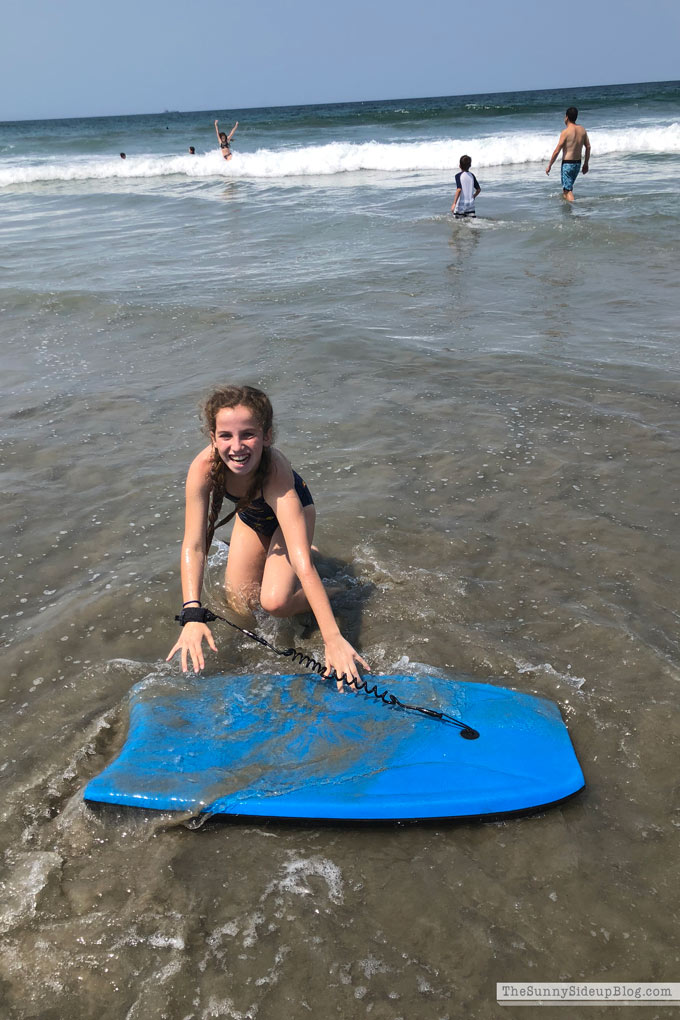
Beach days.
We played Sorry more times than I can count. Hands down my kids’ favorite!
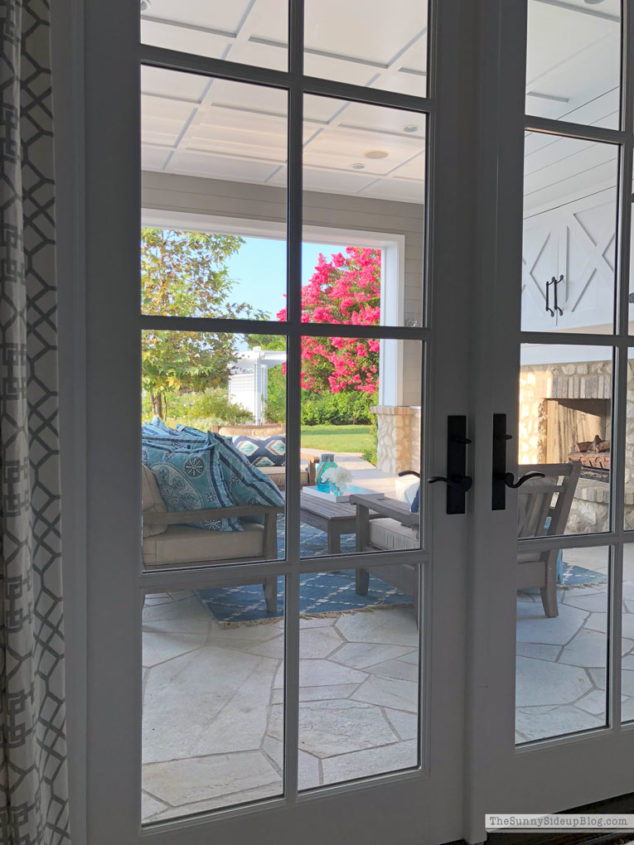
I always tried to get a little bit of computer work done from my couch in the mornings when my kids were sleeping in. I can’t say that I was extremely productive but I did enjoy the view. :)
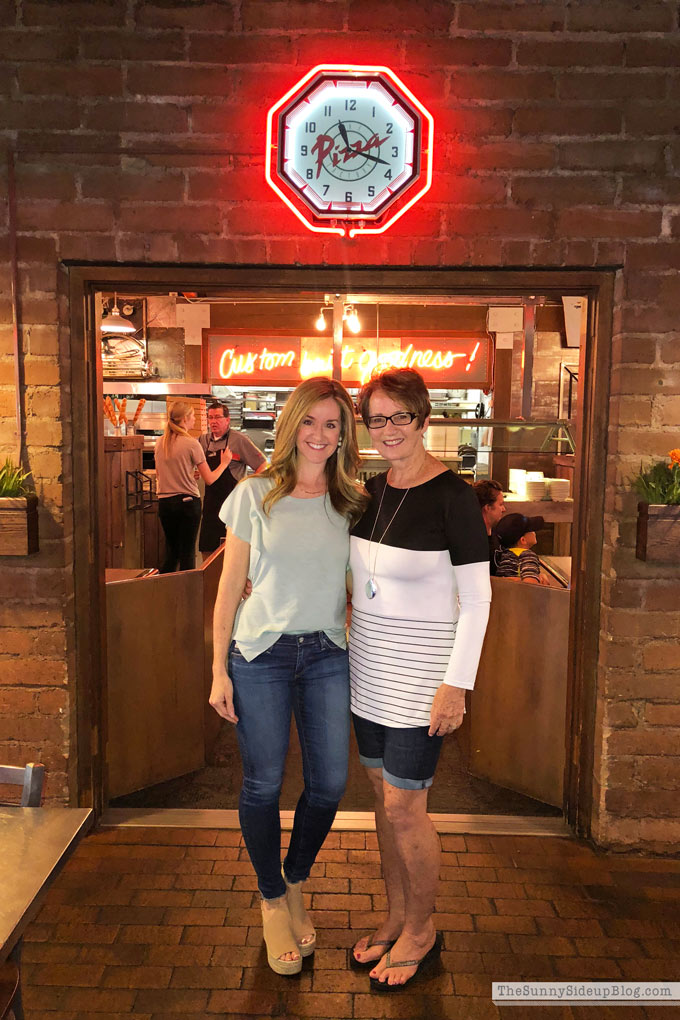
And to southern Utah to visit family. It’s not a trip home without hitting Pizza Factory with my cute mom. :) My ruffle sleeve top is on sale for only $33! I have this shirt in 4 colors.. ha! You could say it’s a favorite. My wedges are also on sale. GOOD sale weekend! I wish my mom was here to go shopping with. She taught me everything I know when it comes to shopping. I know she’s so proud. My dad not so much. But kudos to him for always attempting to reign us in. We love you dad. ;)
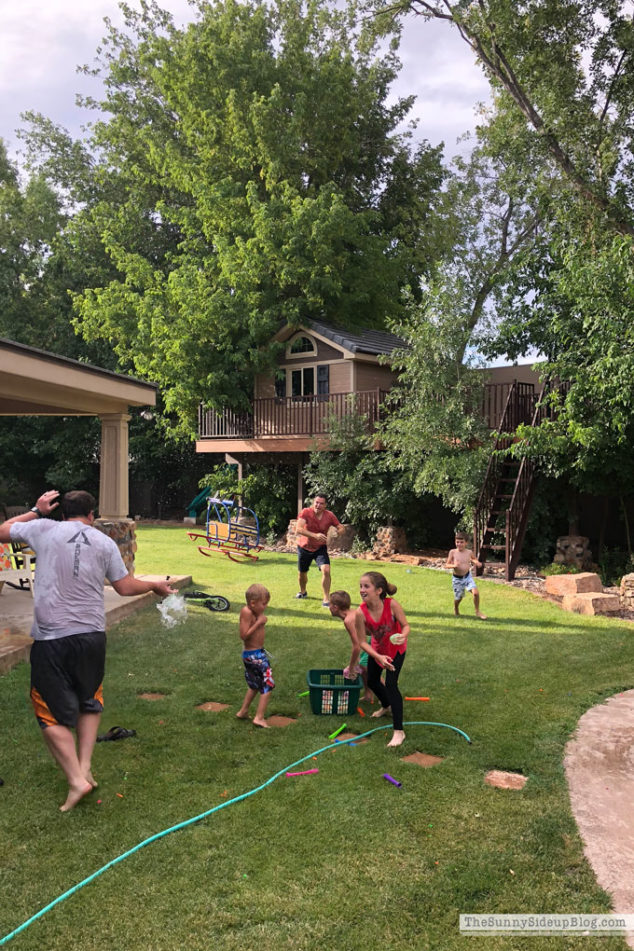
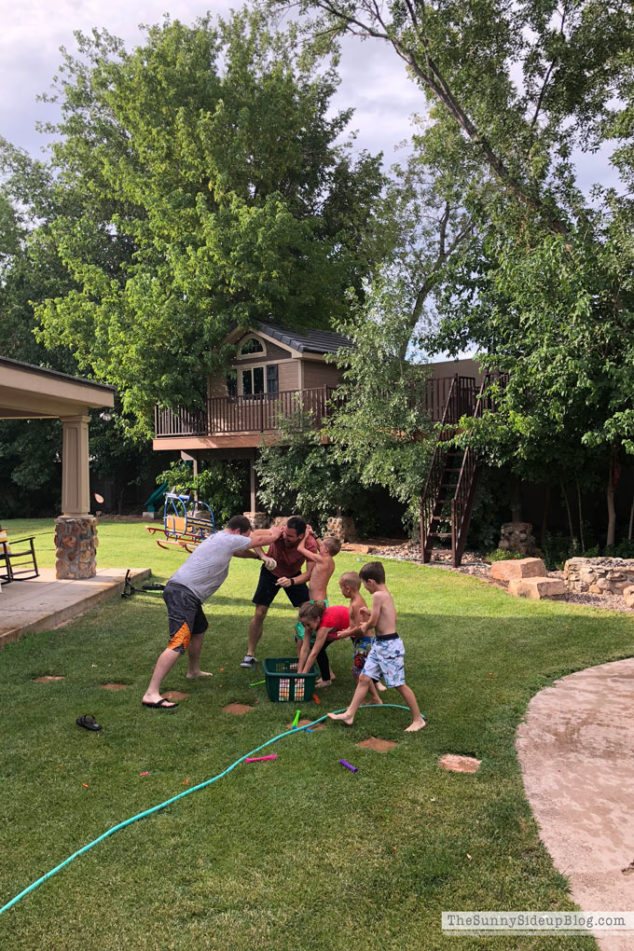
Fun with the cousins in Utah!
Hard to tell which ones are the kids. :)
My girls and I couldn’t get enough of my sweet niece!
Kole was so proud of the hat he found for his dad’s birthday. Kenny puts it on at some point every day.
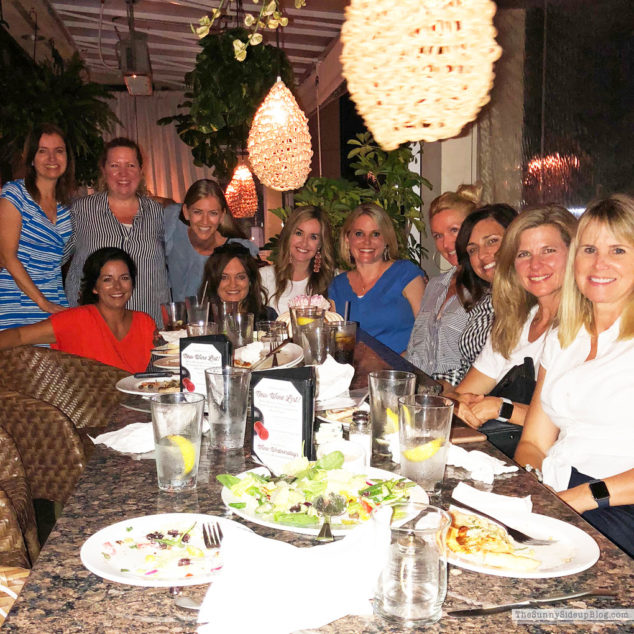
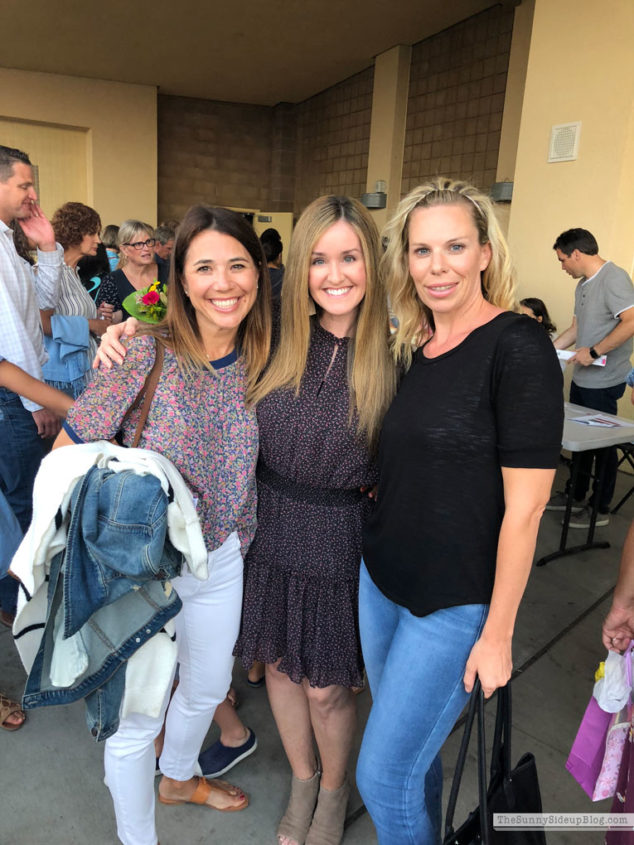
I enjoyed lots of fun with my own friends! They were tucked away in every room in our house this summer too. ;) Funny story at this dinner. I get a call from Addison after I’ve been gone about 30 minutes. She was babysitting Kole and was panicked because he “wasn’t cooperating and minding and was running all over the house.” I get her calmed down and then talk to Kole on the phone and remind him that Ad is in charge and he needs to listen to her and I get him back on track. Then I talk to Ad again and say.. “ok.. I think everything will be fine now. Just turn on a movie for him and pretty soon your dad will be home.” Ad says “Oh dad’s home.”
Um. What!?
I can’t even. I just shook my head and hung up. My friends and I were cracking up!
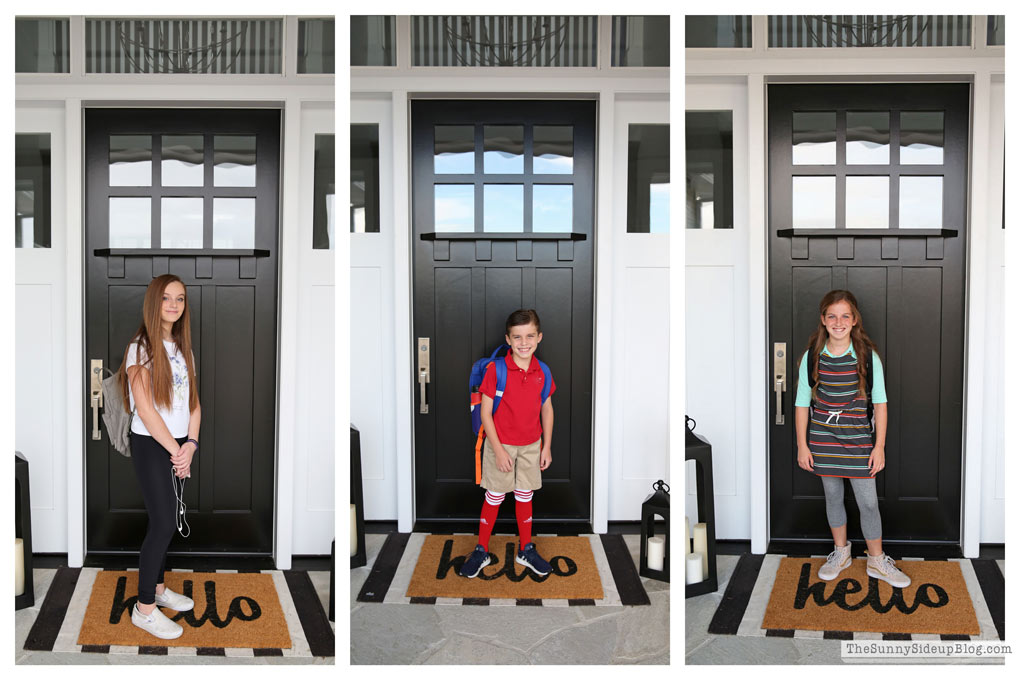
Just like that summer is over and kids are back in school! Three different schools and start times meant three individual pictures this year. 3rd, 7th and 9th grade. I teared up dropping El off and watching her walk into such a big school with such big kids. I just can’t believe she’s in High School! I mean.. the boys have facial hair! It’s a whole new world I’m not quite ready for.
Kole insisted on wearing his soccer socks the first day and wouldn’t roll them down below his knees. Right off the bat I was reminded that we have a long year ahead and I need to choose my battles wisely.
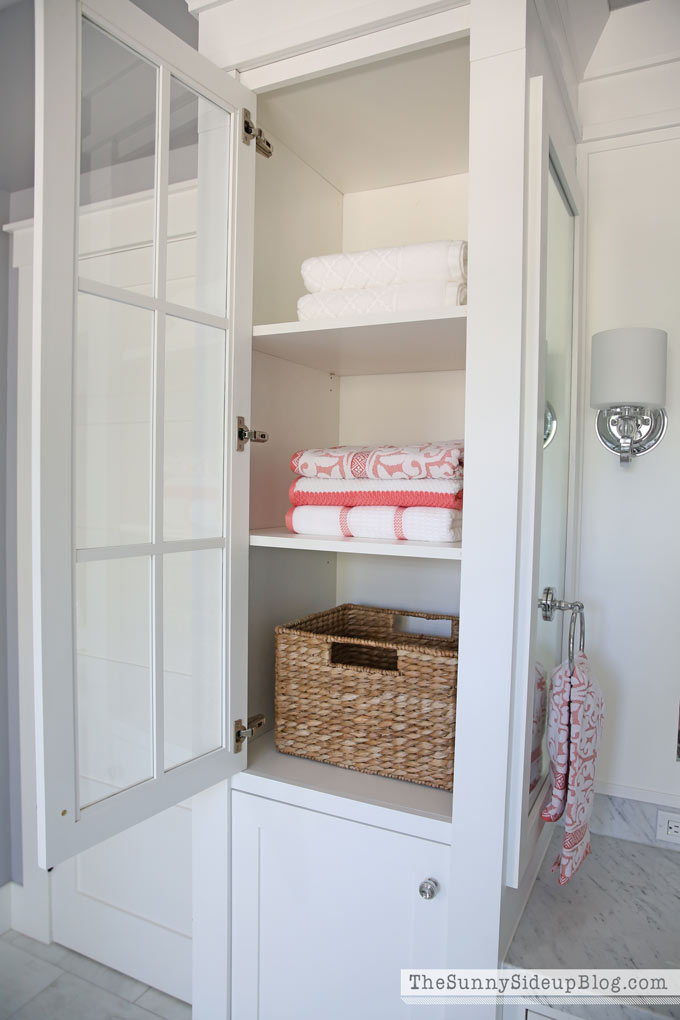
Happy Friday friends! I’m so excited to be sharing some of my all time favorite home decor items with you all today! I’m partnering with Pottery Barn on this post and when they reached out for this collaboration they asked if I could share an item in my home from PB Apartment.. um. One item? How about one hundred items. :) We all know my love for Pottery Barn runs deep! Needless to say I didn’t have a problem deciding on items to share with you all today. Honestly a lot of my all time favorite home decor throughout my house is from Pottery Barn Apartment! First up.. their baskets. ALL the love for PB Apartment baskets. If I was forced to pick just one favorite.. I couldn’t. But if I HAD to.. (like my life depended on it) I would pick their Savannah Utility Baskets.
I have the larger size in my glass bathroom cabinets and they hold so much!
Plus they are also so functional for storing and organizing.
I’ve loved having them in my pantry to hold random food items. Soon after I took this picture I switched out these for the Savannah Lidded Baskets because they are deeper and I can fit more items in them. (Lids stay off!)
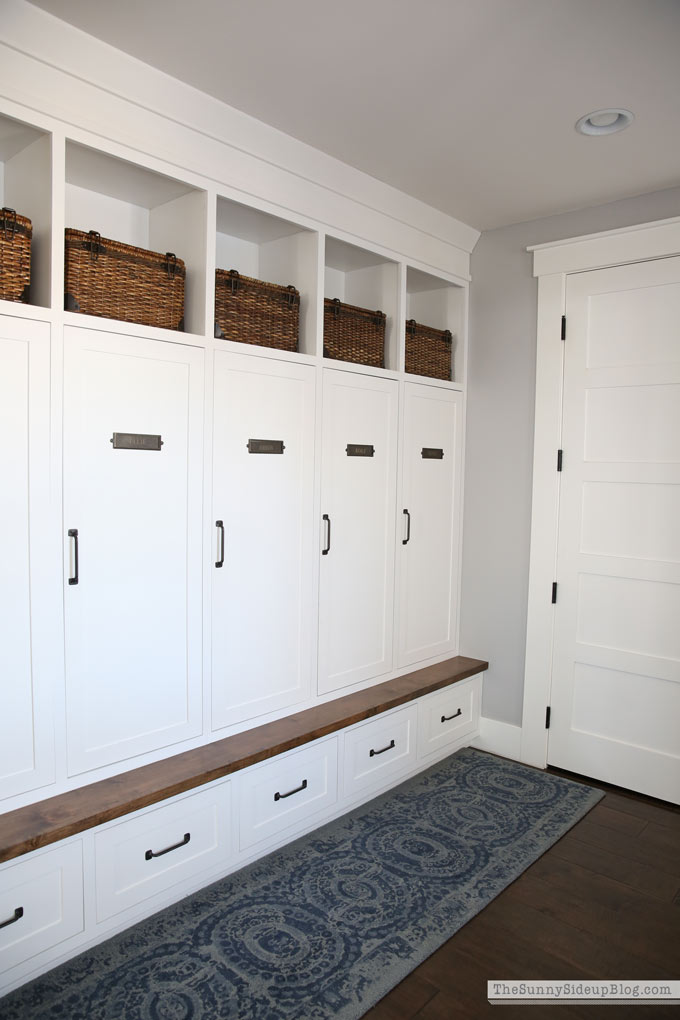
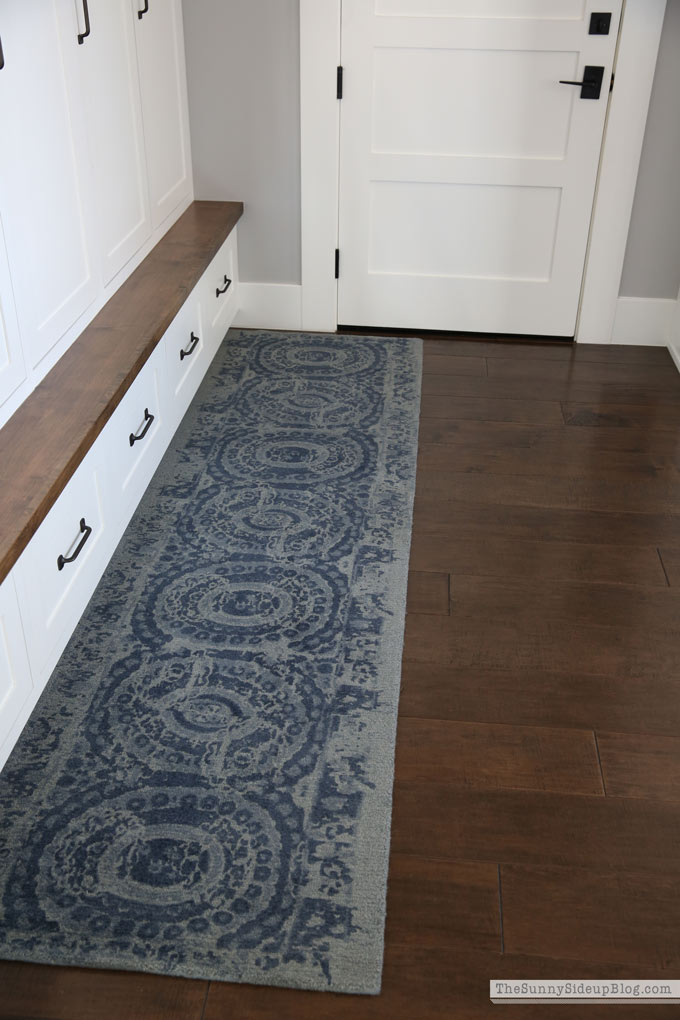
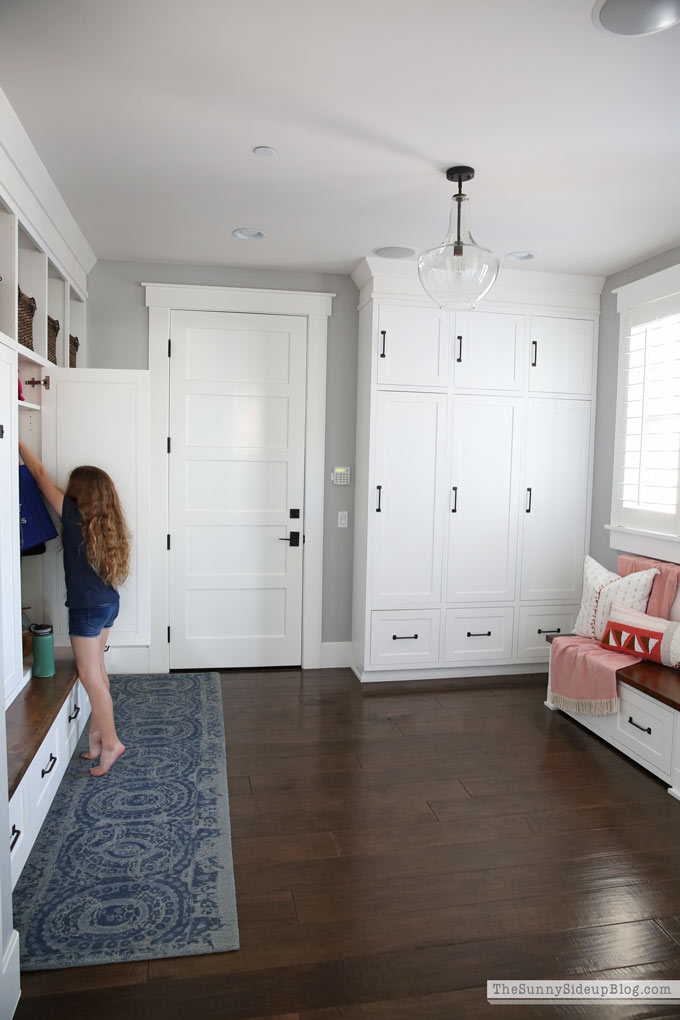
Another long time favorite item is Pottery Barn Apartment’s Daytrip Lidded Baskets. These baskets were one of the very first things I bought for our new home! I was so nervous that I wouldn’t find baskets to fit above our mudroom lockers since I hadn’t measured for specific baskets before building the cubbies. I found these Lidded baskets and loved them. When they fit perfectly I knew they were meant to be! Love it when that happens. I keep thinking of how fun it would be to use one or two of these baskets for a picnic sometime but so far they have just been great to look cute and hold our measly selection of winter clothes. ;)
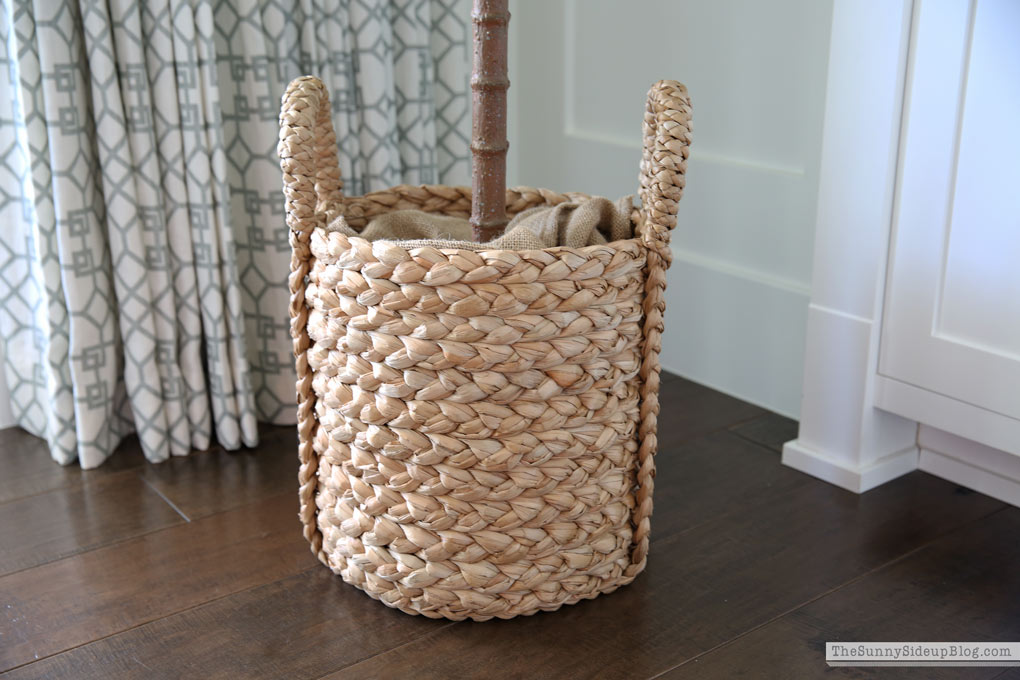
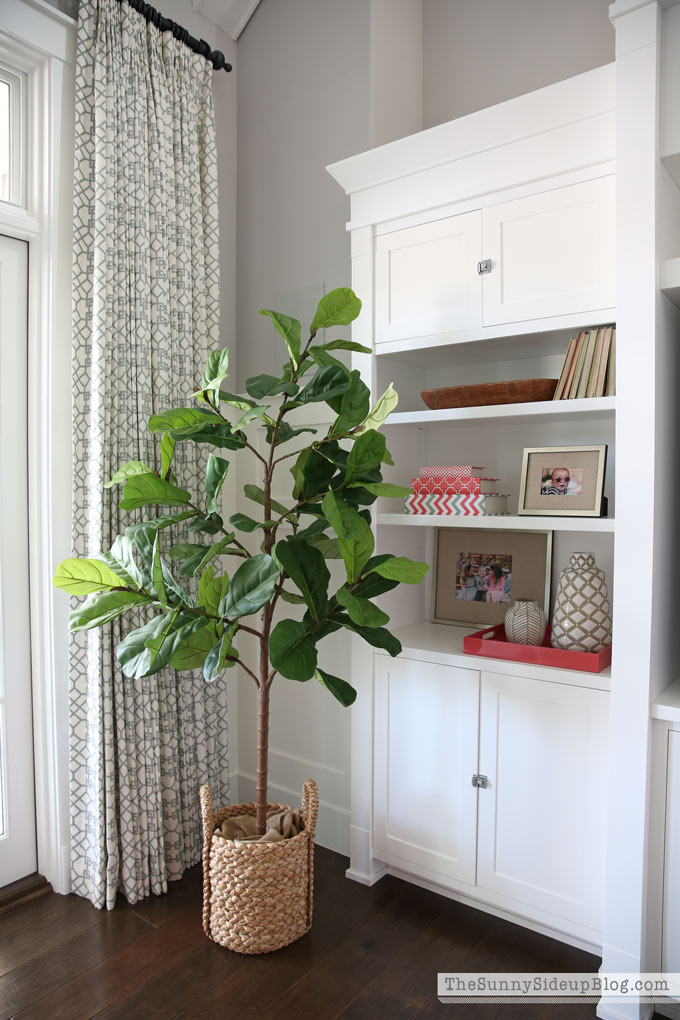
These Beachcomber Round Handled Baskets are other favorite baskets of mine. This large tote is perfect for holding a large plant or some magazines.
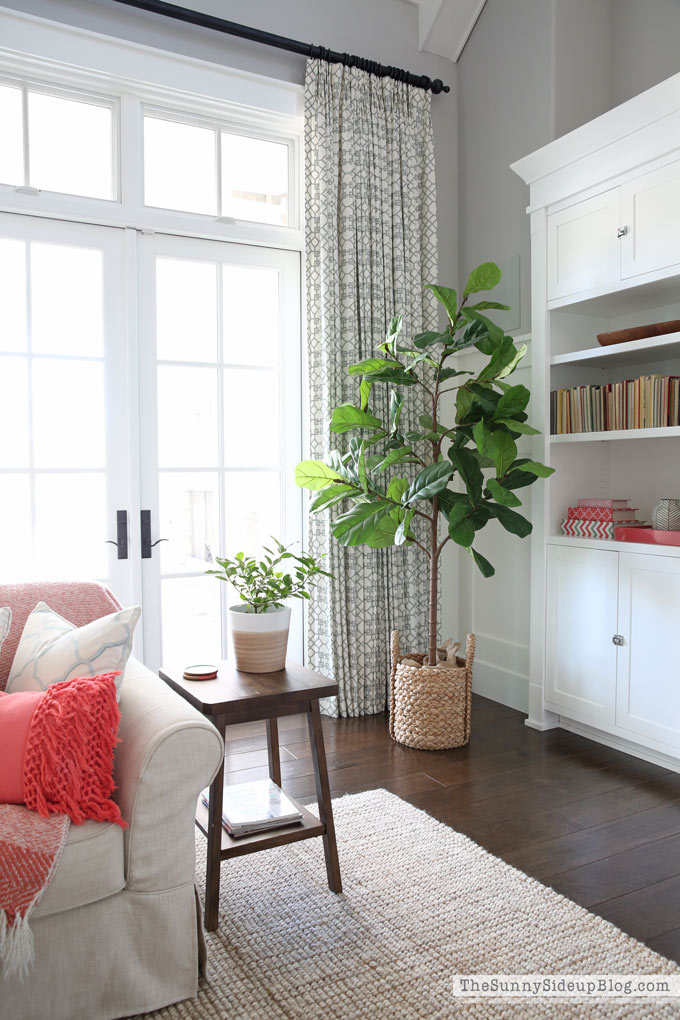
I’ve been using it for years to hold our Faux Potted Fiddle Leaf Tree. This tree and basket get moved around a lot because they look so good in every corner of my home! And unlike most of my plants, it won’t ever die on me. Bonus. :)
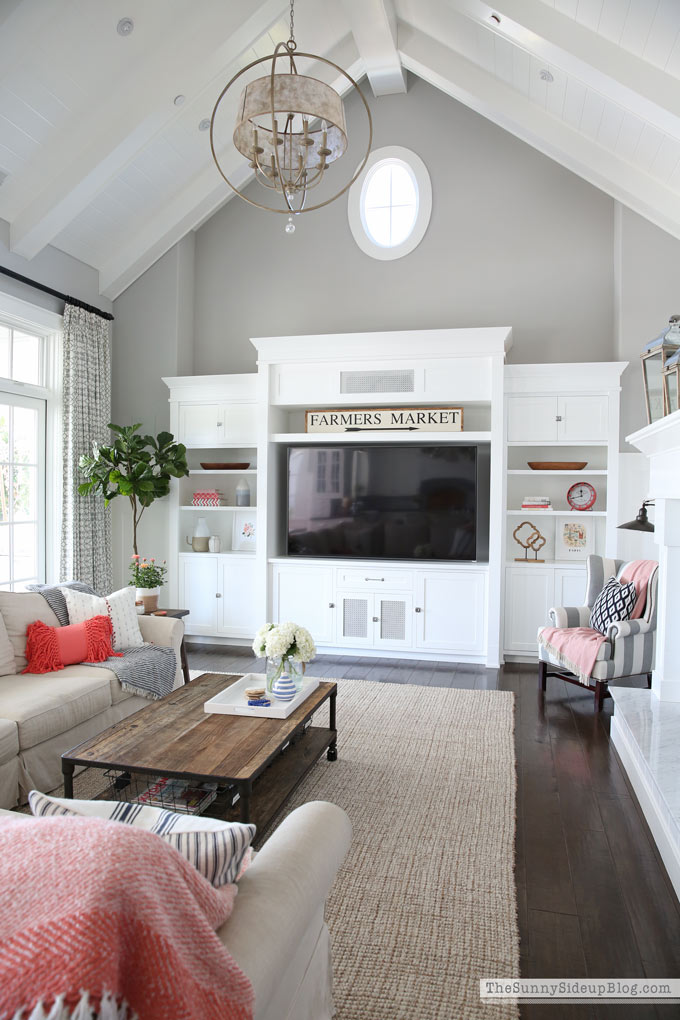
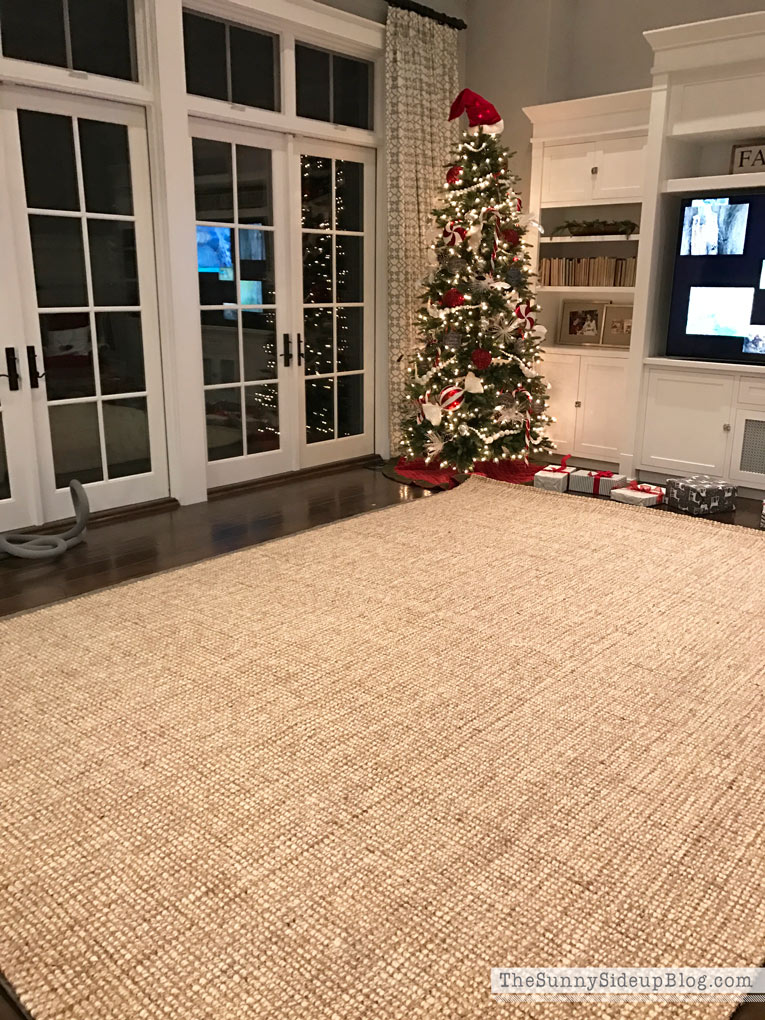
I can’t possibly do a post about favorites from PB without talking rugs. You all know I’m crazy about their rugs! They are my favorites because they are affordable, comfortable and also stylish. I’ve gushed on and on about my love for this Chunky Wool and Jute Rug in my family room and I still get questions about it daily!
This is a pic I took soon after we bought our first one. To answer the most commonly asked questions.. I have the Natural rug (not the gray) – YES – we have a rug pad from PB under it. YES it’s incredibly soft! Perfect for babies and kids. YES – it does shed. But not forever! It will shed for the first few months and then just eventually stop. It hides EVERYTHING. One of my favorite things about it! There will be popcorn kernels and all sorts of food on it and you really can’t tell. Standing in the room it always looks clean! Plus I just LOVE the look of it! It’s a perfect neutral rug that goes with any and all decor.
We loved it so much that we bought a second one in the largest size (10×14) two Decembers ago and moved that one in our family room.
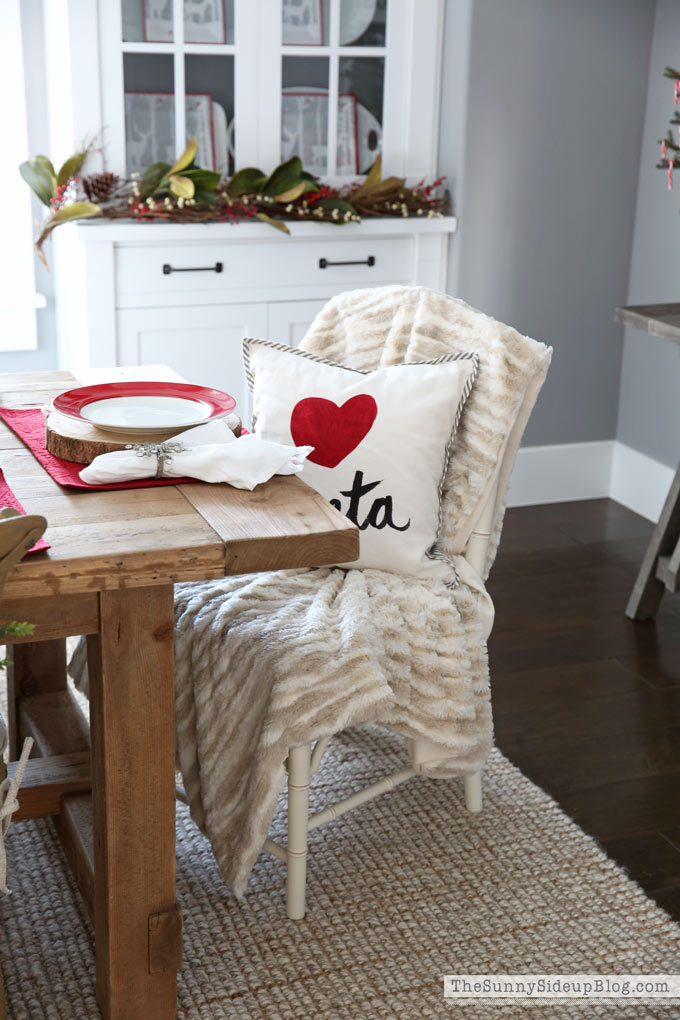
Then we put the 9×12 in our dining room. I especially love this rug in these two main rooms because I like to switch our decor up so often and it really does go with anything.
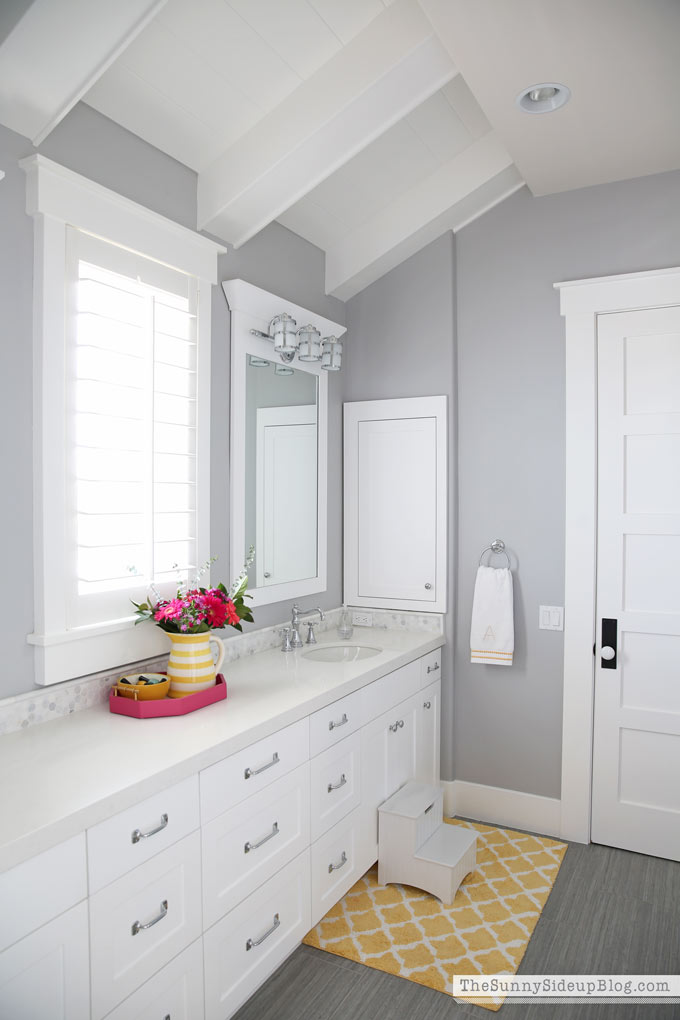
And then there’s my all time favorite bathroom rugs that rotate through my powder bathroom.
Ah yes.. my beloved Morgan Memory Foam Bath Rugs. You know something is a true favorite of mine when you see it showing up again and again in different colors. :) Let’s see.. I have it in twilight..
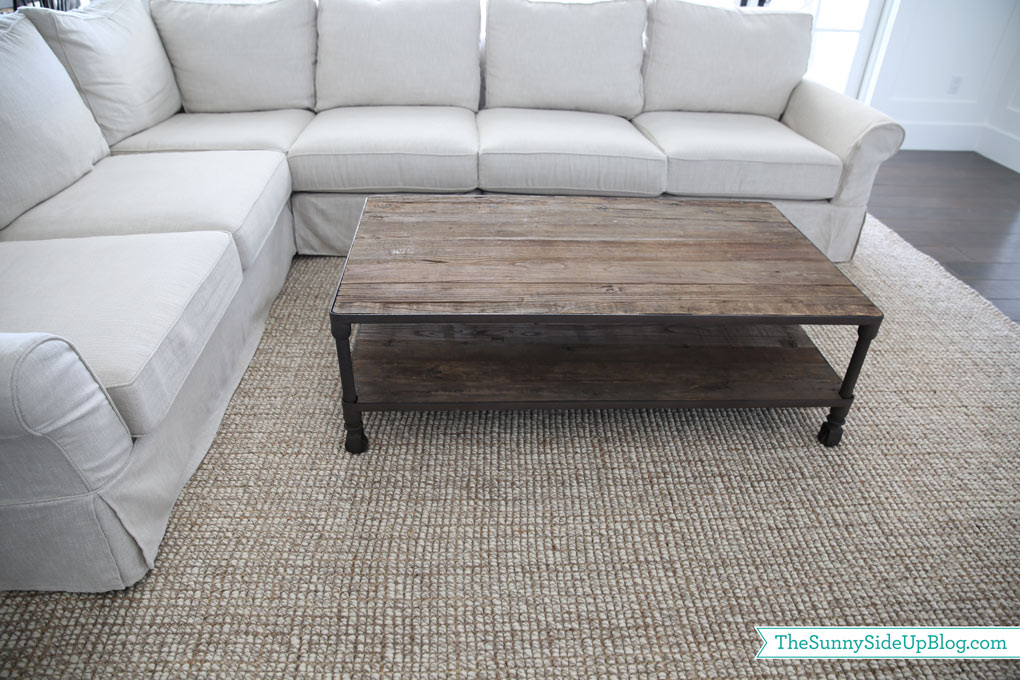
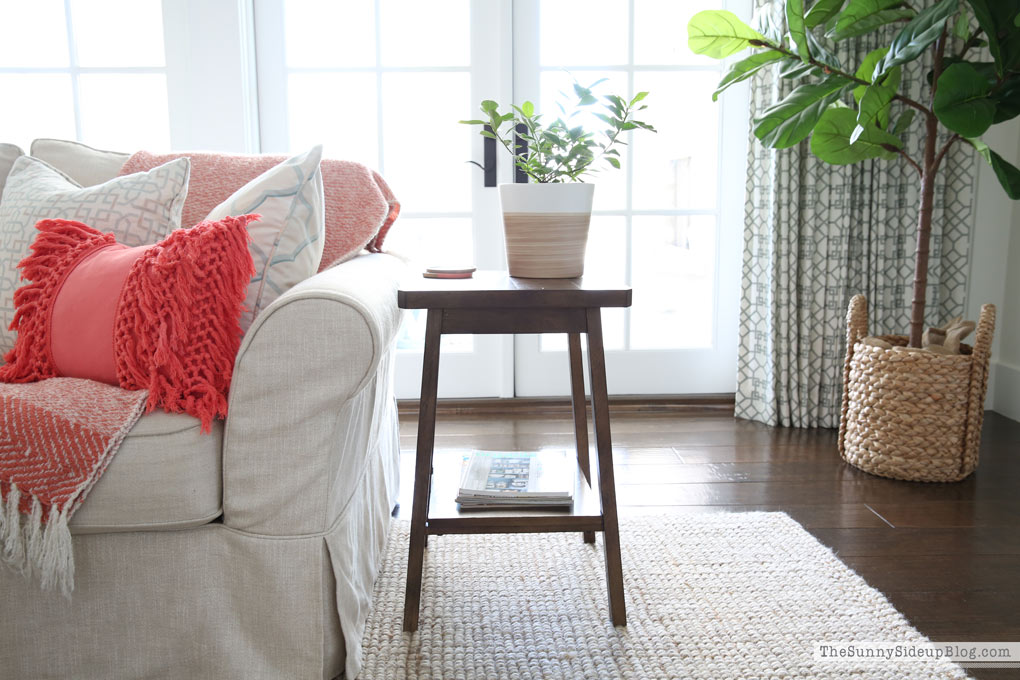
I wanted something small for the end of my couch and love the look and height of this little table. Perfect to hold your drink or book..
and your favorite organizing magazines. :)
We definitely put it to good use.
The PB Found Dough Bowls are also favorites that I love to decorate with! Each one is a unique found antique and they are so beautiful in person. I have several of them and this big dough bowl in front of my living room fireplace is actually a size medium. The large is huge! It’s so fun to switch up the decor in this! Most of the time I use it to display books.
I’ve put Christmas tree ornaments in it during the holidays too. And last year I used it to hold some of our favorite Christmas books.
Of course in the Fall.. pumpkins. :)
I have several PB dough bowls in the small size also and use them all over my house. I use them to decorate my open shelves a lot and they are perfect to hold fruit in the kitchen.
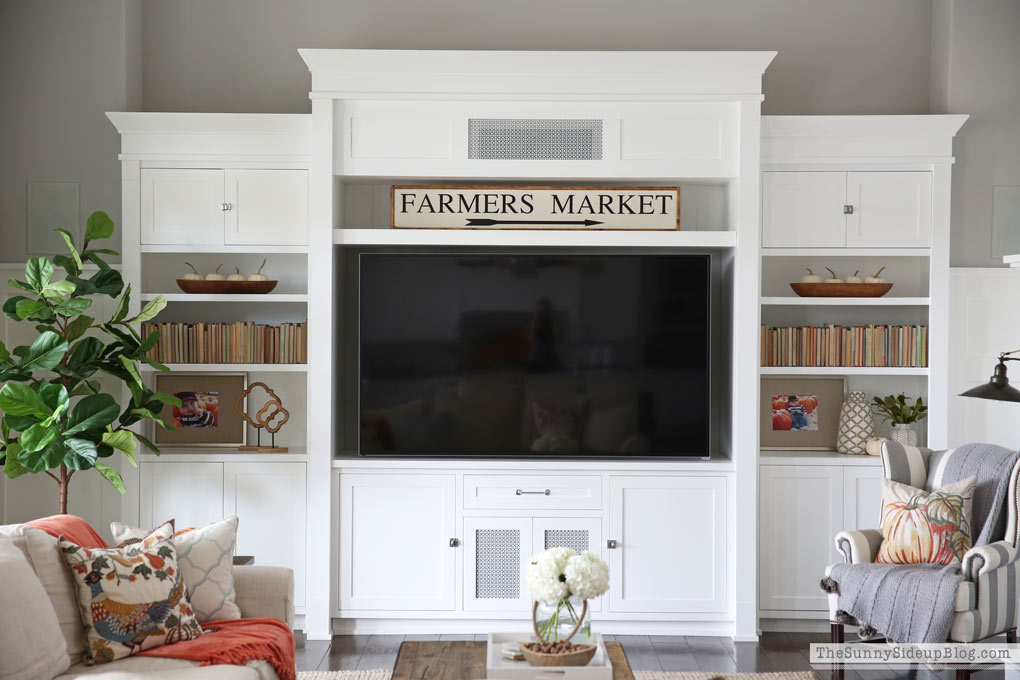
Another PB treasure similar to the dough bowls are my Vintage Wood Oval Trays. I have several of these throughout my home also, but especially love having two of them on my family room entertainment center shelves.
They even out my shelves and I love putting fun things in them during different seasons. This picture is making me so excited for Fall!
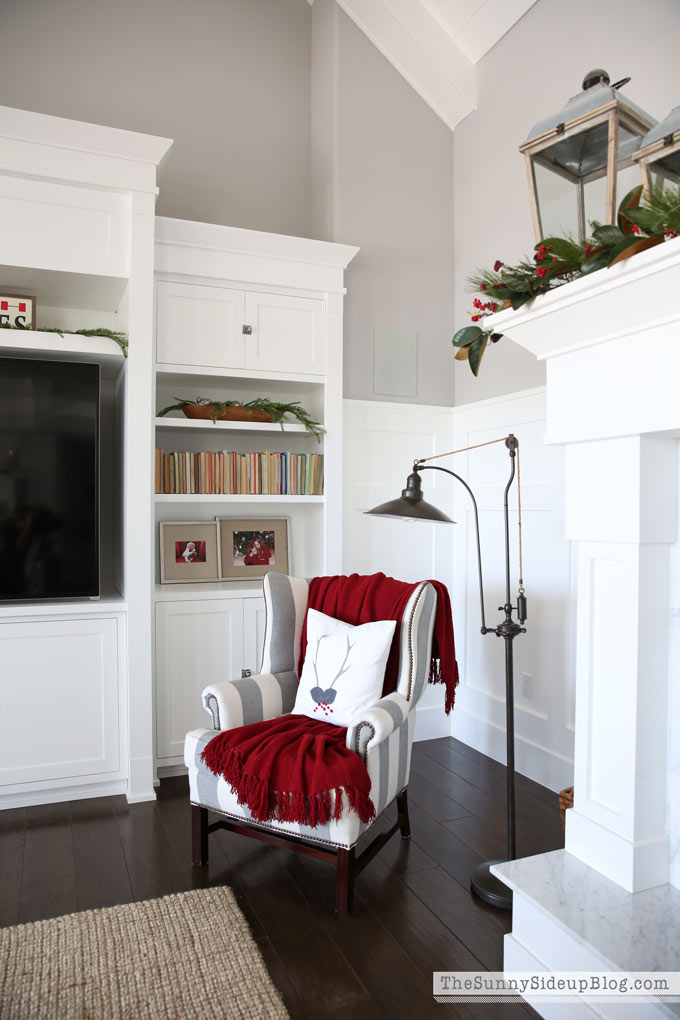
In December I fill my Vintage Wood Oval Trays with greenery. This is too much fun.. bring on the holidays!
I can’t wait to pull out my favorite faux pumpkins! I bought these cute faux pumpkins for my kitchen last year and then ended up going back to PB for more two different times! If you display these faux pumpkins mixed in with a few real pumpkins everything looks real. I’m picky about faux items like this and these pass the test! Best I’ve seen.
I guess I’m glad my kids are going back to school after all. It means Fall is on its way! Leaves and Pumpkins and School Supplies and Football and multiple trips to Pottery Barn for fun decor. SIGN ME UP. :)
*Huge thank you to Pottery Barn Apartment for sponsoring this post! So many items from PB really are beloved favorites. Love always, a long time loyal fan
Back to school. It’s that time again! Our summer is winding down and I have mixed feelings this year! Excited to get back into a routine and for new beginnings, but also sad to see summer end. I’m a little anxious about this school year because I have three kids in three different schools with different start times and end times and breaks. (Their Spring Breaks are literally one right after the other three weeks in a row! Such a bummer.) Add that craziness to our already hectic activity schedule and I have no doubt I’m in for a wild year! I get tired every time I think about it. Ha. :)
So I’ve been working hard to get all of our systems in place and on top of things around the house. I’ve found lots of ways to help keep my sanity in tact during busy seasons of life and I’m sharing them with you today! I need the reminders myself and I hope that some of these tips help you keep your sanity this school year too. Moms need to stick together. :) And if you don’t have kids or your kids are grown I hope you still find a few tips that are helpful for your current season of life! Organization with or without kids is always a good thing. :)
{SET UP SYSTEMS TO CONTROL THE PAPER}
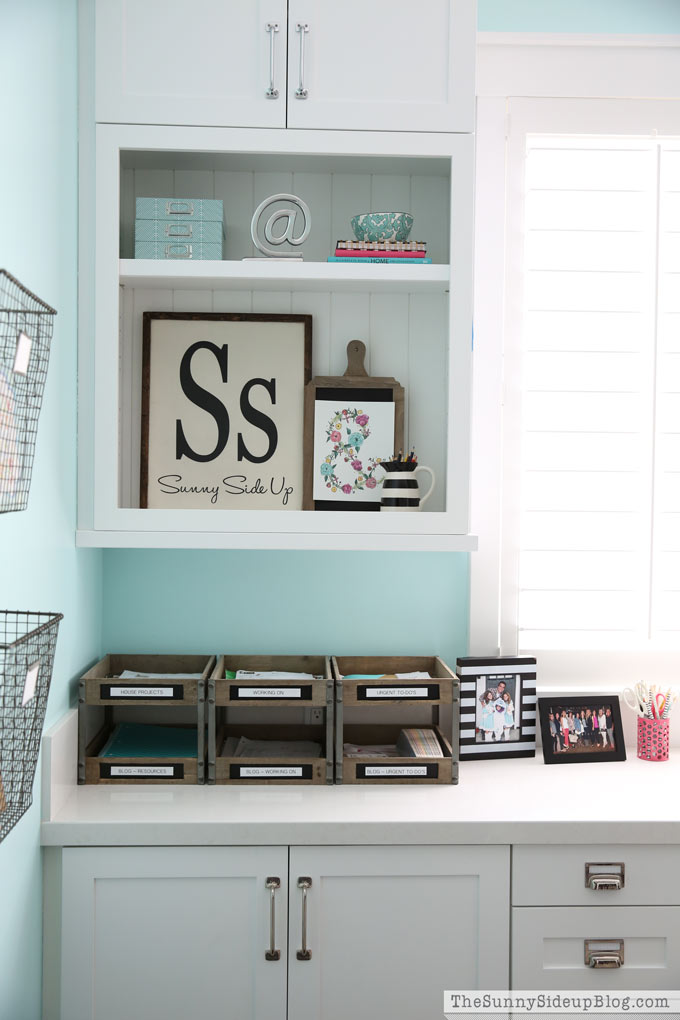
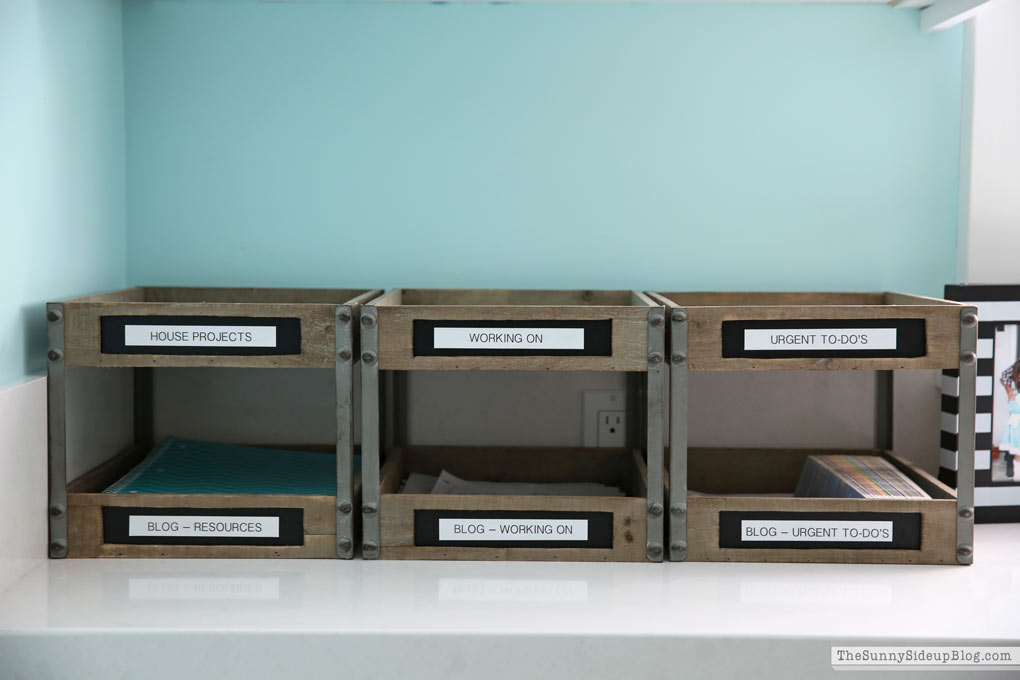
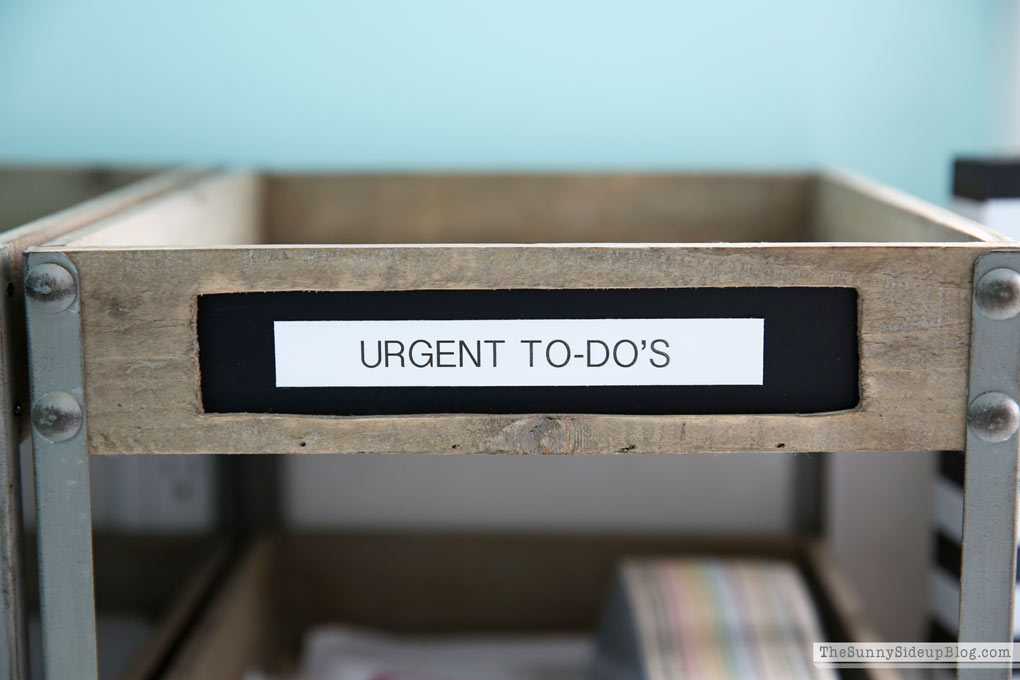
I know. We’ve been talking a lot about paper control lately but it’s such a HUGE thing that is essential to keeping your sanity! We all know how much paper comes in the home on a daily basis and if you don’t have systems set up to handle it, it ends up all over counters cluttering our homes and our minds and making it hard to stay on top of things. For my personal paperwork I set up these wooden bins in my office. The top row is for personal paperwork and the bottom row is for work paperwork. LOVE having a place to keep all of these loose papers I reach for daily. (More details in this post.)
If you don’t need multiple bins like I have I’d recommend at least having some sort of “inbox” where all of your urgent papers can land. Things that need your attention soon. I check this box at least once a day and this helps me make sure that important things don’t get lost in the shuffle!
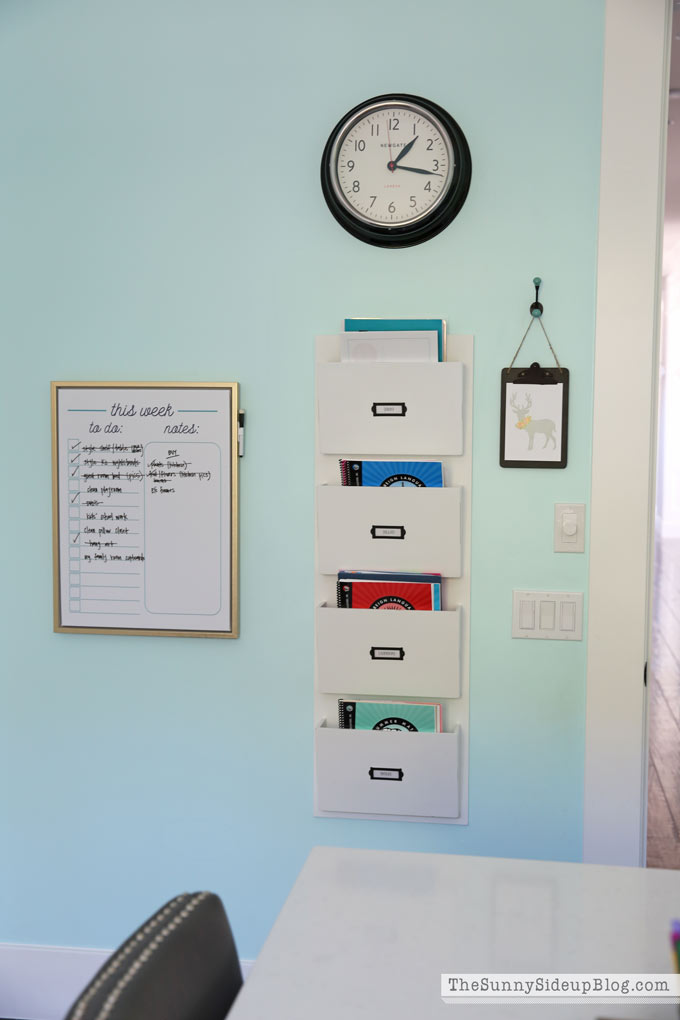
For random papers my kids need to hang on to I have this hanging file system in my office that I’ve had forever. If you’re looking for something similar I just found this inexpensive solution that folds up and is perfect for managing papers! I also love this system and a few more options below.
*affiliate links used
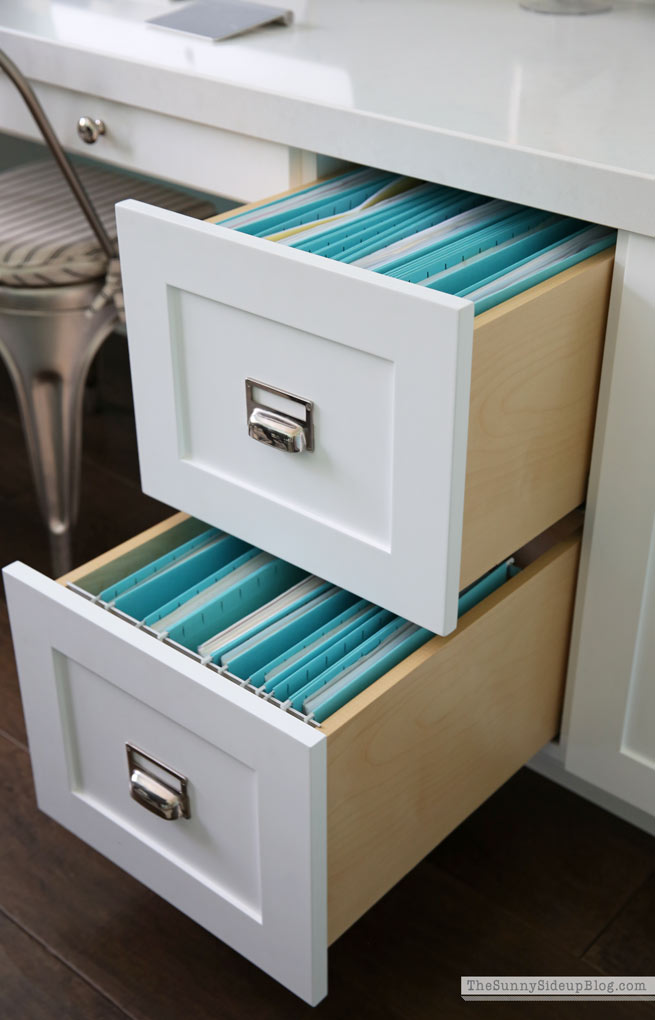
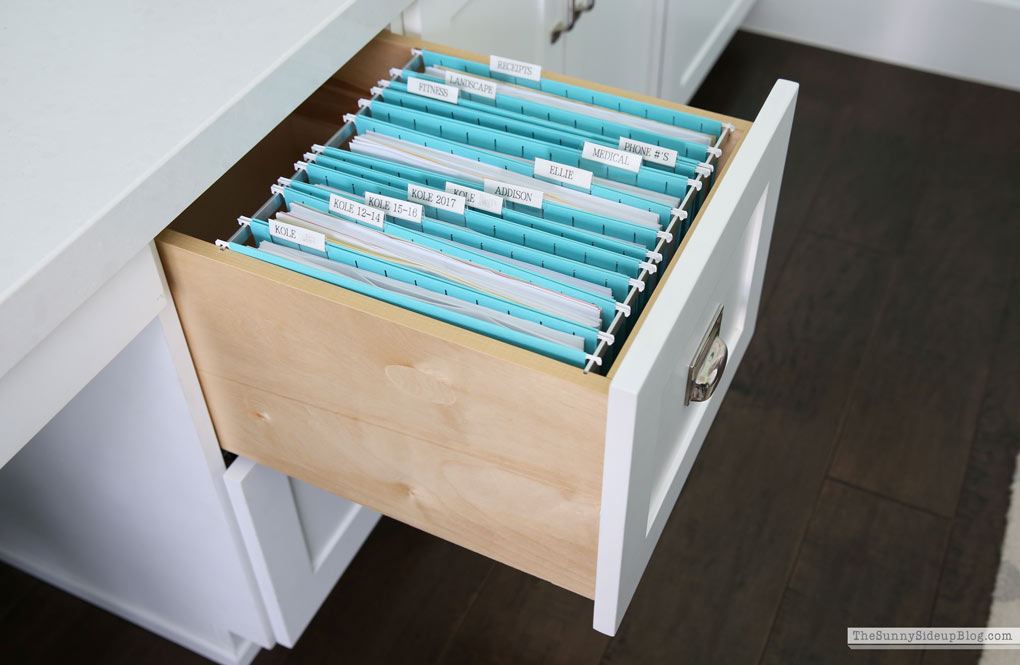
Papers I need to save long term are filed in my drawers. So happy to have this little project behind me!
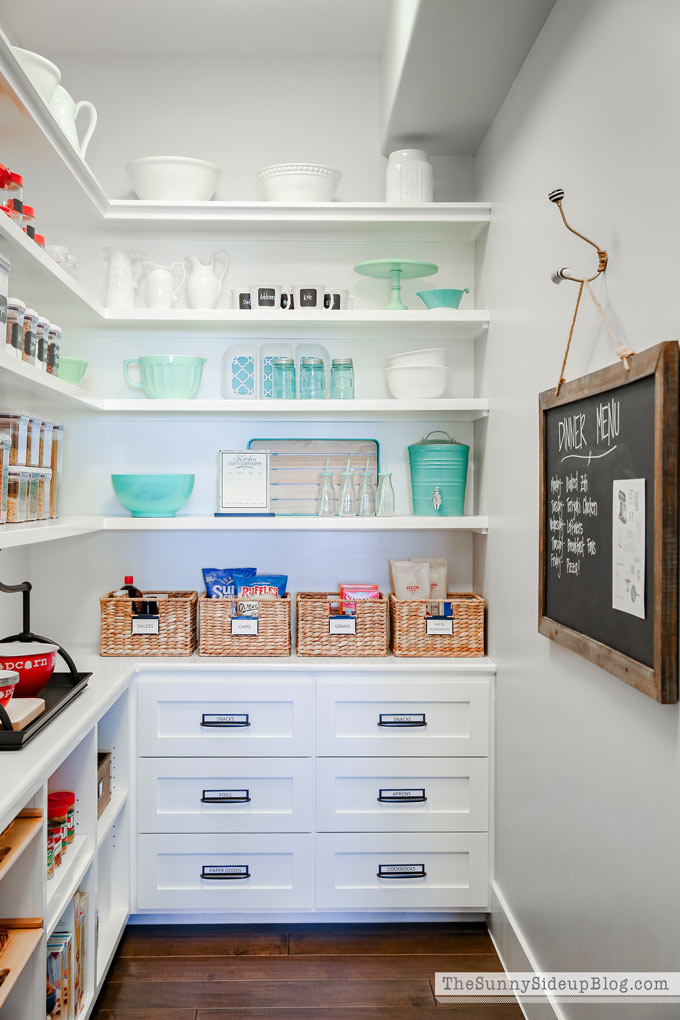
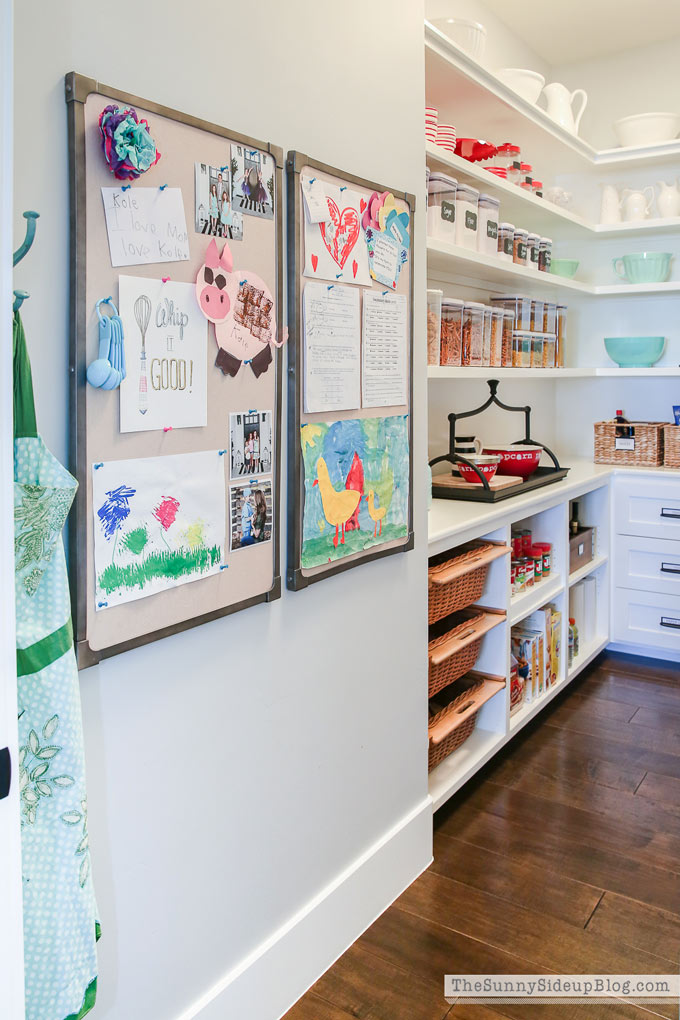
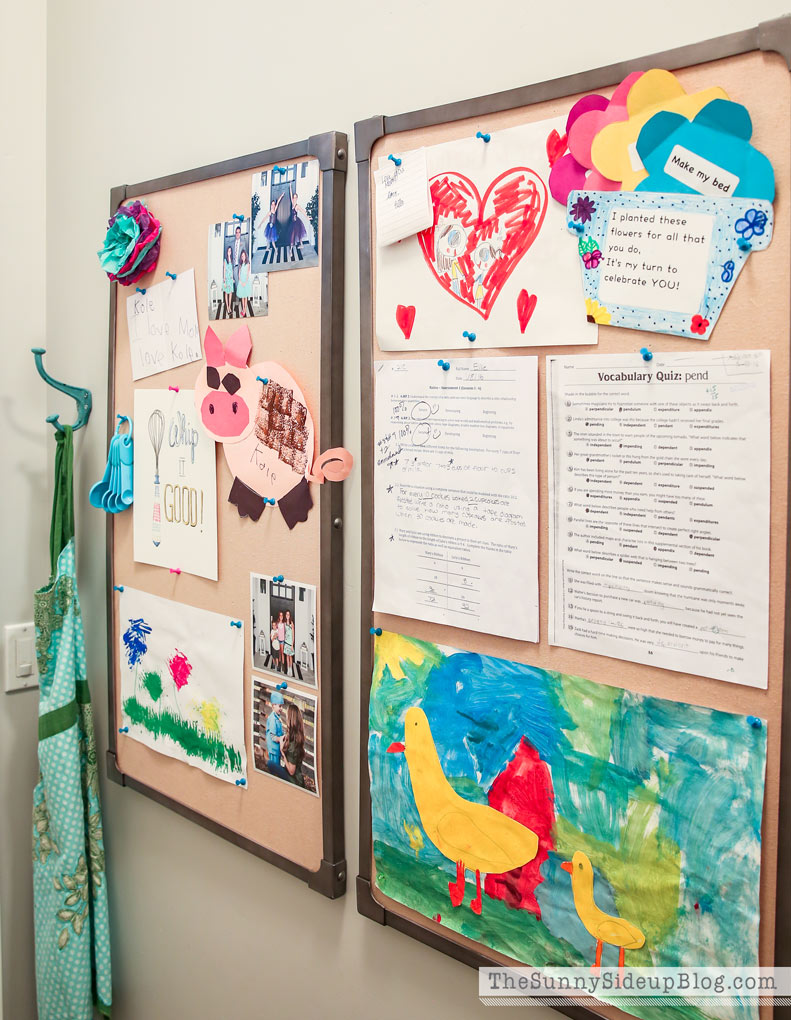
For random school/art work that my kids are proud of and we want to display I have these cork boards in my pantry.
I love having a place to quickly pin up tests or assignments my kids are proud of. Or that cute little note they wrote me or the wedding/baby announcement that came in the mail. I got these cork boards from PB and they’ve now replaced them with this similar option. I also love this one and it’s on sale right now! Below are a few other great options if you have room for a pin board in your kitchen, office or hallway.
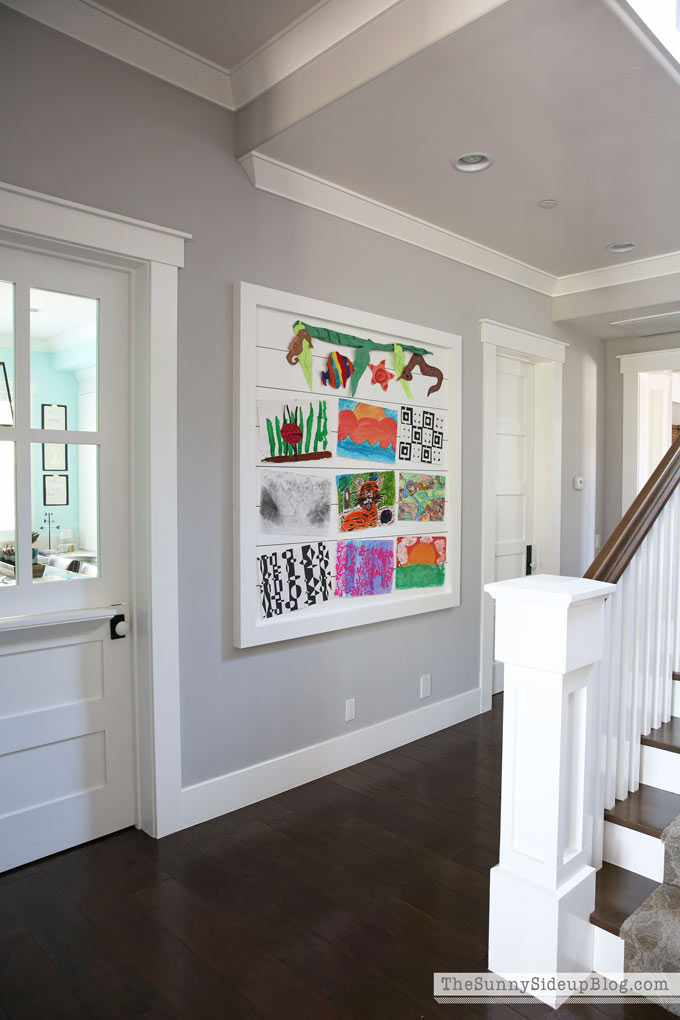
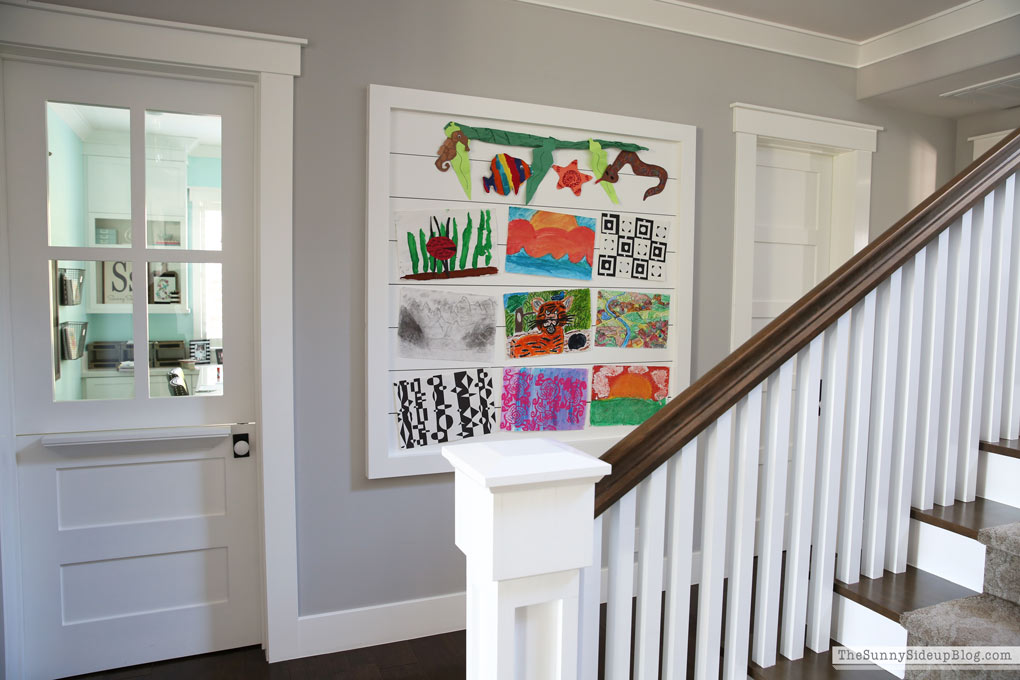
Art work I’ve been displaying on our shiplap display wall through the summer months. Then I toss a lot of it! More on school work/art organization is coming. :)
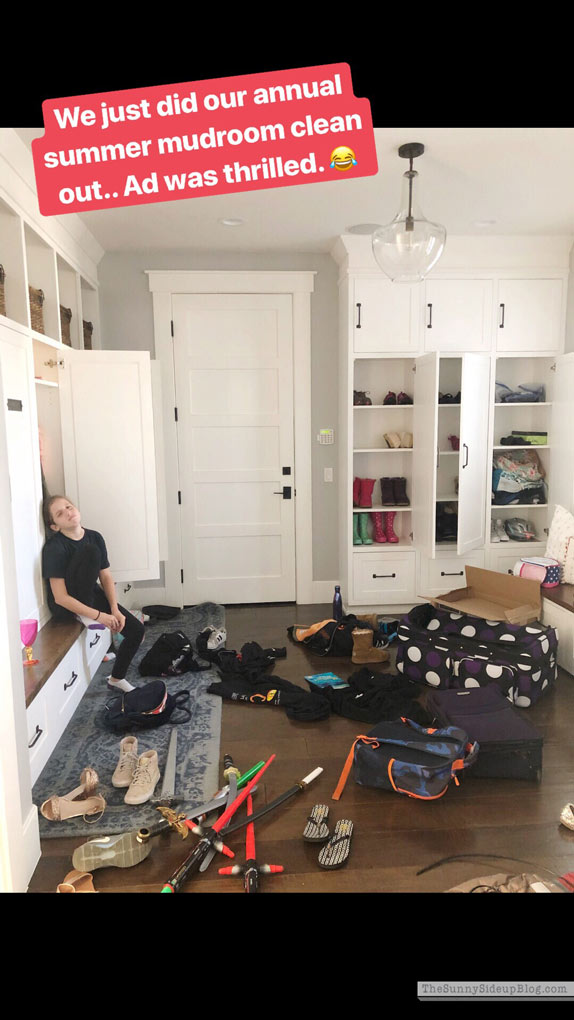
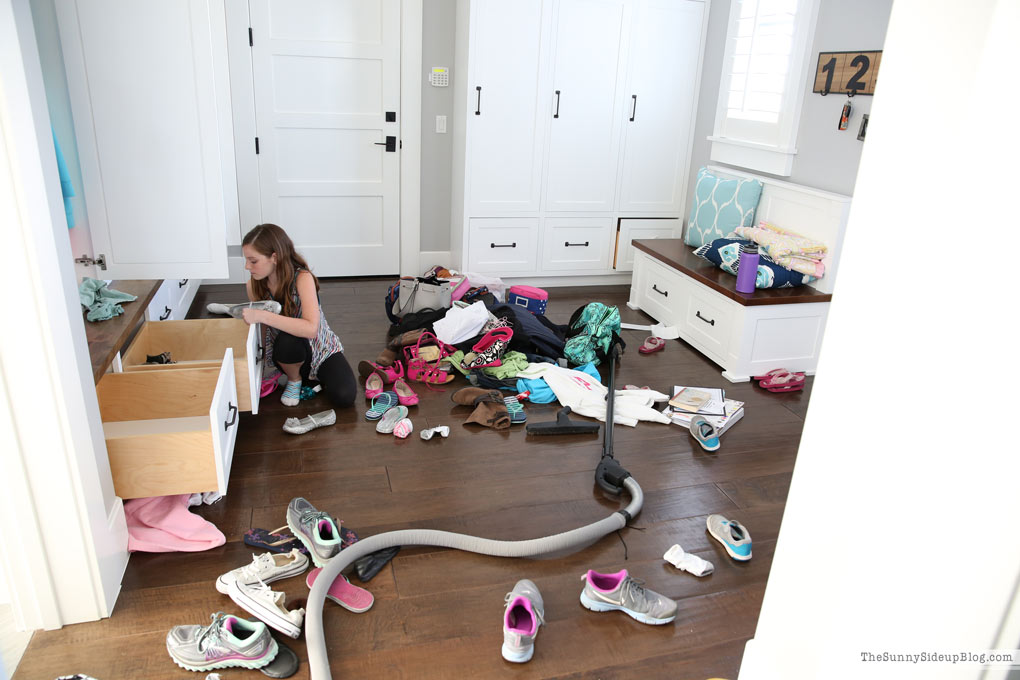
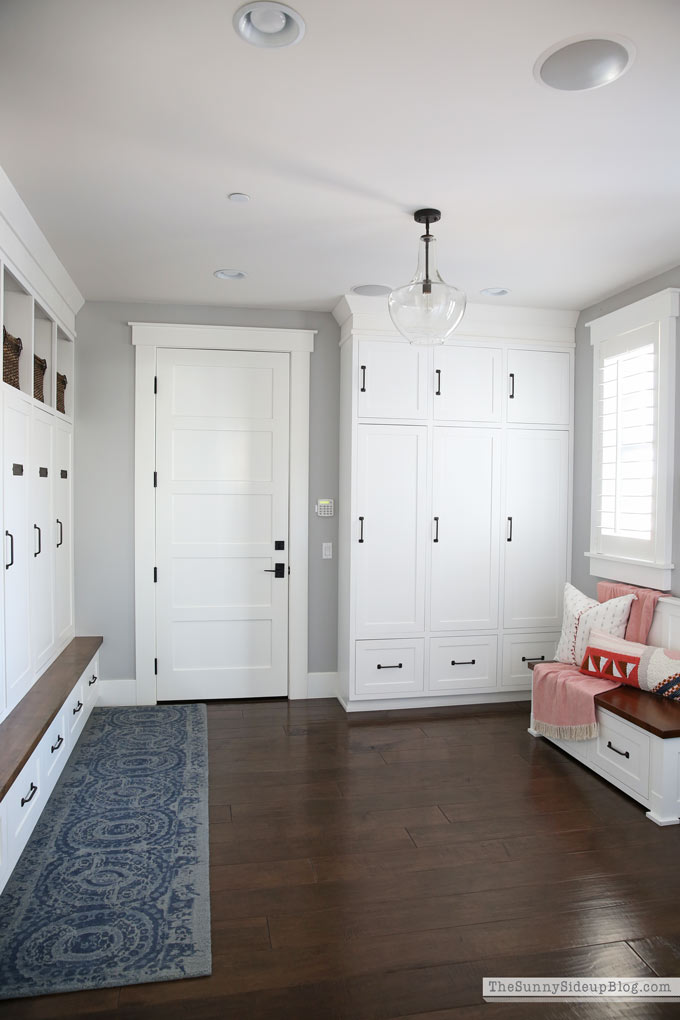
I always feel much more sane during the school year when the spaces are organized that my kids’ are using often. Landing zones for shoes and backpacks especially need to be organized. My kids are always so excited to clean out our mudroom every summer. ;)
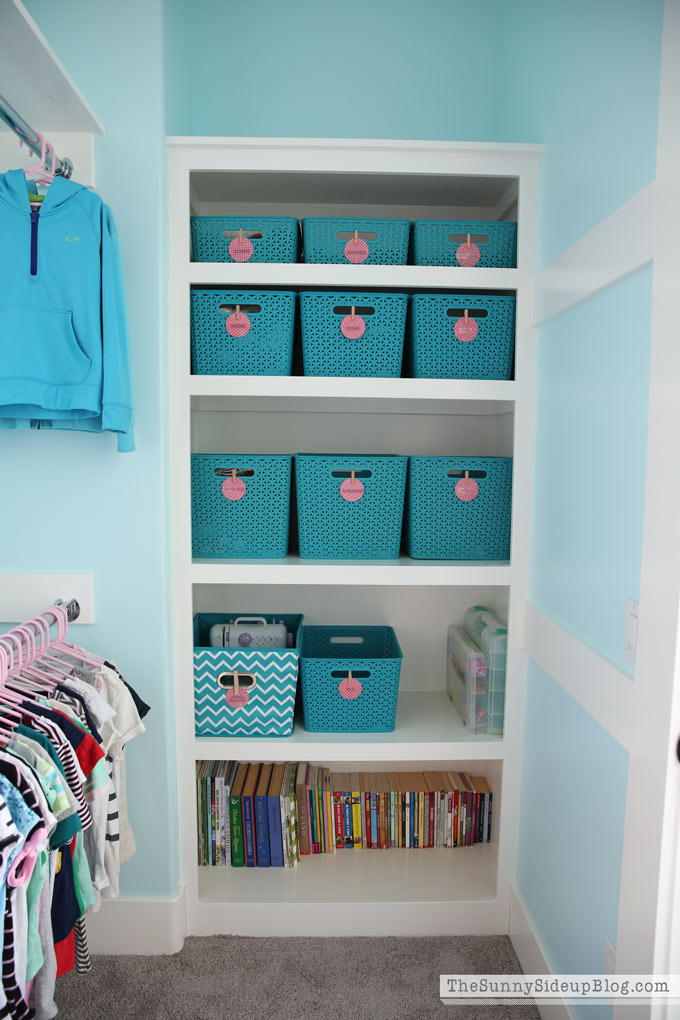
We also clean out the kids’ closets every summer. So nice to get rid of clothes that are too small or they aren’t wearing and clean out the clutter! It’s crazy how quickly things pile up in kids’ closets isn’t it!? It’s like they can’t help but collect every little insignificant item that comes their way!
And of course if you have any type of office/craft room/homework room that the kids use for homework it’s so important to have that area cleaned and ready to go!
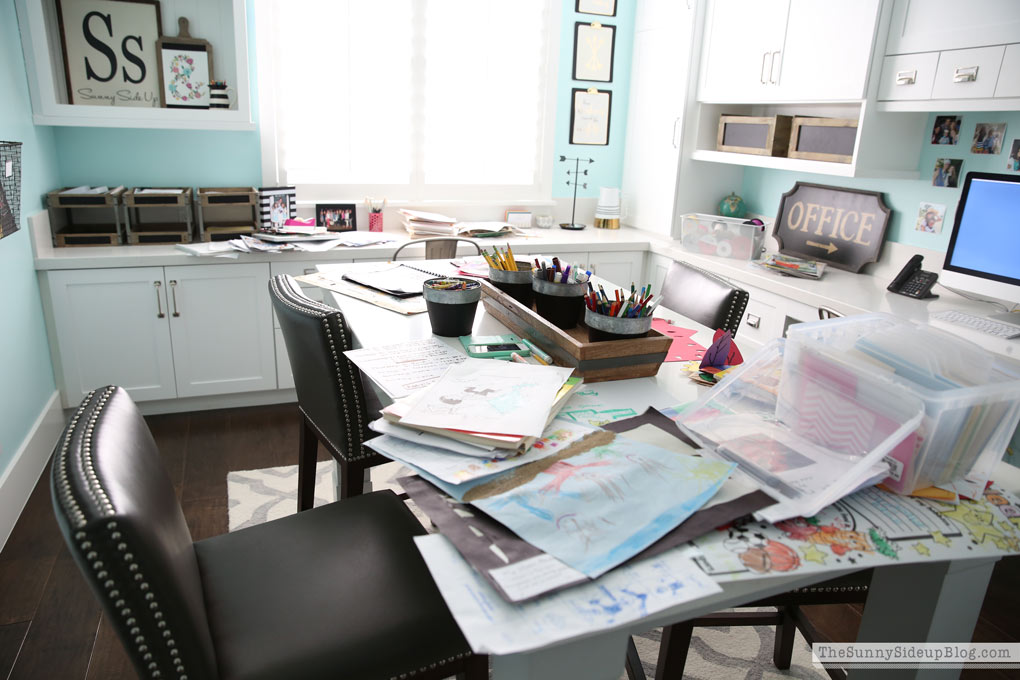
I’ve been working on my hot mess of an office all summer and am so excited to have cupboards and drawers streamlined!
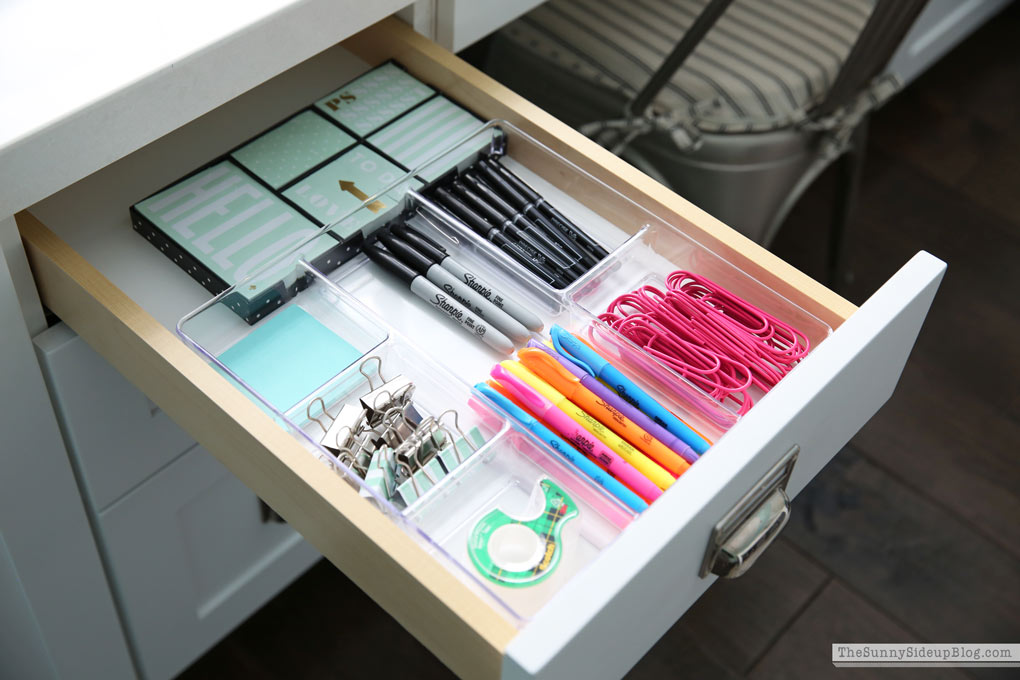
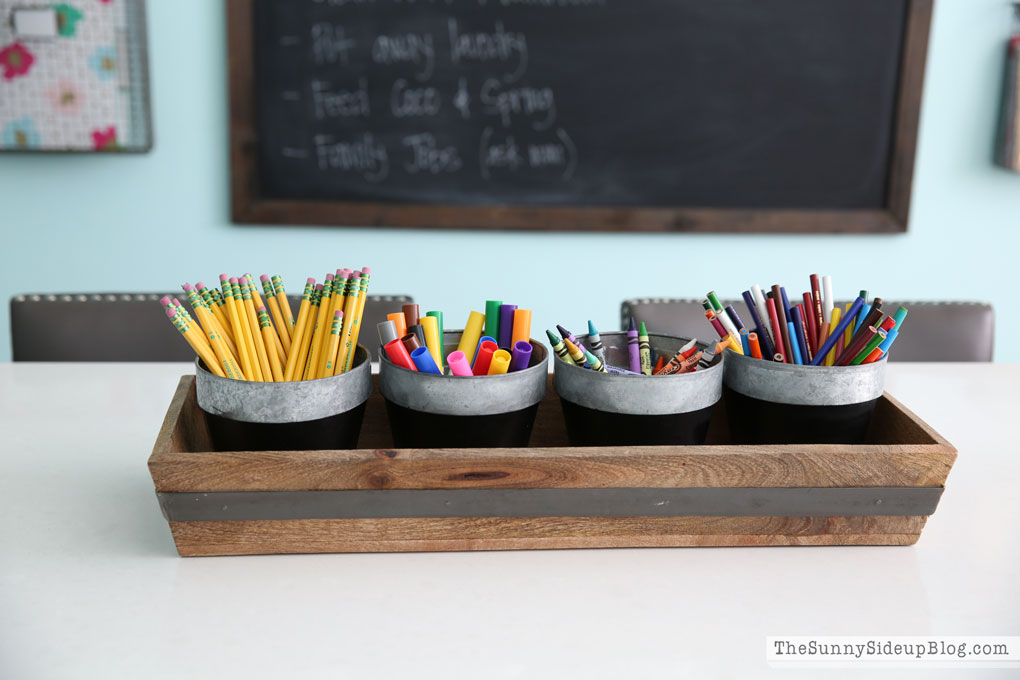
If you use a kitchen counter or table for homework have a drawer or bin nearby ready with pencils, crayons, etc. Nothing like sharpened pencils and new crayons is there!? My favorite. :)
Having a set zone for homework that is clean and ready to go when kids start makes a huge difference!
{CREATE ROUTINES AND SHORTCUTS THAT MAKE LIFE EASIER}
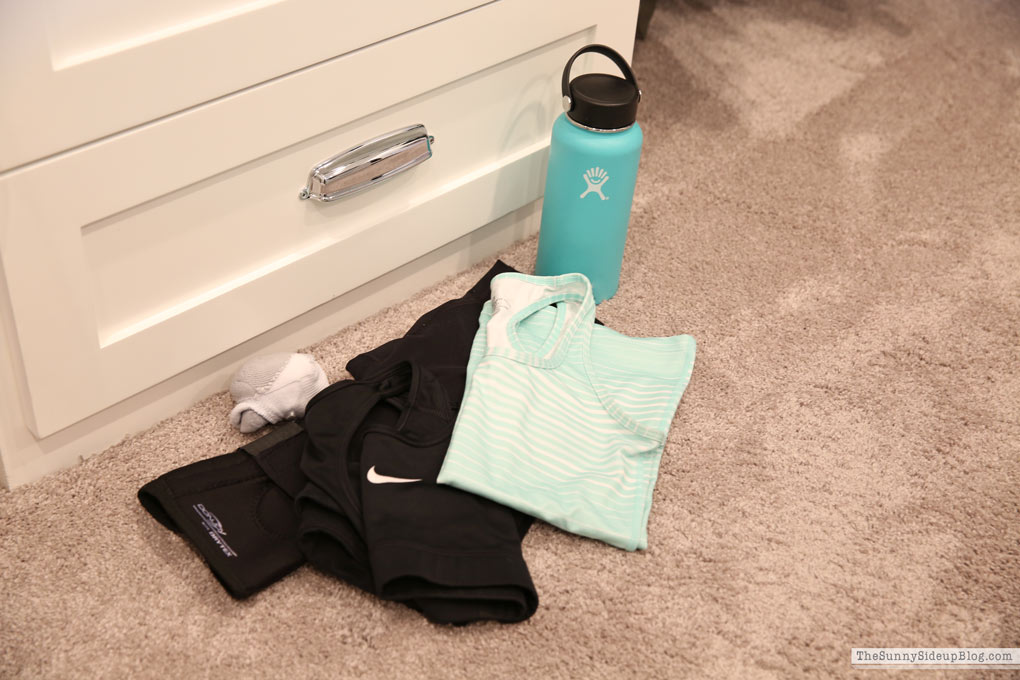
I’m all about creating routines and shortcuts that help things run smoother each day. Simple things like laying my workout clothes out the night before, pre-packing lunches, etc. are a huge help during busy mornings when I’m tired and my brain isn’t quite awake yet!
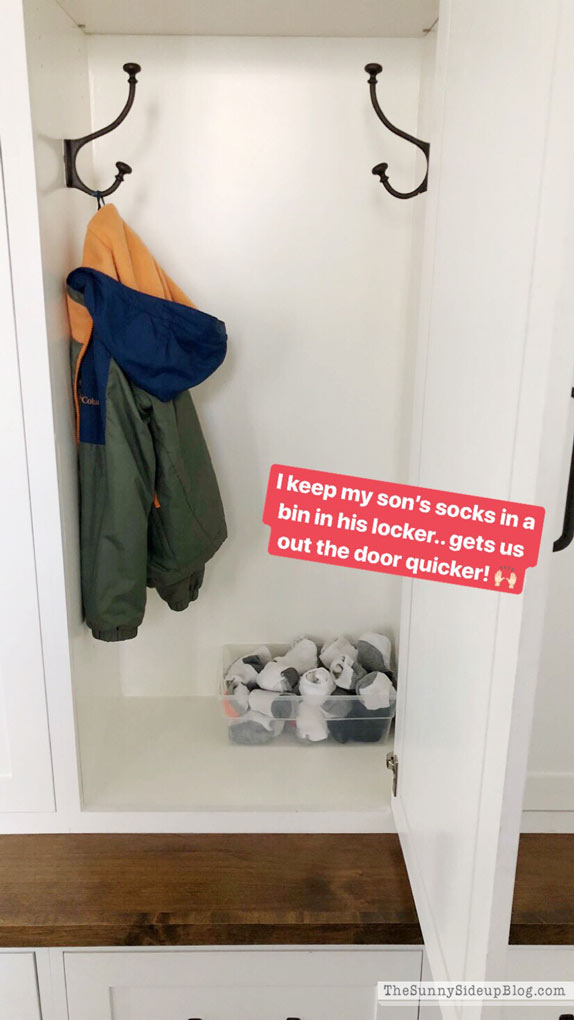
Think about your every day routines and how you can simplify them. Kole’s bedroom is upstairs and every day when we were ready to put on shoes and head out the door I’d have to send him upstairs to grab a pair of socks. Lightbulb moment two years ago when I finally asked myself why I wasn’t keeping socks downstairs by the shoes!
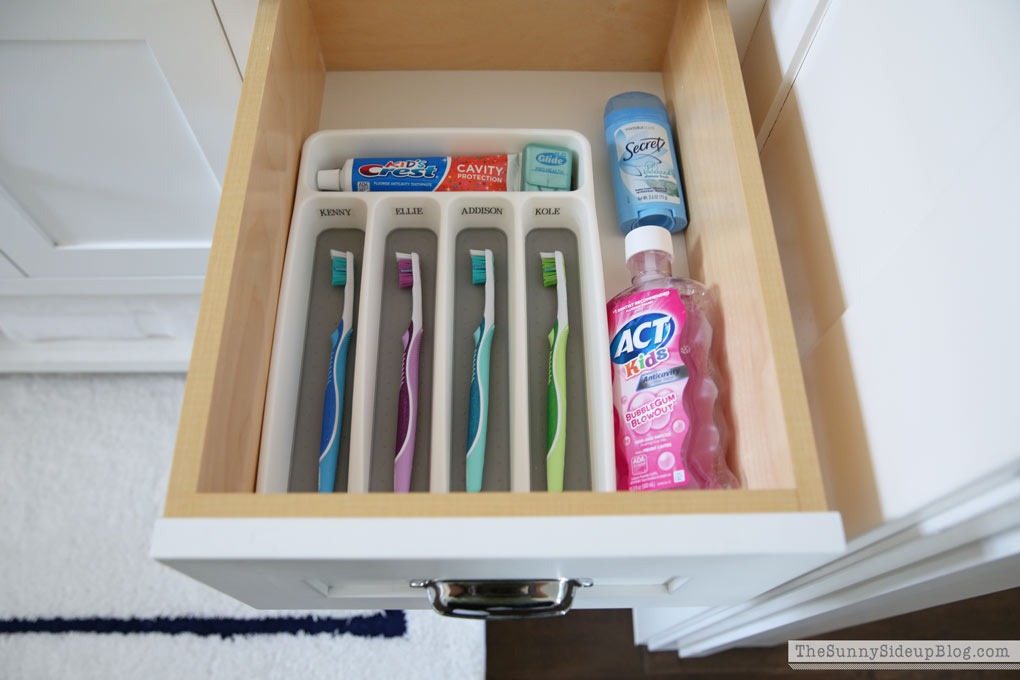
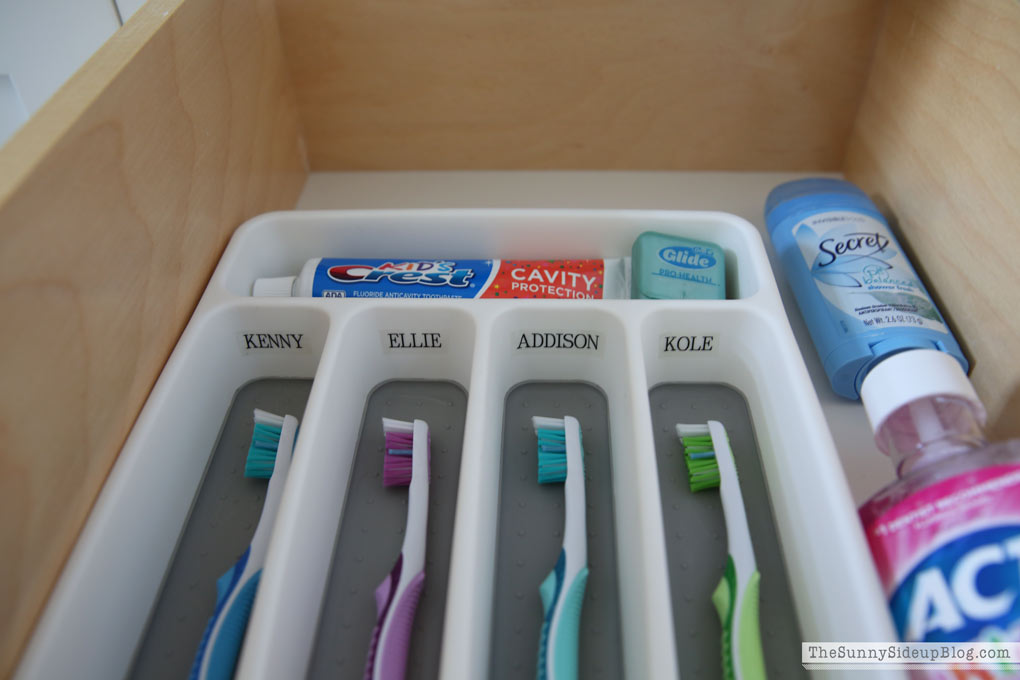
Soon after we moved into our home I set up this drawer with extra toothbrushes for mornings we are running late. If the kids haven’t brushed their teeth they can do it quick in the powder bathroom before they run out the door vs. running back upstairs. Does anyone else lose their kids when they send them upstairs? :)
I didn’t put one for me in this drawer because I get dressed and my teeth brushed early. If I don’t get myself ready before I get the kids ready it doesn’t happen!
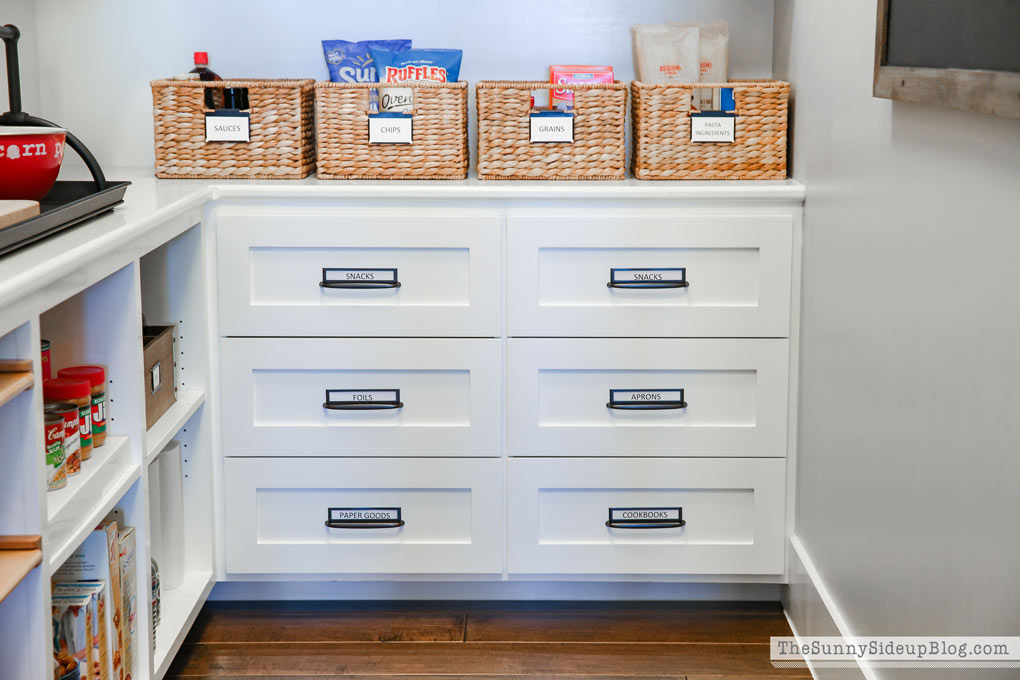
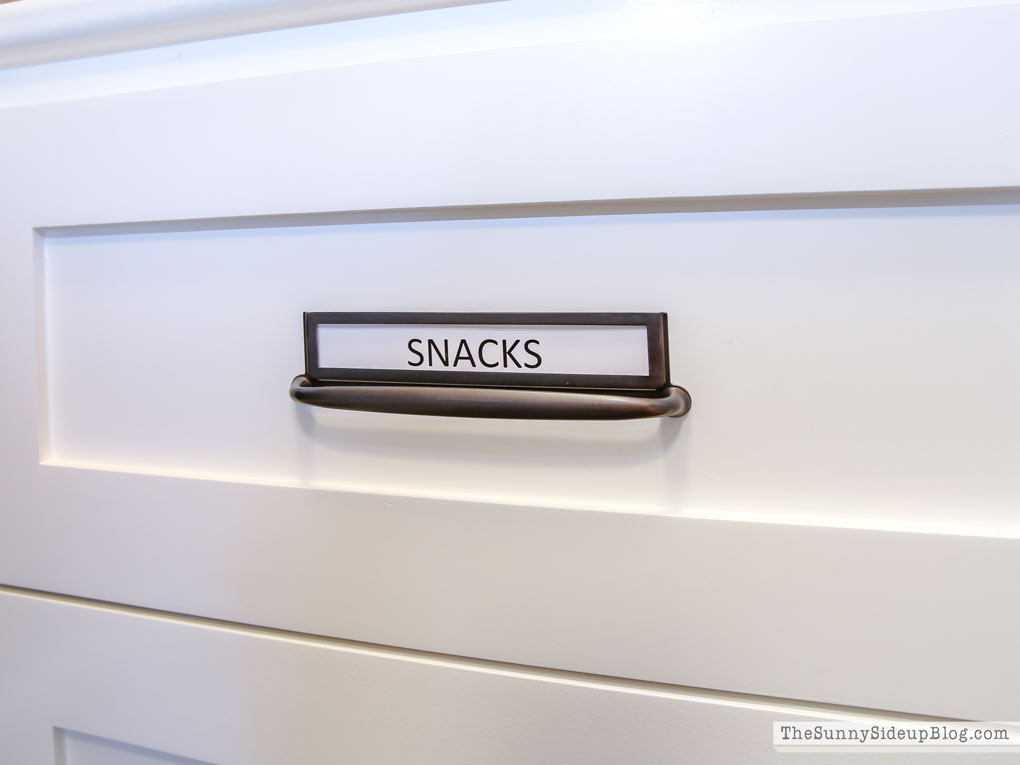
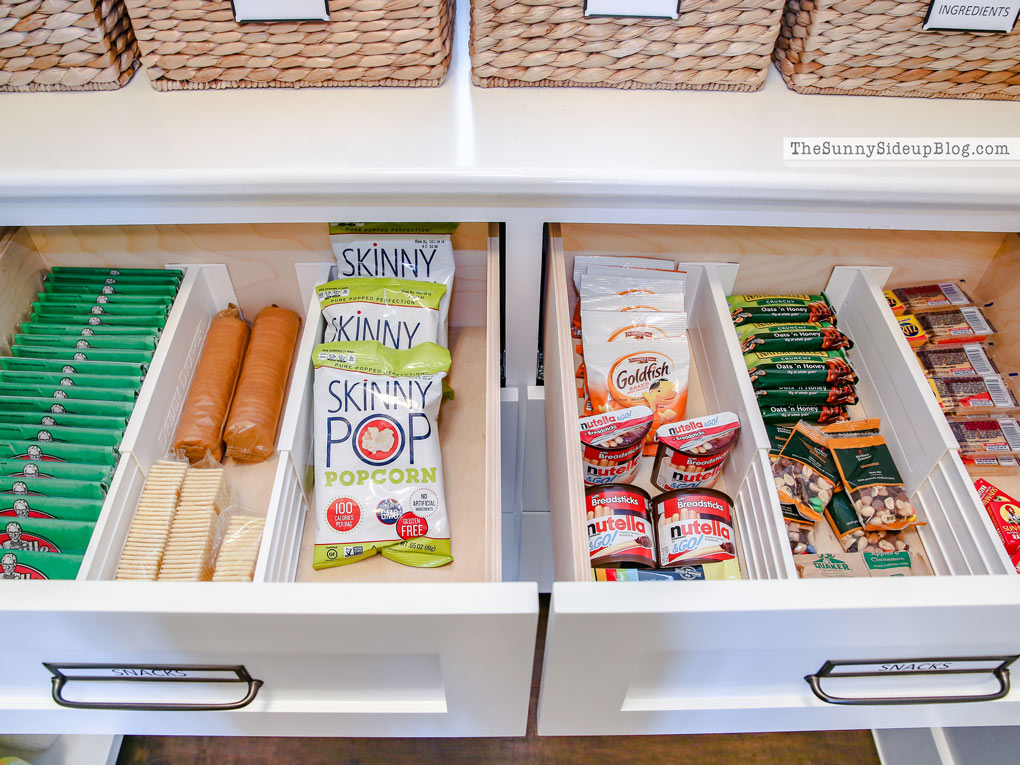
Another helpful time saver for busy mornings is having a set place for snacks/school lunch stuff.
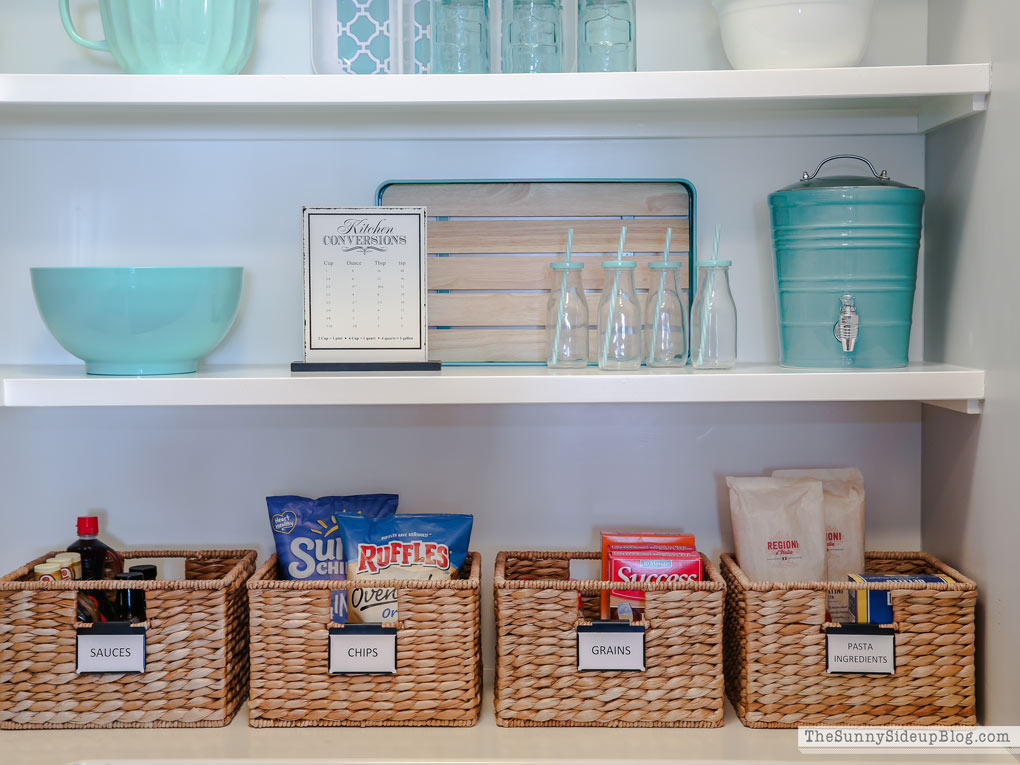
I have two drawers in my pantry that are just for snacks and they make it easy for my kids to grab something quickly to take to school with them. If you don’t have drawers in your pantry just pick any kitchen drawer! Or put a “snack” basket on the counter.
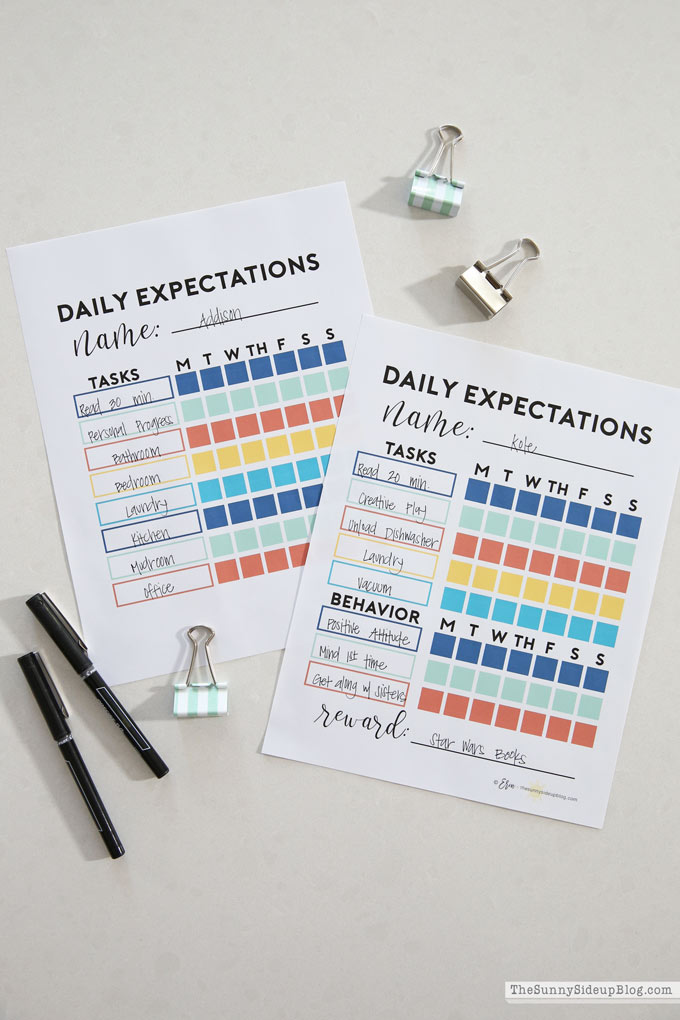
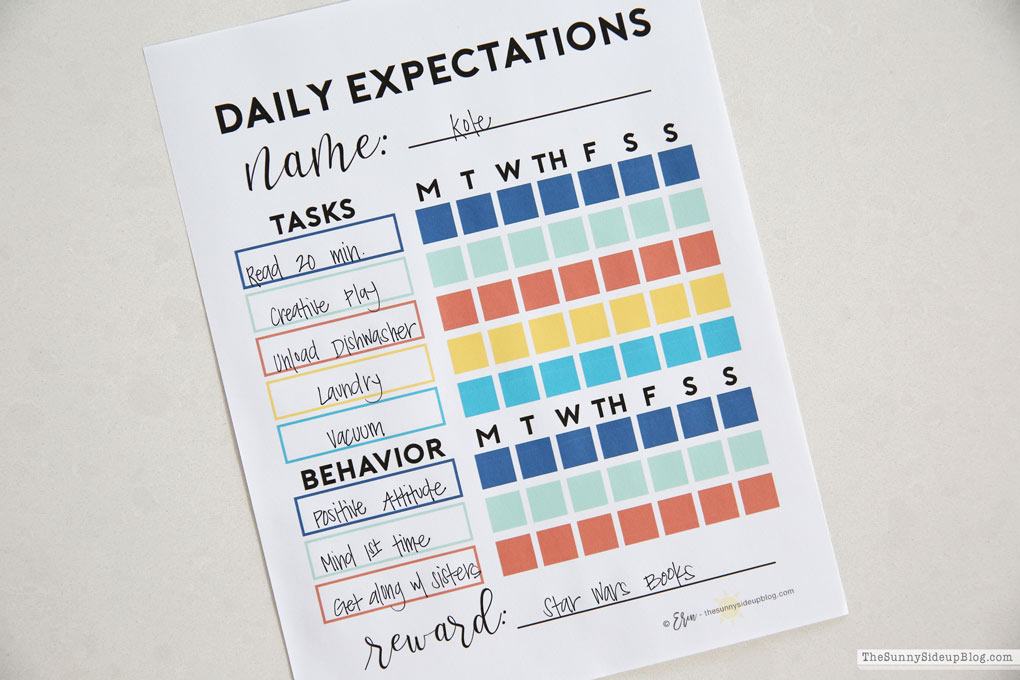
Another routine that we started this summer that helped immensely with keeping my kids on track was using our Daily Expectation Charts.
I’m not going to use them for my girls this school year. Loved them for the summer, but my girls are just too busy with school/activities and they know their room/bathroom needs to stay clean and they help with house chores when they can. But I will definitely continue using this chart for Kole (my 8 year old) during the school year! I’ll add homework as one of his daily tasks. These motivate him so much and having set things to get done each day laid out like this keeps him off of the iPad and doing better things with his time! (You can read more about my expectation charts and how to download your own in this post.)
{SET YOURSELF UP FOR SUCCESS}
This is my favorite time of year to set new personal goals and routines. The start of a new school year is such a fresh start and I always feel motivated to work hard and be productive after having an unstructured summer. It’s a much easier time for me to set goals in September vs. January when I’m in a post holiday funk and just want to veg in sweats all day. :)
Now that kids are back in school take some time to really think about YOU. What are your goals and dreams? What do you want to achieve and work towards? Maybe you just need more time for self care if you’re a busy mom always meeting the needs of your kids and others. Making time for yourself can be a goal too! Whatever it is, write down your goals and decide on small steps to work towards them each day.
Here are a few of my past posts that might help us all get motivated!
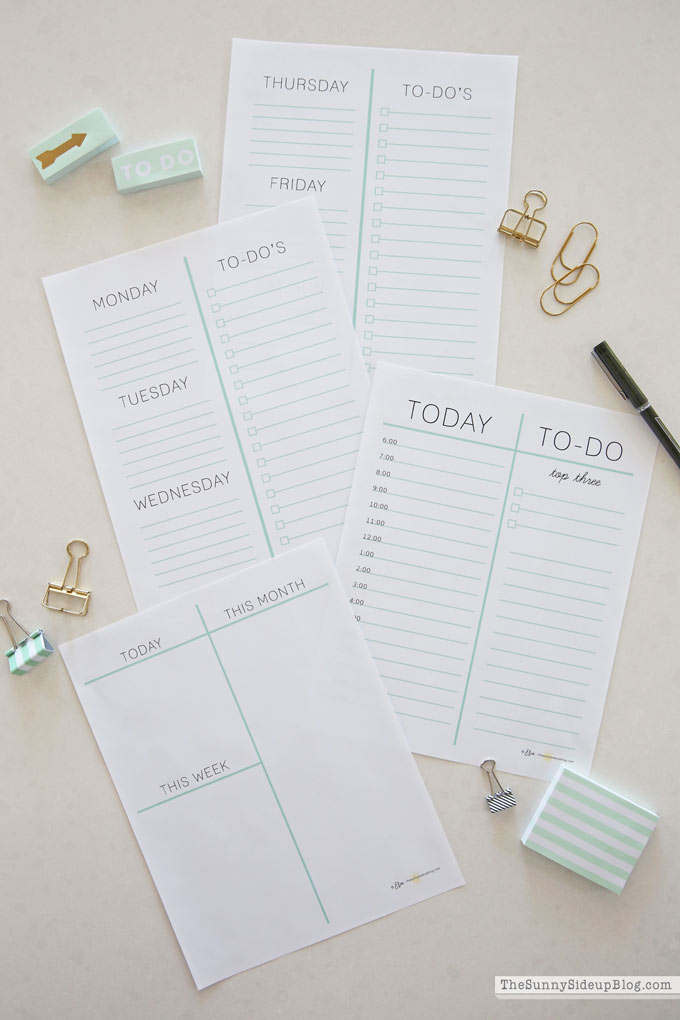
And of course my to-do list printables will be on heavy rotation. I’ll be using my time blocking page the most and scheduling out my day in detail so that I can make the most of the small kid-free time that I have! Just my drop off/pick up schedule alone needs its own printable.. ha! Say a prayer for me. ;) (You can read more about my favorite to-do list pages and print them for yourself here.) It’s so important as moms that we are taking care of ourselves and working towards something that makes us feel fulfilled and happy. You owe it to yourself to figure out what that is if you haven’t already! It makes all the difference for me and truly makes me a better mom/wife/friend/overall person.
{GET ORGANIZATION MOTIVATION AND INSPIRATION FROM OTHERS}
Last but not least I think it’s so important to get motivation and inspiration from others! We can all learn so much from what others are trying and finding success with. I’m so excited to share a big event that I’m going to be a part of next month! I’m going to be a featured speaker at Get Organized HQ and you are all invited to join! Get Organized HQ is a FREE event with 20+ organizing experts to help you streamline your life and home. The best part is that you can join us without hiring a babysitter, changing out of your yoga pants or even leaving your house! My kind of event. ;) Mark your calendars now, Get Organized HQ runs from September 10th – 14th.
More than 20 organizing pros from across the country are joining to share their knowledge to help you get organized and run a happy home with less stress and more structure! I’m really excited about the speakers at this event. They are all bloggers and YouTubers who have great tips to share in all areas of life, work and home. At Get Organized HQ the speakers will be covering everything from quick meal planning to healthy eating on budget, home management, creating routines, self-care, photo organization (I’ll be paying close attention to that one!), decluttering, eliminating paper clutter, home decorating, budgeting and finances, cleaning methods, streamlining your wardrobe, and more! My session is focused on office organization. Of course it is. ;) This was my first time doing anything video related. (Other than IG stories which I’m not that great at.. ha.) I’m trying to break out of my comfort zone! I hope you’ll tune in. :)
So that’s it!
Set up systems to control the paper
Clean and organize kids’ spaces
Create routines and shortcuts that make life easier
Set yourself up for success
Get organization motivation and inspiration from others
My best tips for keeping your sanity this school year! I’d love to hear any other tips/tricks you have in the comments! Like I said, we can all learn so much from each other. Here’s to happy school days ahead for all of us!
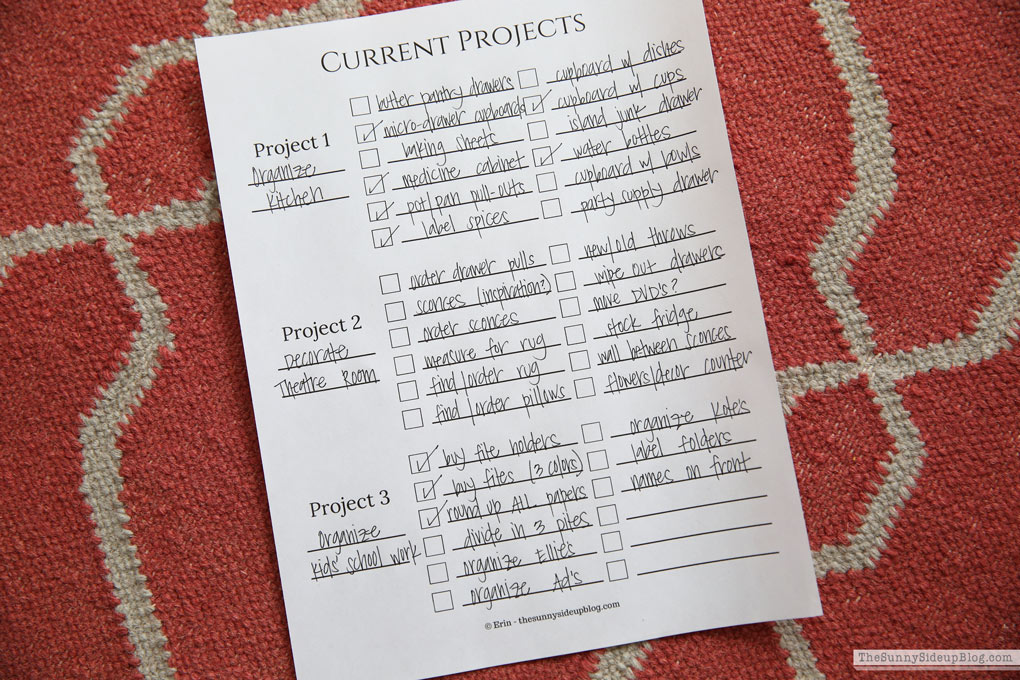
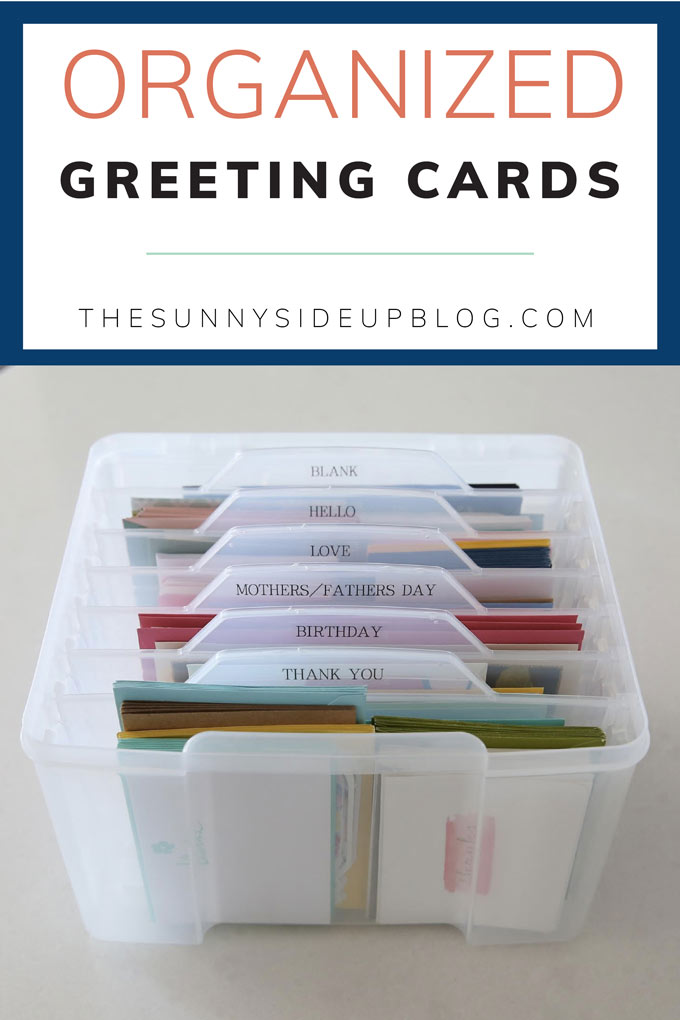
Organized Greeting cards! Our topic for today. You guys I’m seriously obsessed. Organizing everything in my house. I go through phases like this and JUST CAN’T STOP organizing. Really I think it’s just a control thing with me. It’s the end of summer and I’m starting to feel like running around everywhere with my kids but get nothing done is wearing me down. (It has been a fun party but it’s starting to take its toll!) So at night when the kids go to bed.. I organize! And feel a little bit of sanity slowly seep back into my life. Best medicine out there. ;)
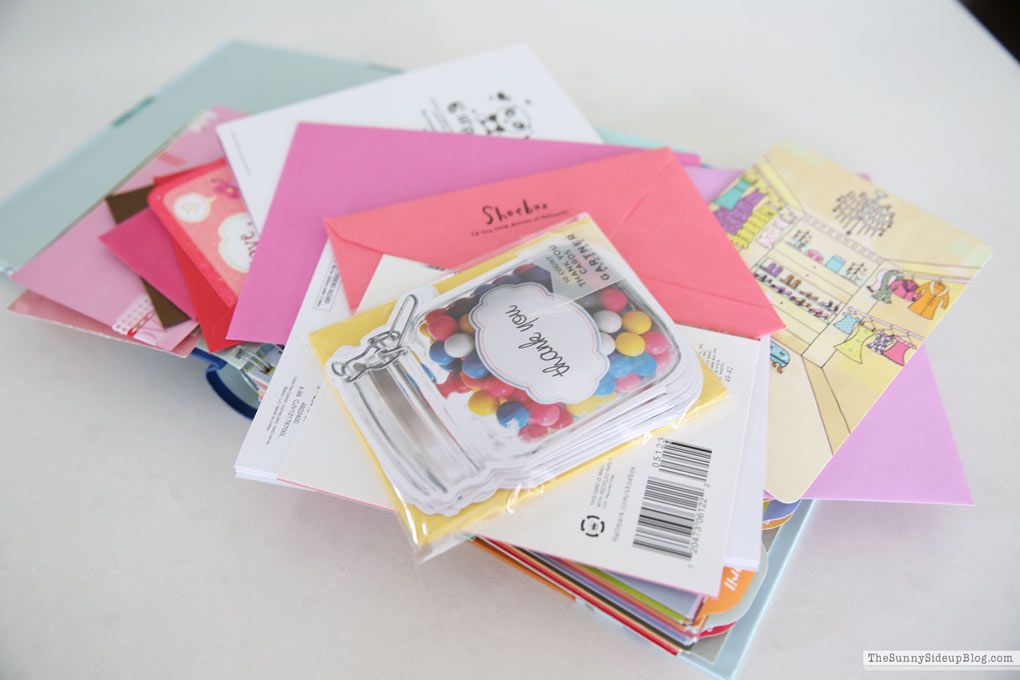
I always buy extra cards.. birthday cards, thank you notes.. whenever I see one I love I buy it so that I have cards on hand when I need them.
I bought a binder with folders for each month years ago to hold my cards, but it clearly wasn’t made to hold my crazy stash!
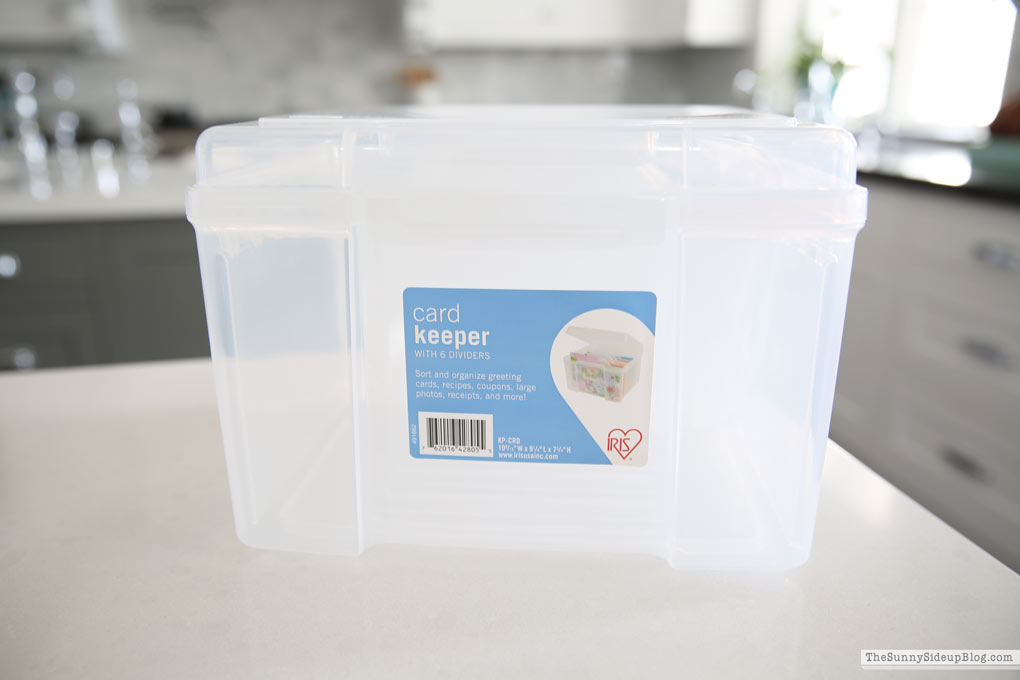
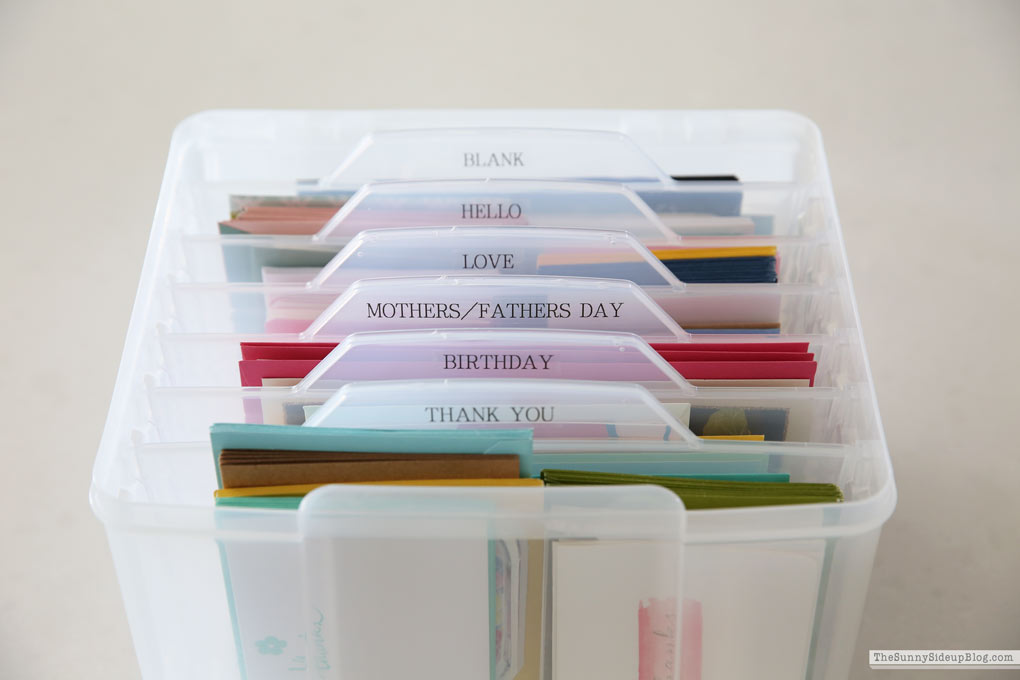
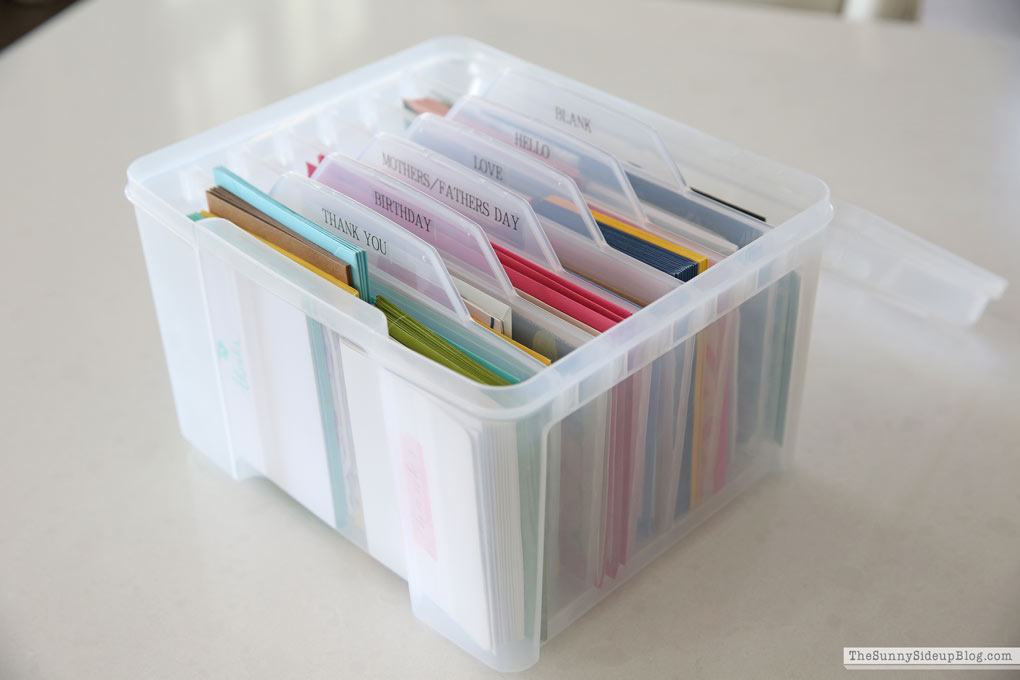
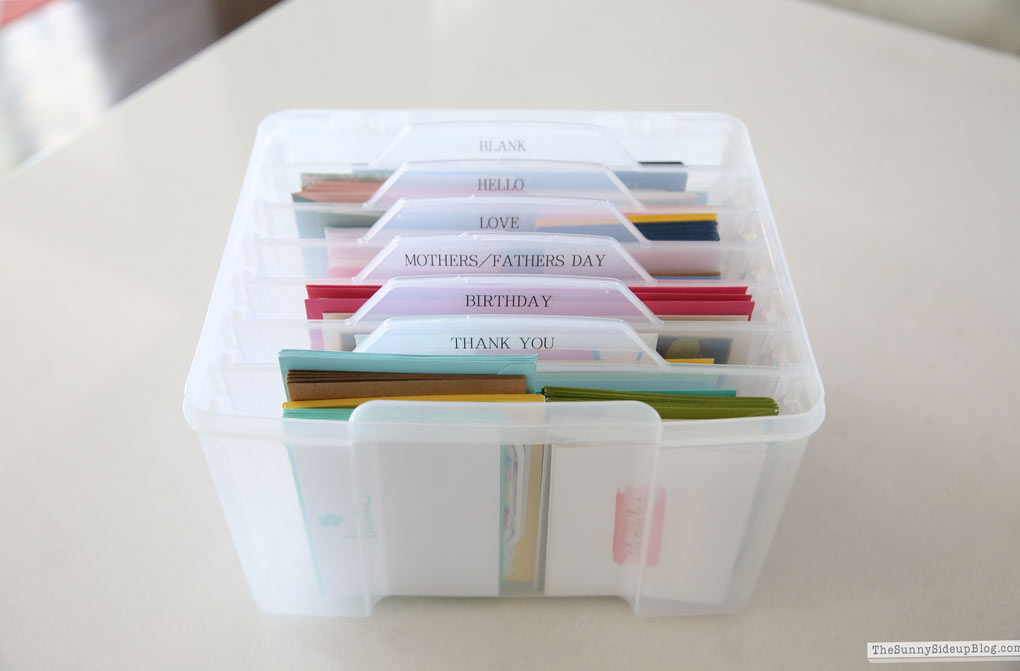
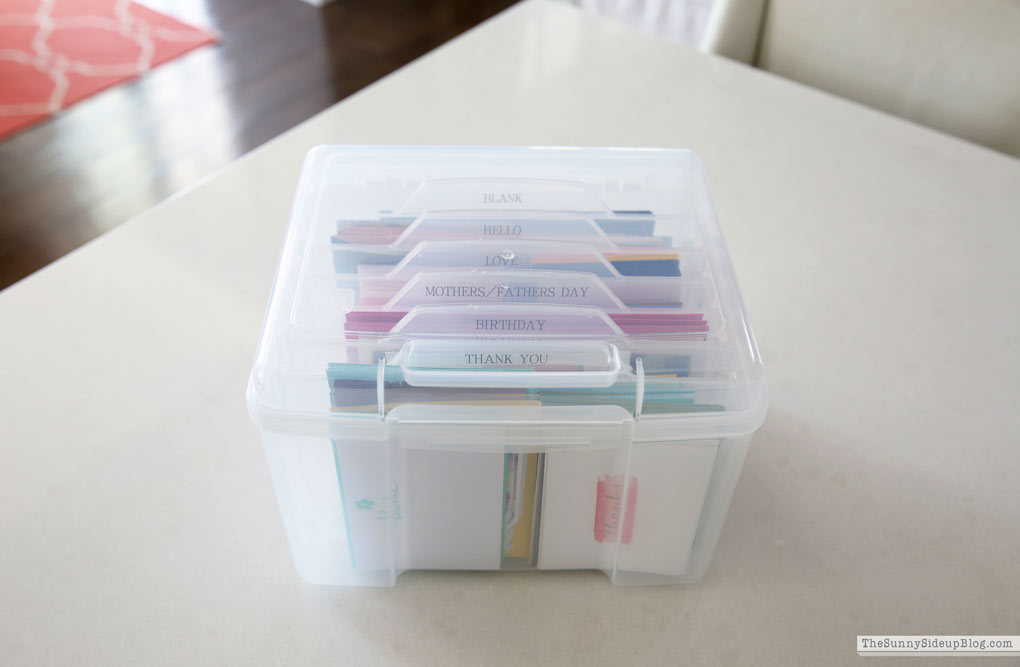
So I looked around on-line and found this Card Keeper (you can get it here or here) which was a much better solution!
*Affiliate links used
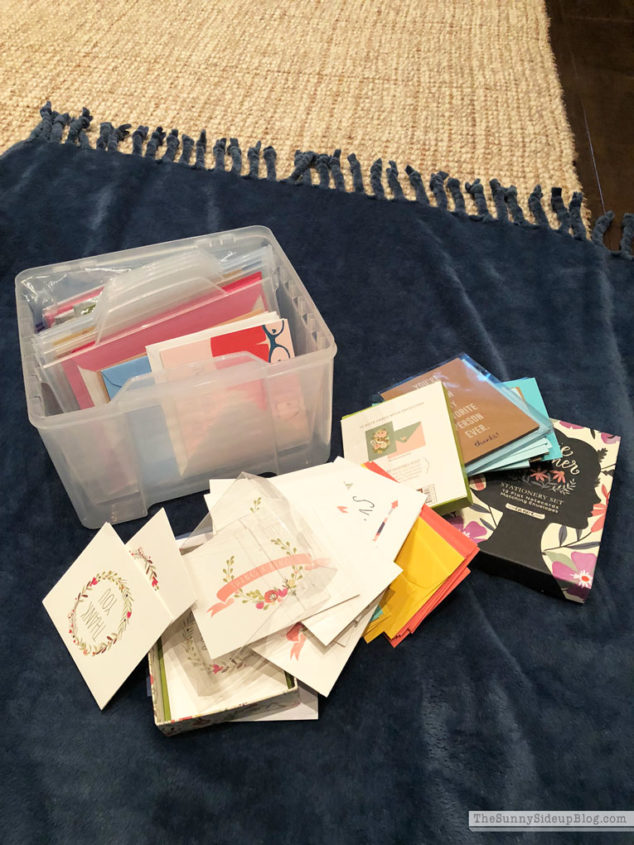
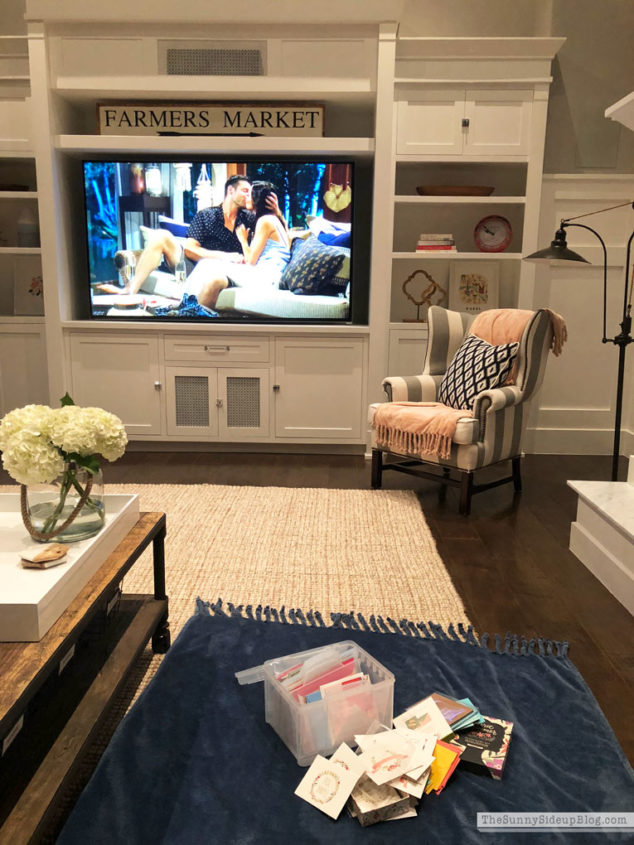
I gathered up every random card from around my house and set up shop in font of my TV. You might have noticed in organizing posts like this one that I always lay out a throw or blanket and organize on my floor. I’ve been getting questions about that on IG stories when I share organizing pics. Something I’ve done for years.. forever really! I like to spread out and I like the blanket down in case there is anything dirty.. dusty papers or whatever. Then I can just shake or wash the blanket quick when I’m done and my rug stays clean. Funny habit. :)
I did this little project the night The Bachelor finale was on. I never watch the entire season of the Bachelor/Bachelorette shows.. just the finale. Love the romance but not the drama. :) Plus my husband always has great commentary during the finales.. like how “their love will hands down stand the test of time because they are jumping out of an airplane together or swimming with dolphins and that’s the true sign of a long lasting relationship..”
Ha.
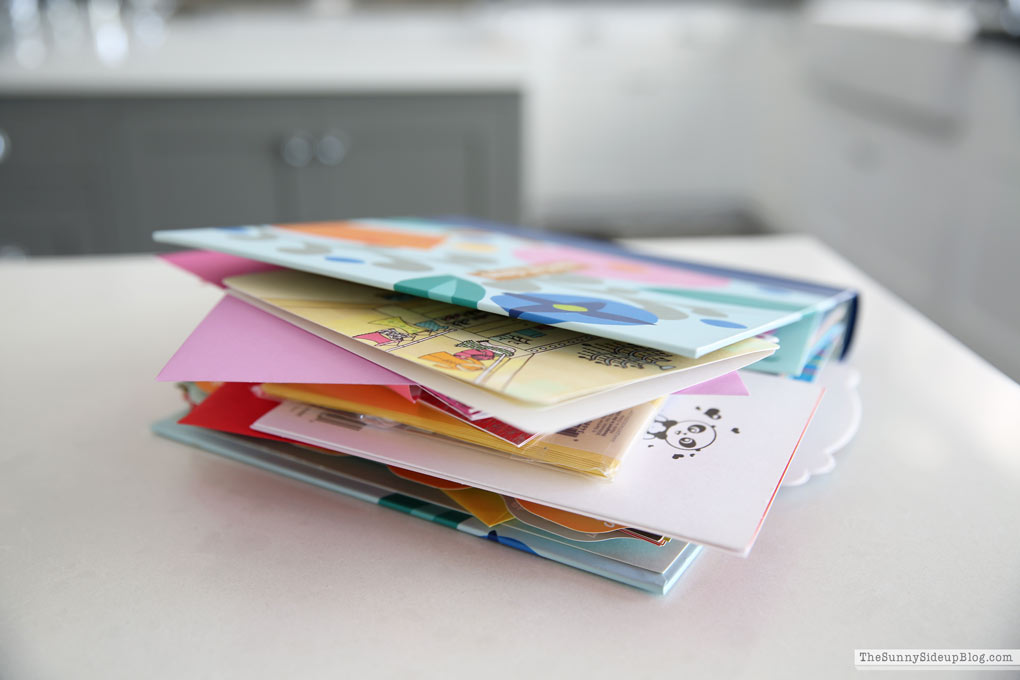
One heartbreak followed by one proposal later and my messy pile of cards was organized!
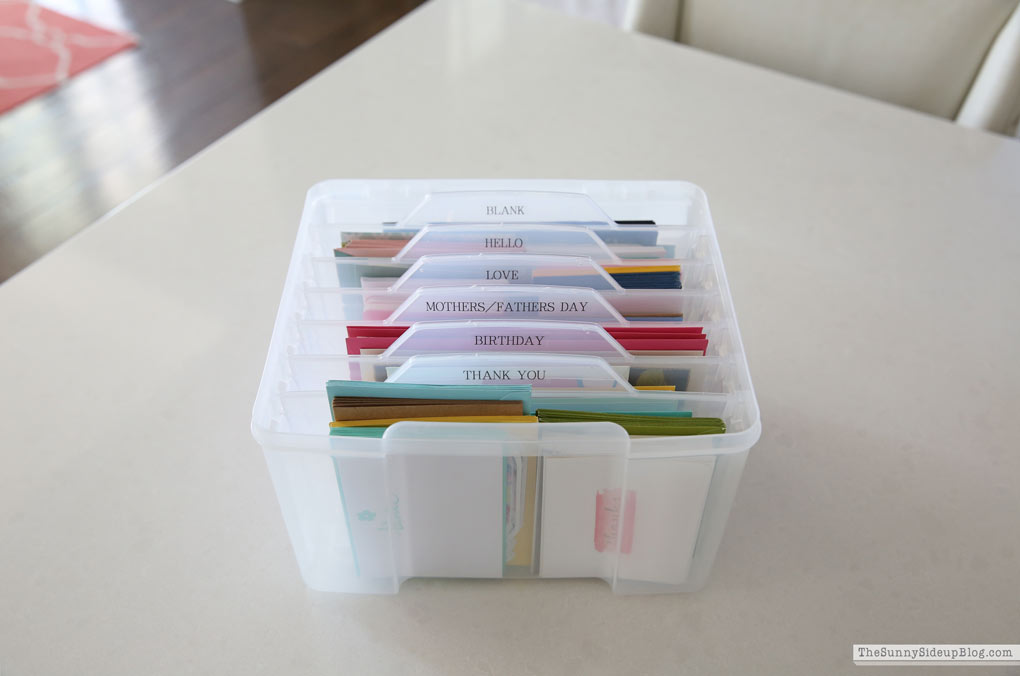
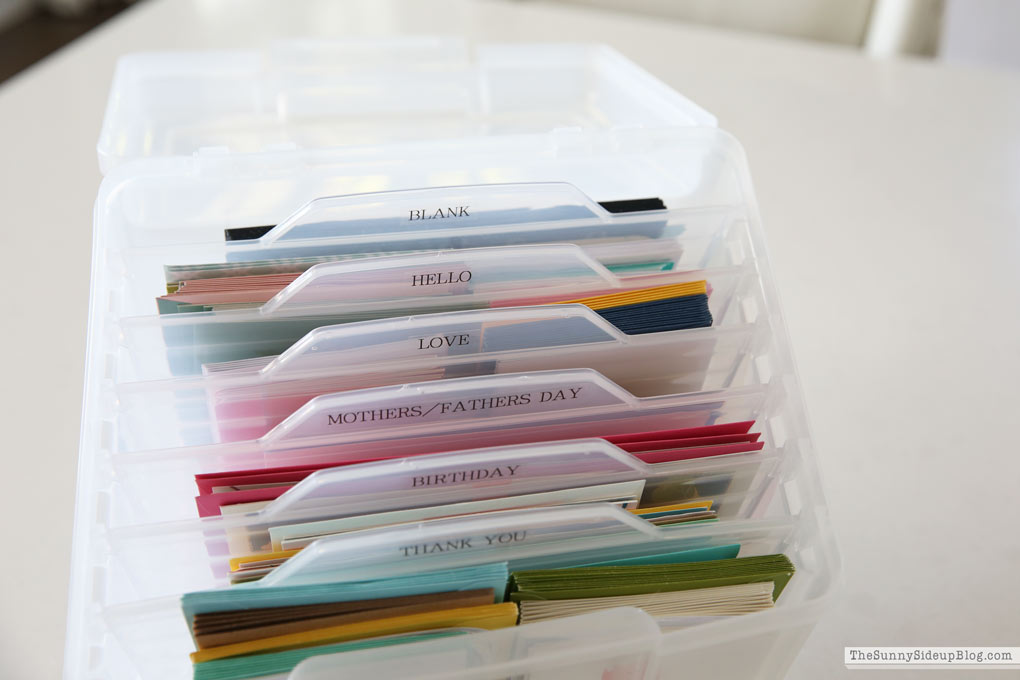
This Card Keeper has six dividers so I just labeled them the categories I had cards for: THANK YOU/BIRTHDAY/MOTHERS & FATHERS DAY/LOVE/HELLO/ & BLANK. You can find my beloved label maker I used here… it’s pretty much my 4th child. ;)
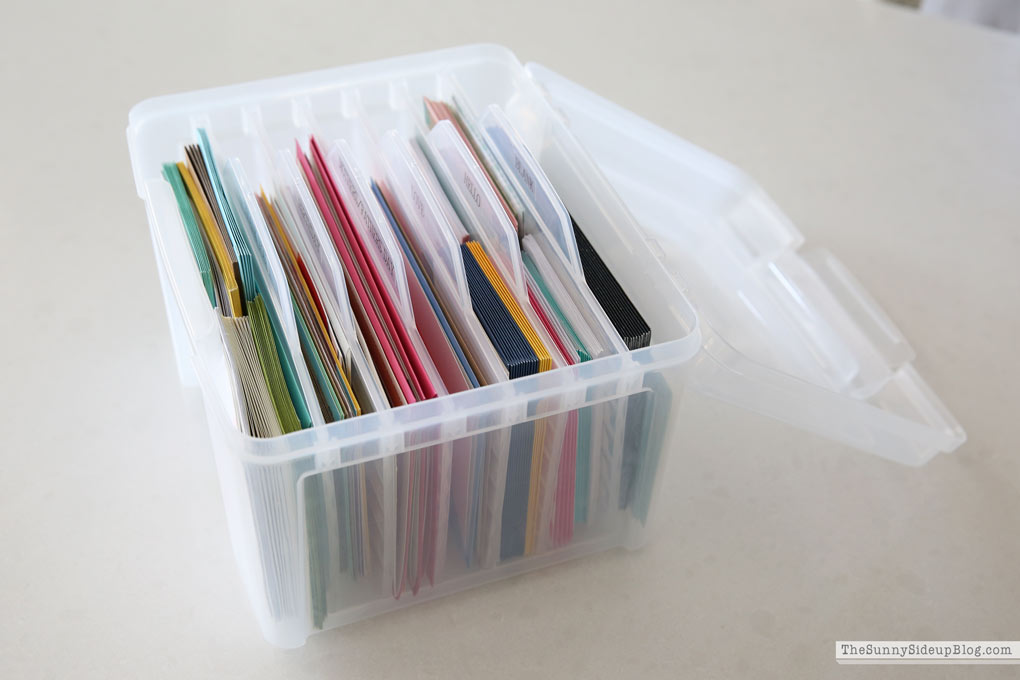
Some categories had more than others (like the thank you notes) so I turned the cards vertical to fit more.
Pure joy! Stuff like this makes me too happy.
I put together two birthday gifts for friends today and found a card for each of them in a snap! I’m usually digging through various drawers rushed and frustrated knowing I have birthday cards somewhere but not being able to locate them. Life just runs more smoothly when you’re organized, doesn’t it? That smooth feeling fuels my addiction. Because life with kids is usually not so smooth. And I like smooth.
I like it a lot. :)
Lid down and this happy organized box is now put away in my office cupboard! Just a few more things to go through in my office before it’s completely organized. It has been quite the summer project! Off to go through piles of old pictures.. I’ve been procrastinating on that one. Time for my blanket and Netflix!
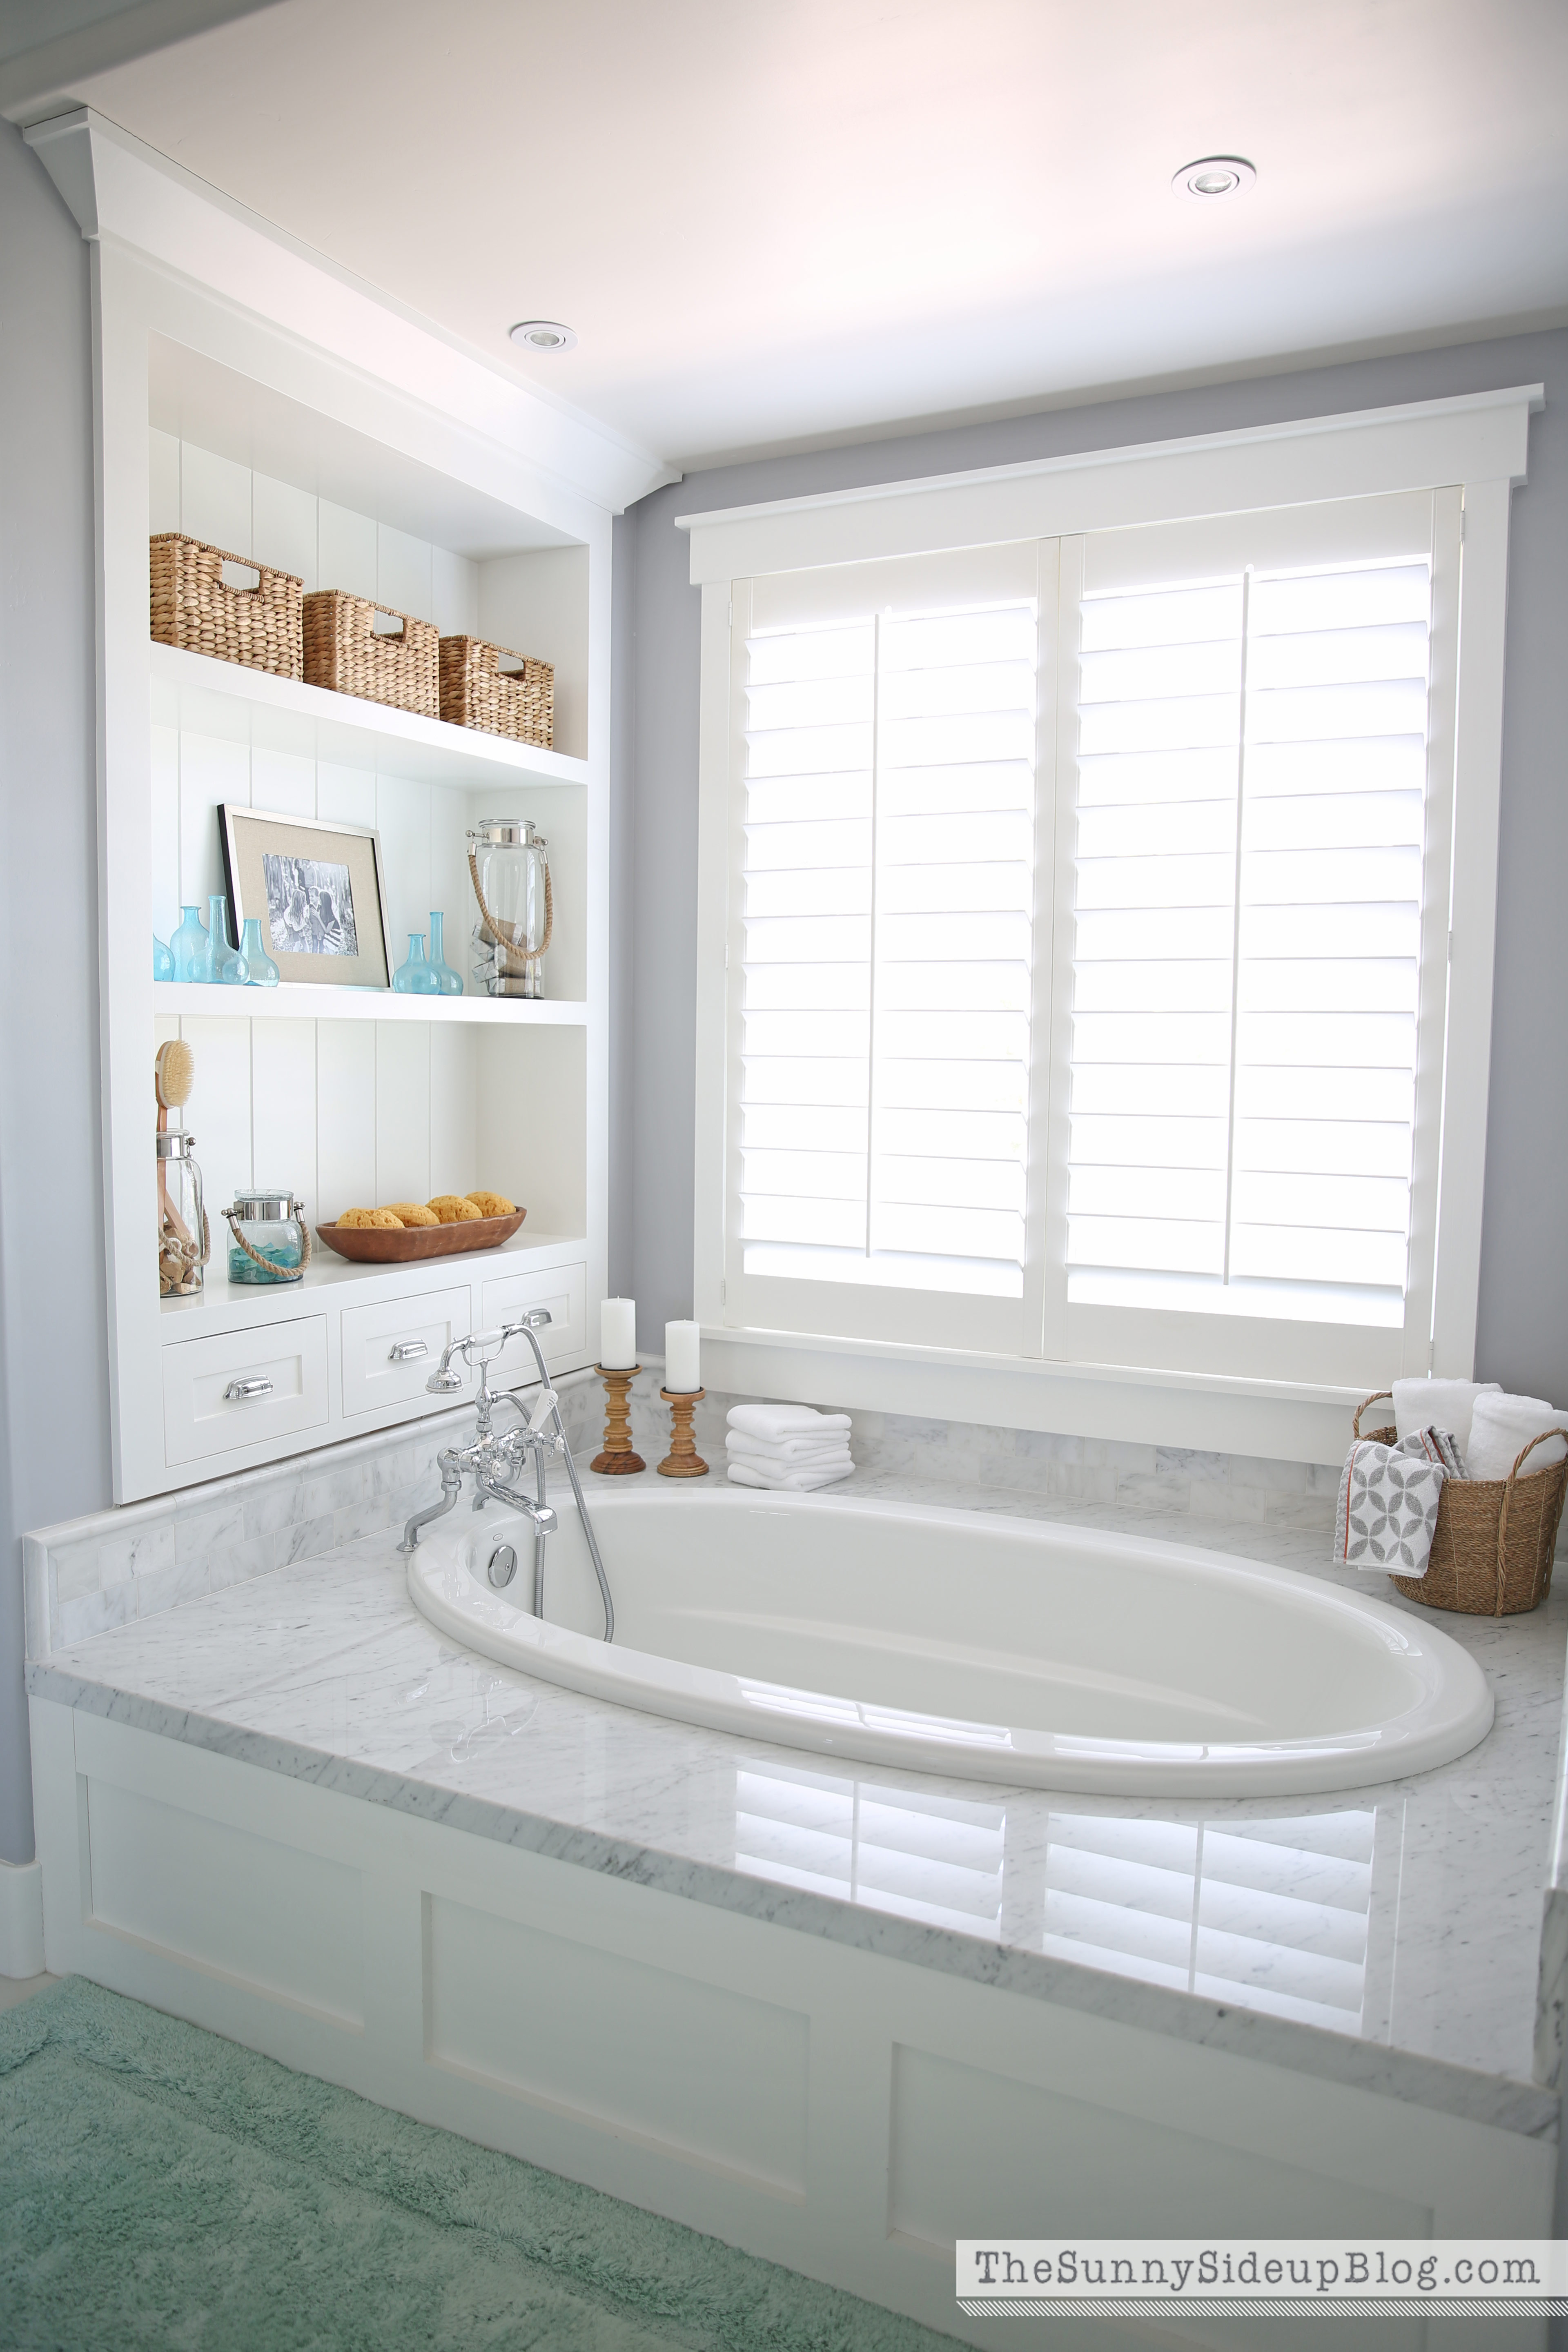
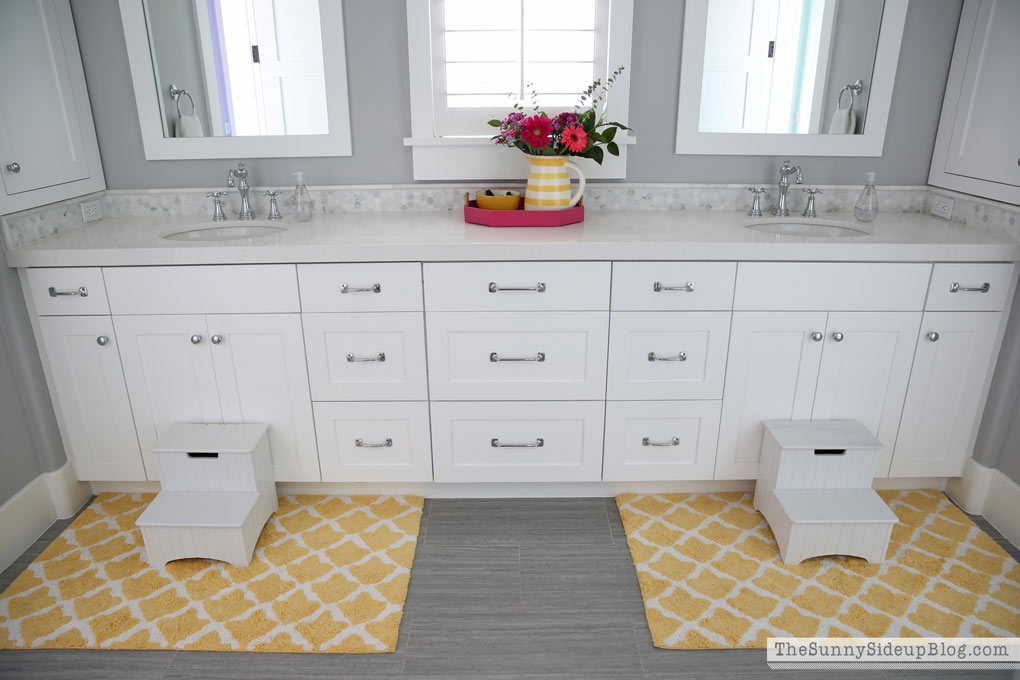
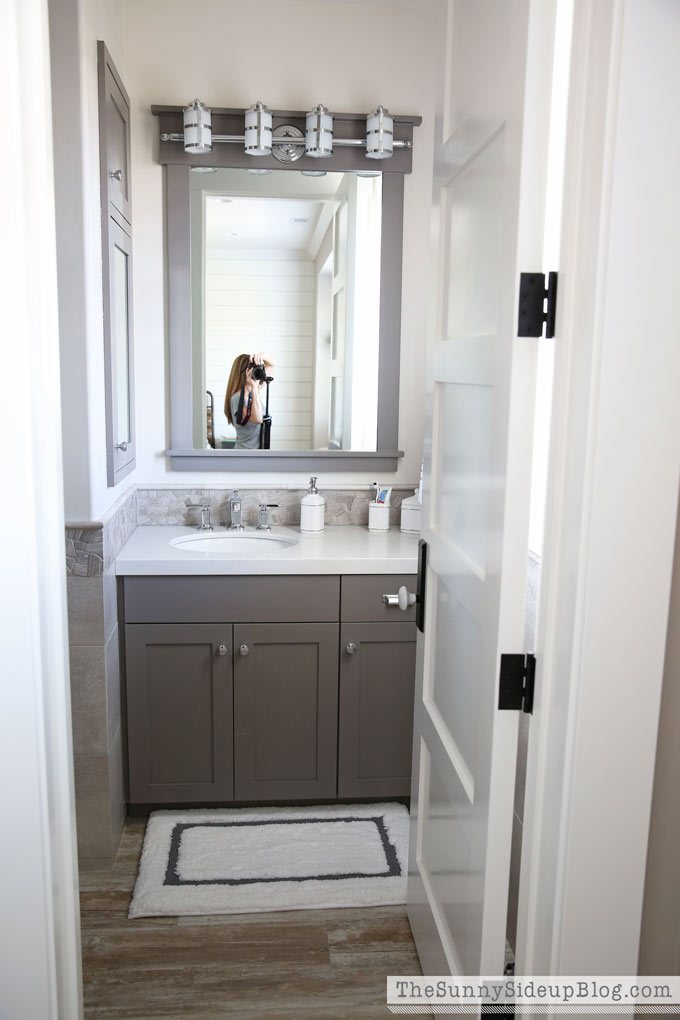
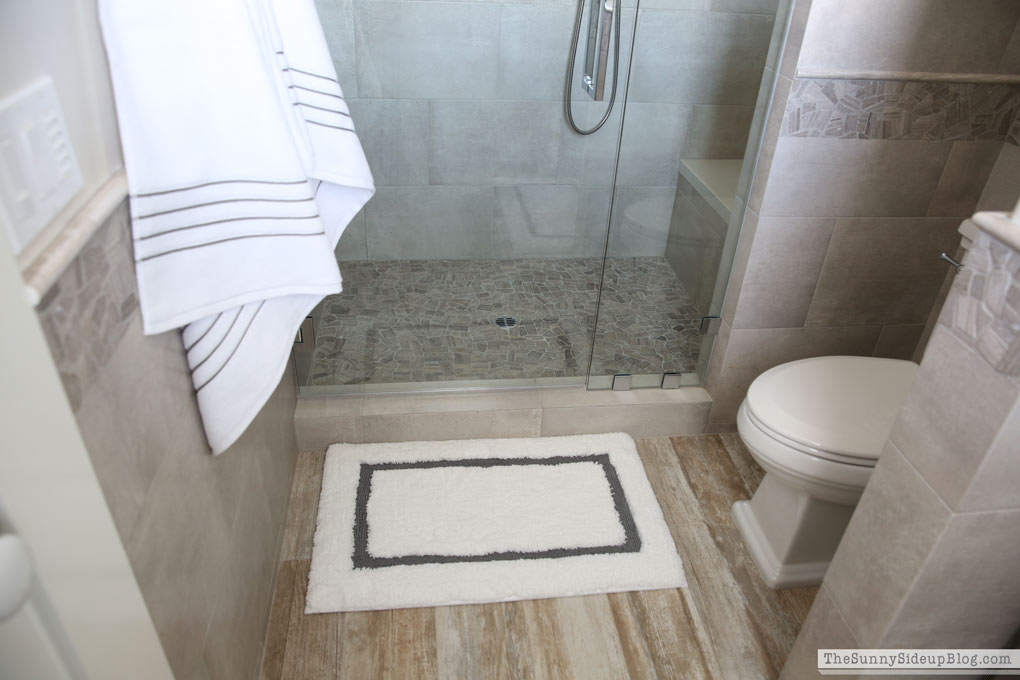
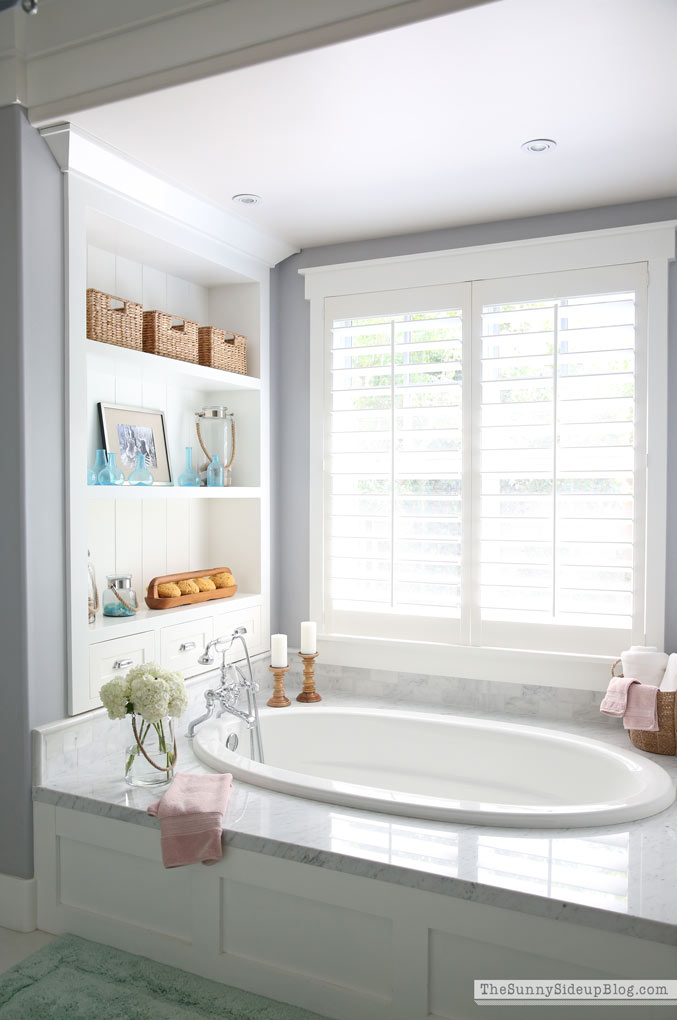
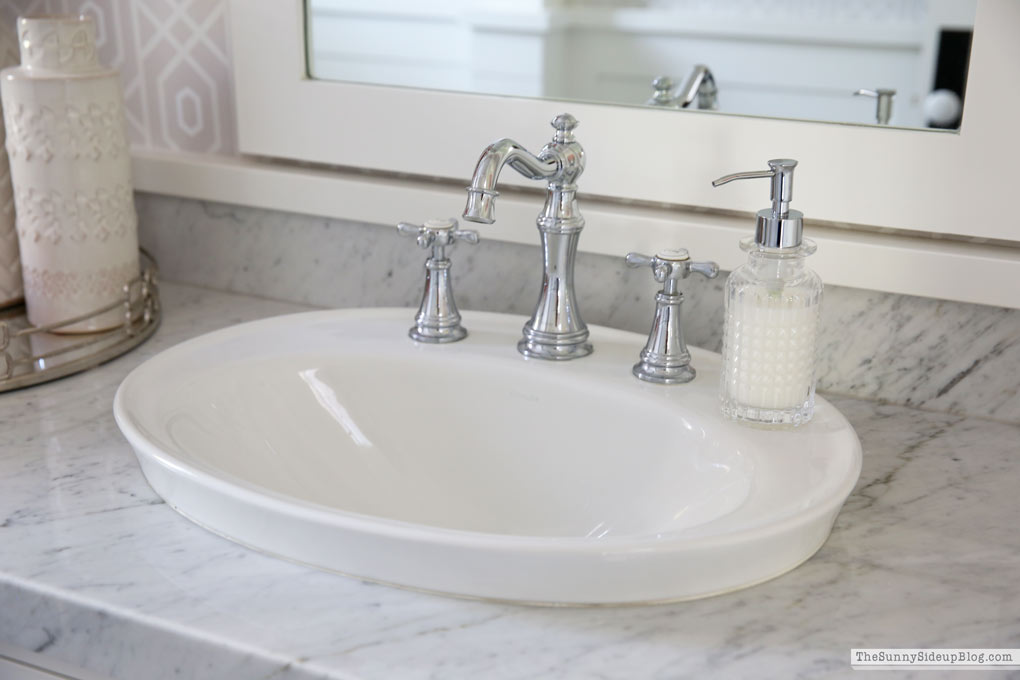
Well! This week was a blur. As are most weeks during the summer! We still have 12 more precious days before my first child heads back to school (quickly followed by my other two the following week) so we are making the most of it. Then I will be writing all sorts of time management/organization posts because I seriously need to get focused and back on track! But today we are talking bathroom decor! I’m still loving all of the spring/summer touches around my home and am especially obsessed with combining coral and soft pink! It seems to be a theme running through my home lately and it is making my spaces feel so current and light and bright. I’m a fan. :)
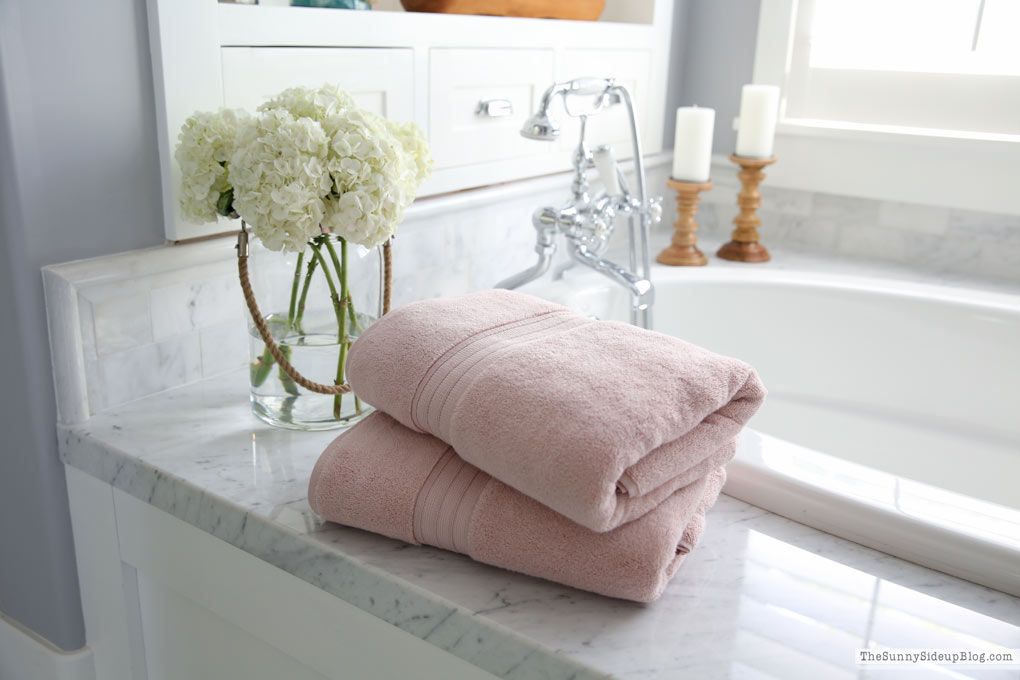
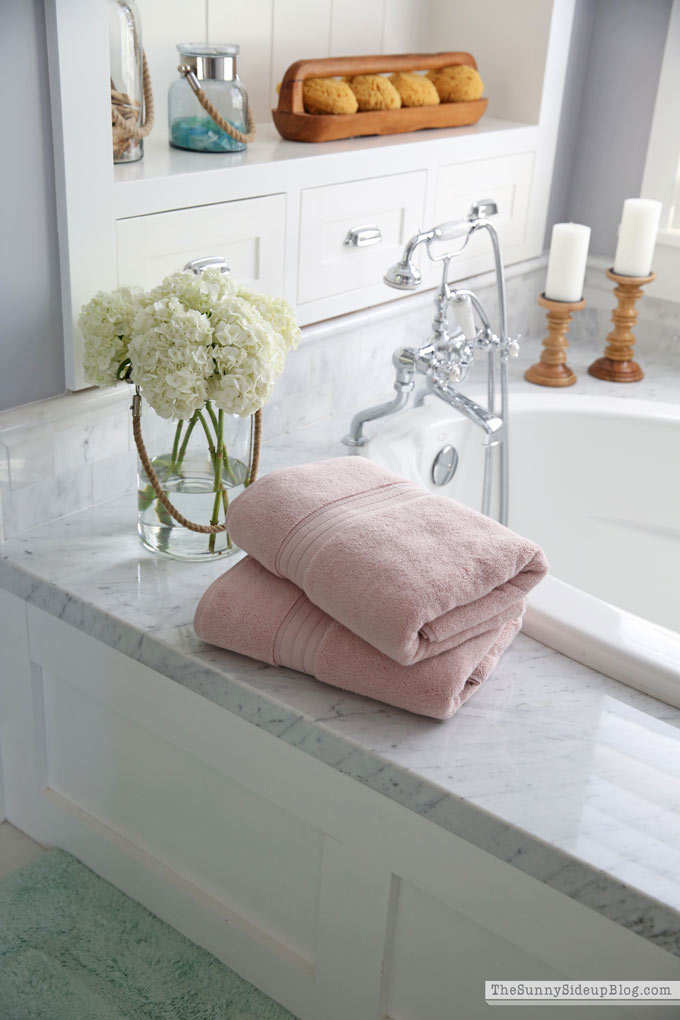
When Pottery Barn reached out to collaborate on this post (after doing a happy dance in my office because we all know how I feel about PB!) I knew exactly what I wanted to share with you all. Their Hydrocotton Quick Drying Bath Towels are long time favorites (they are seriously so plush and soft!) and I’ve had my eye on the Rose colored towels for a while now.
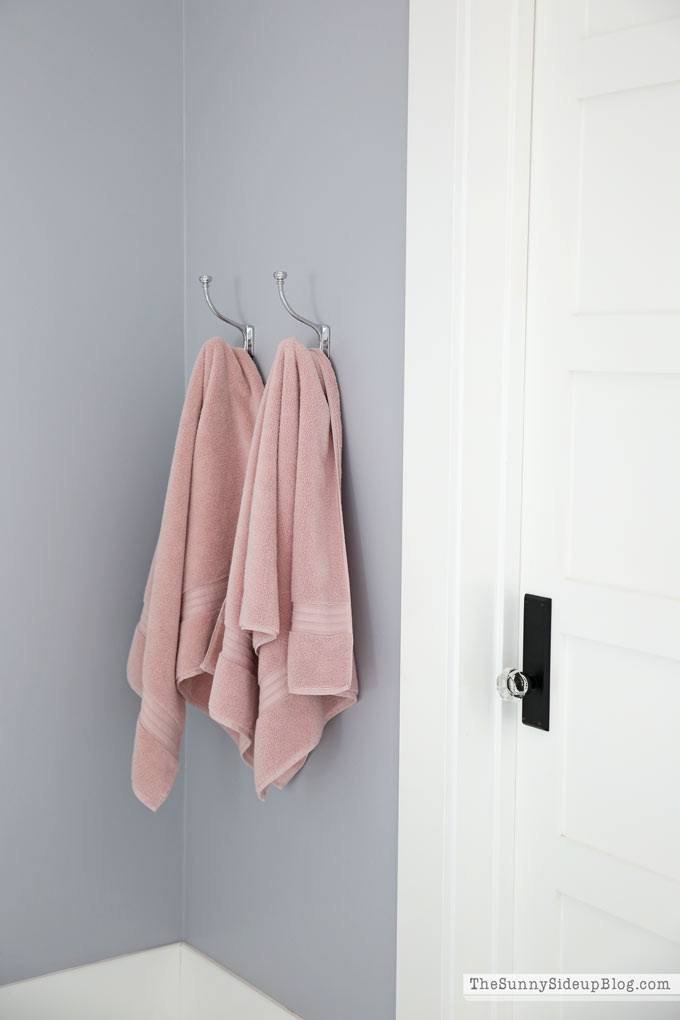
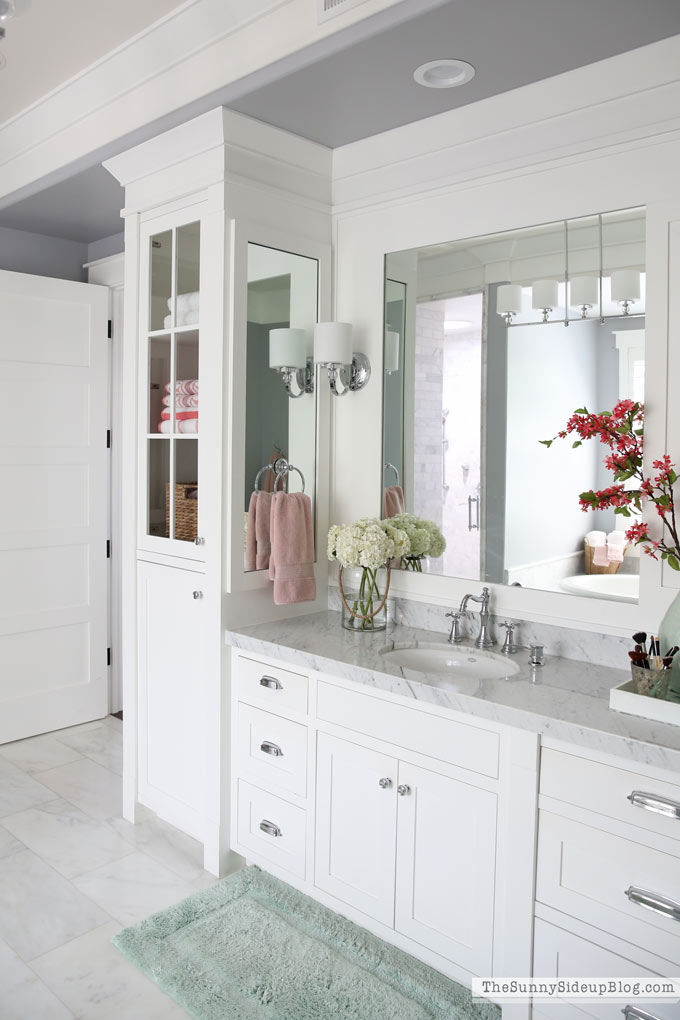
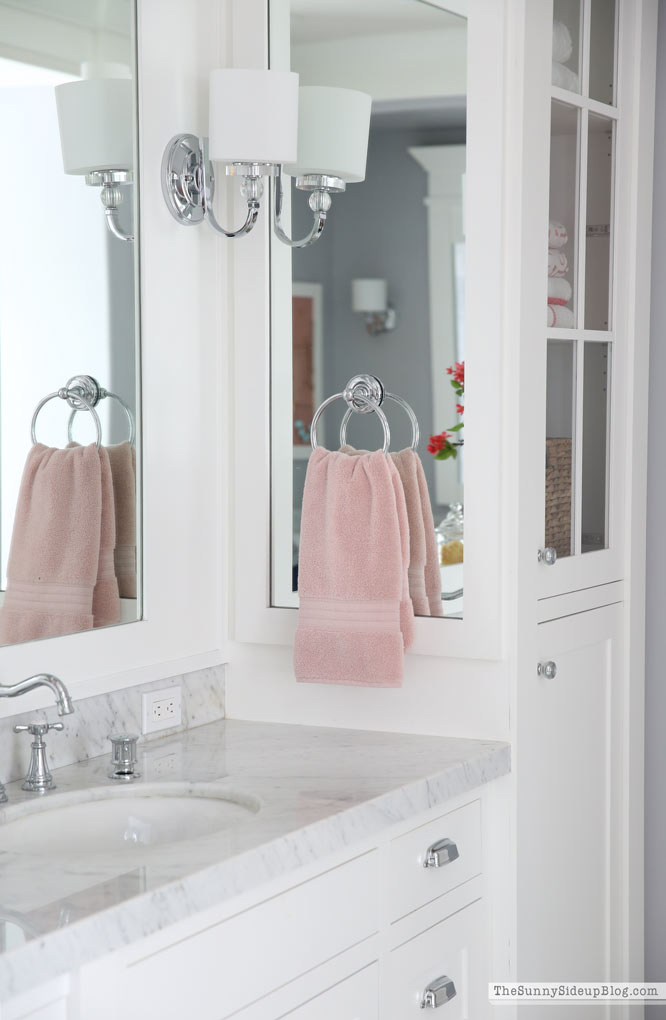
It’s such a treat when I find things I love to use daily that also look great in my home and work with my decor. The rose color in these towels looks so good against any and all grey paint! Making them perfect for my bathrooms.
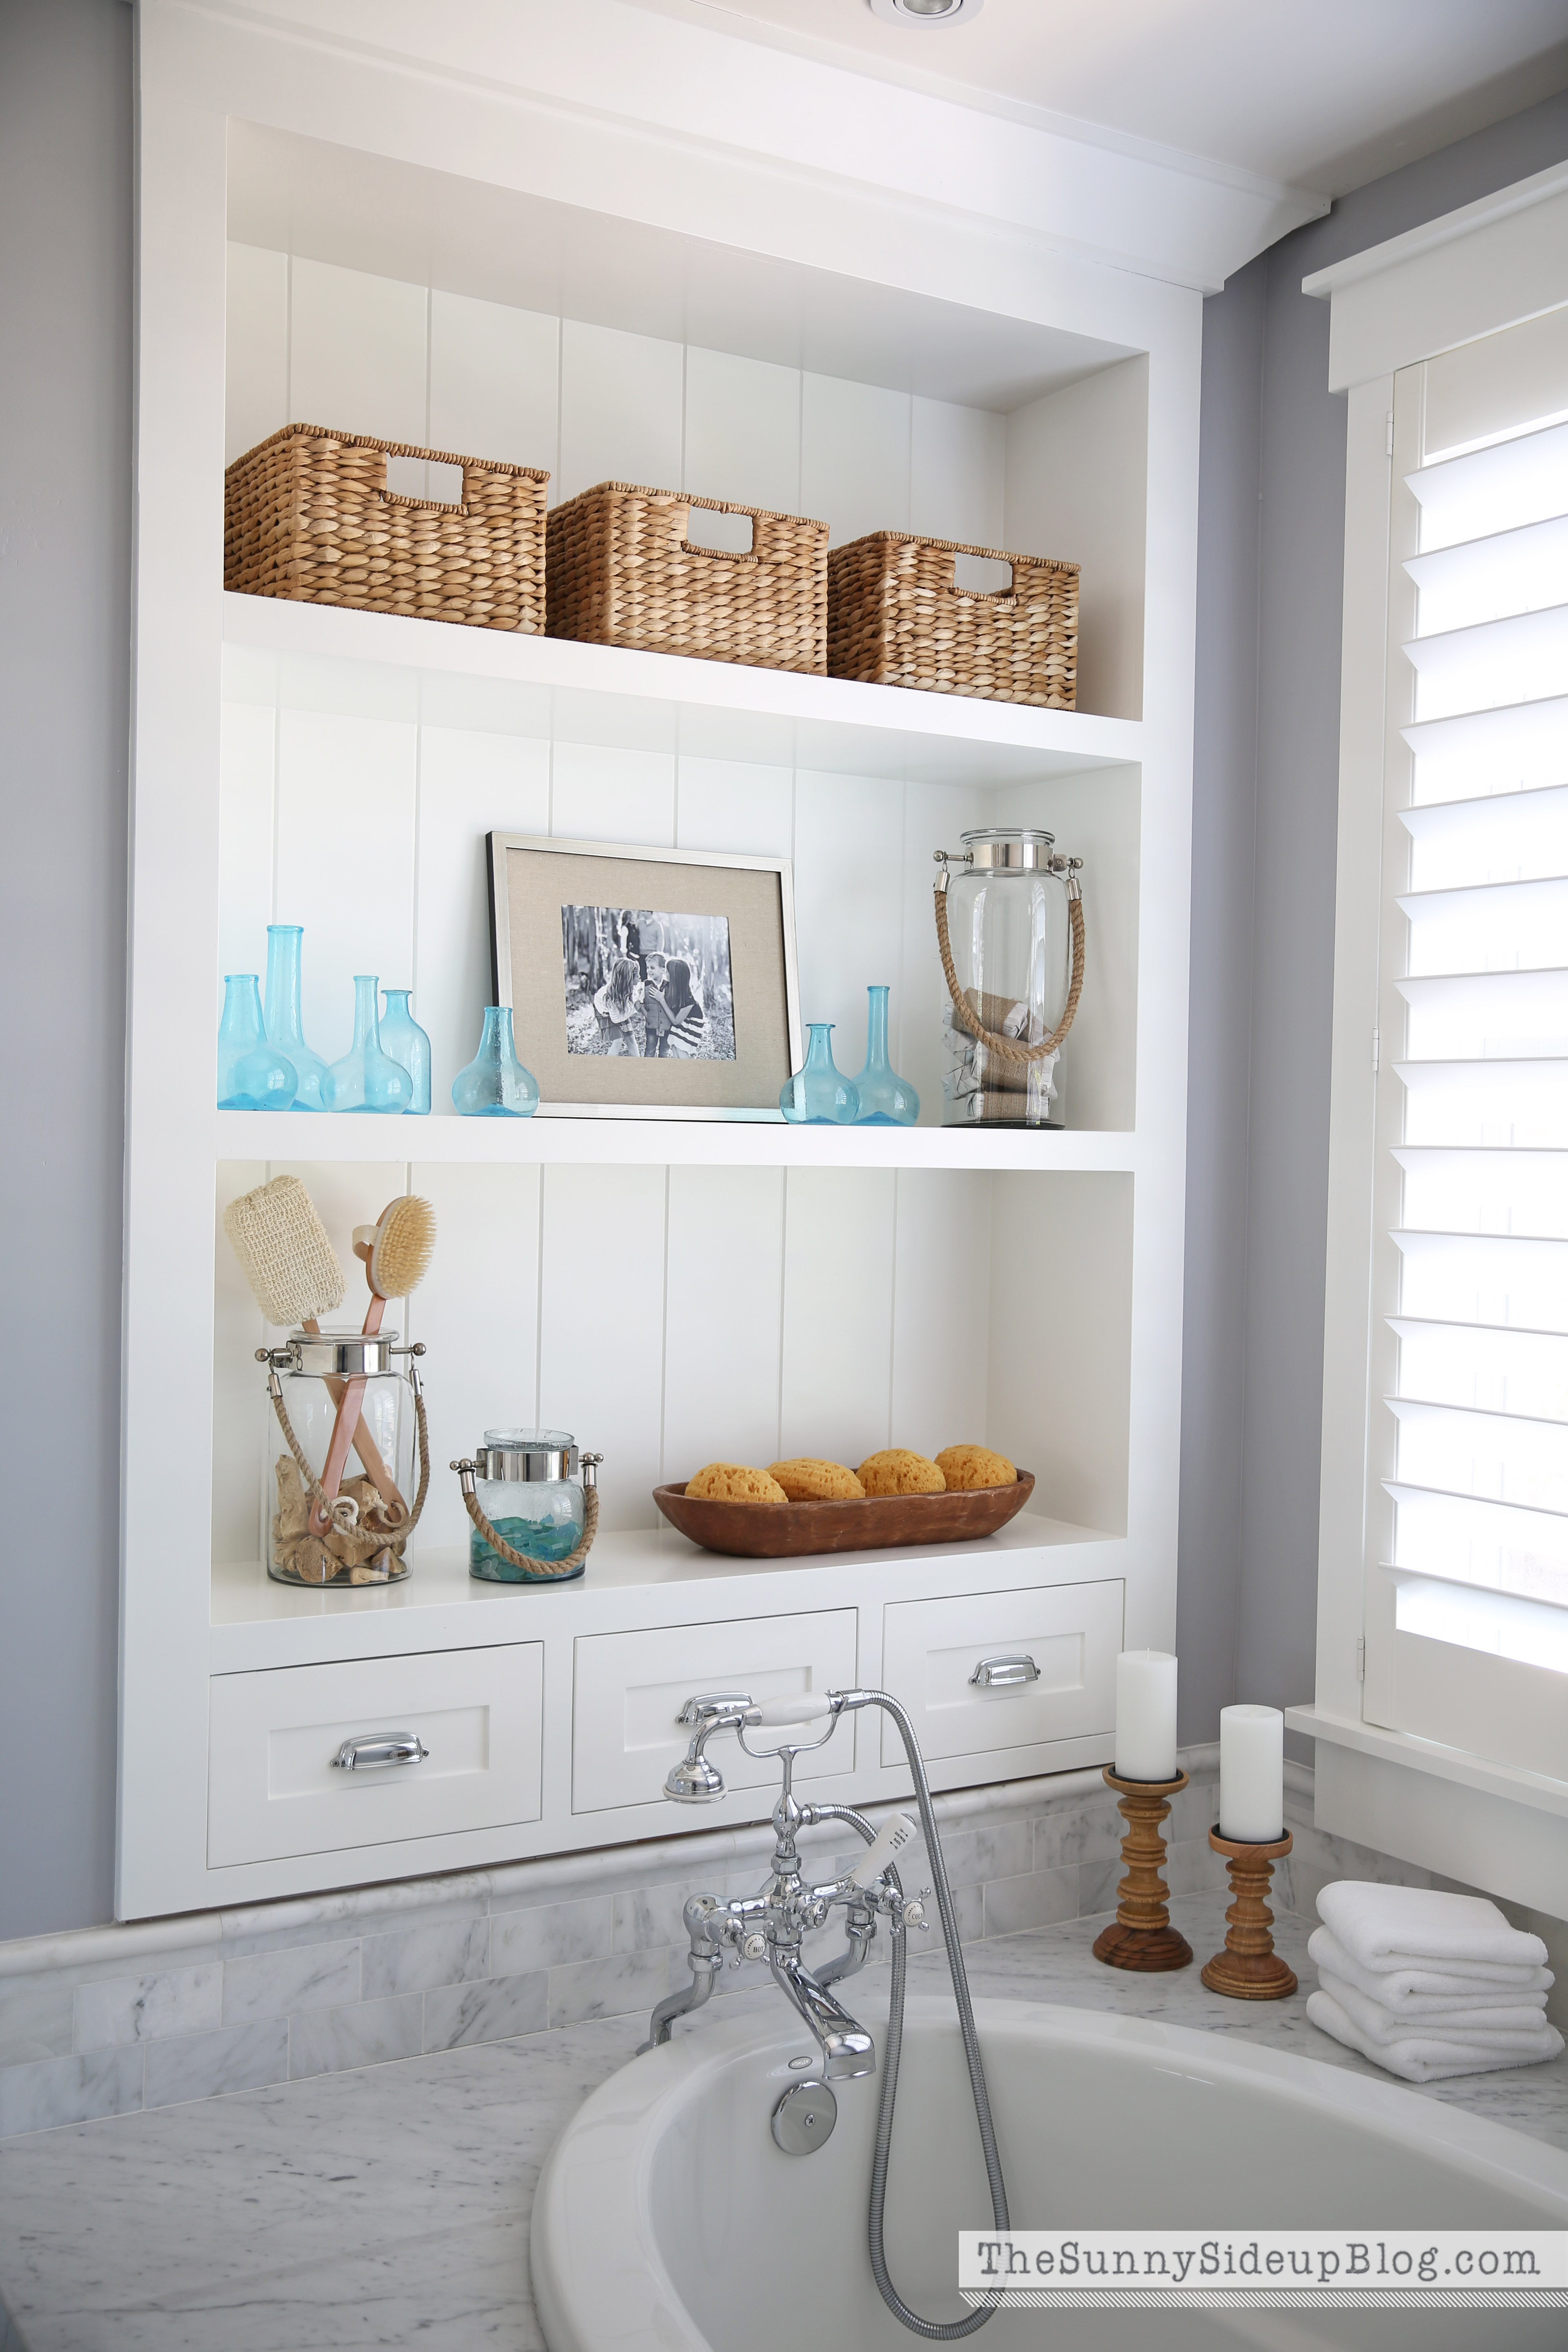
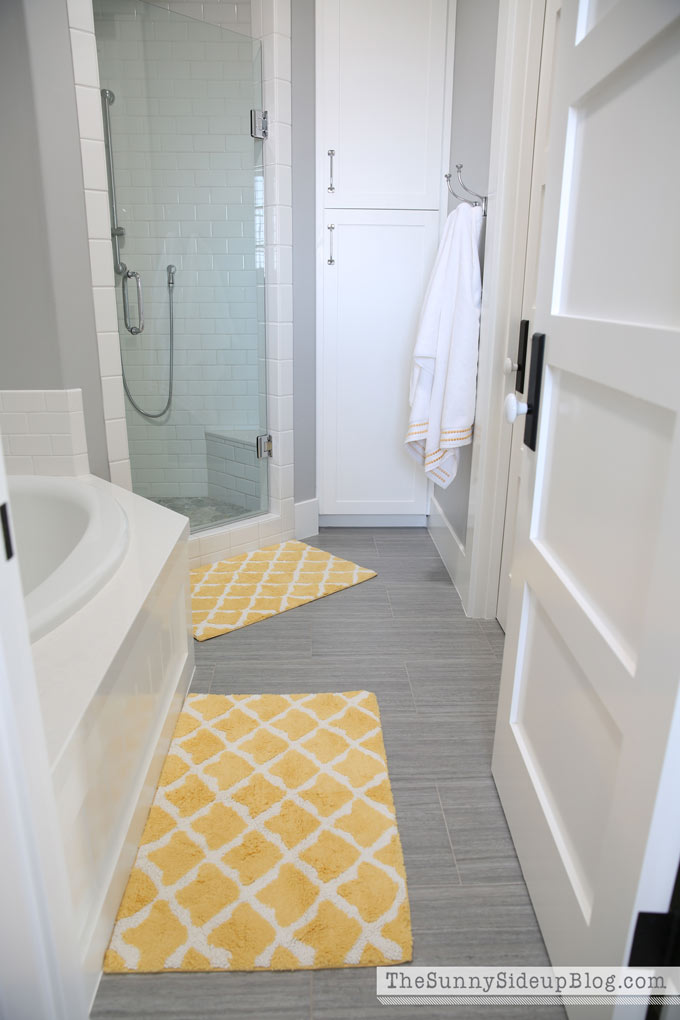
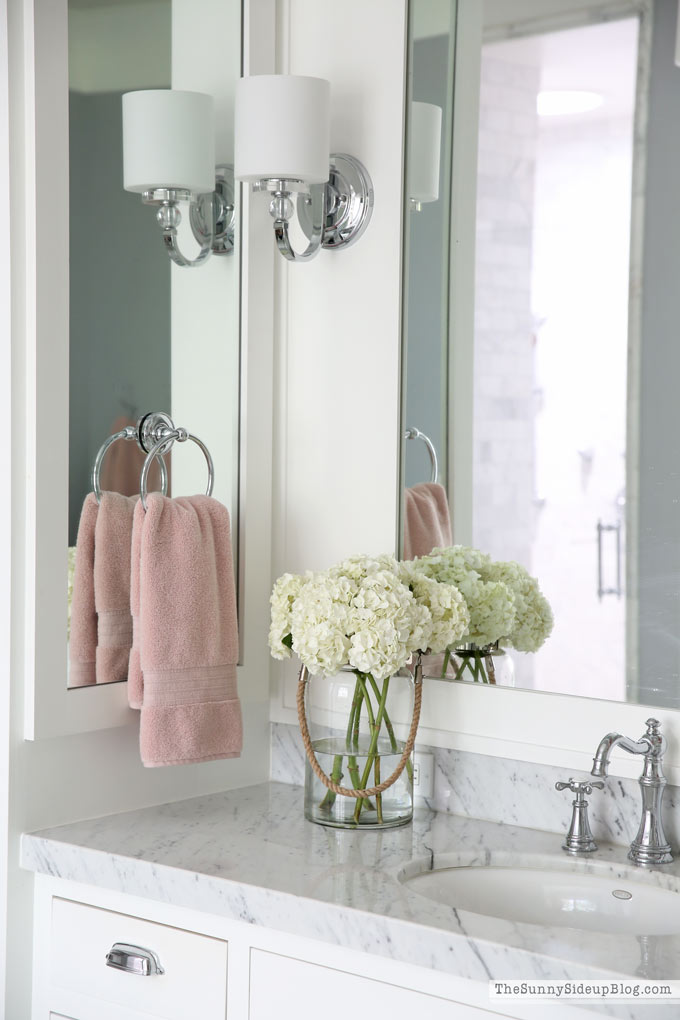
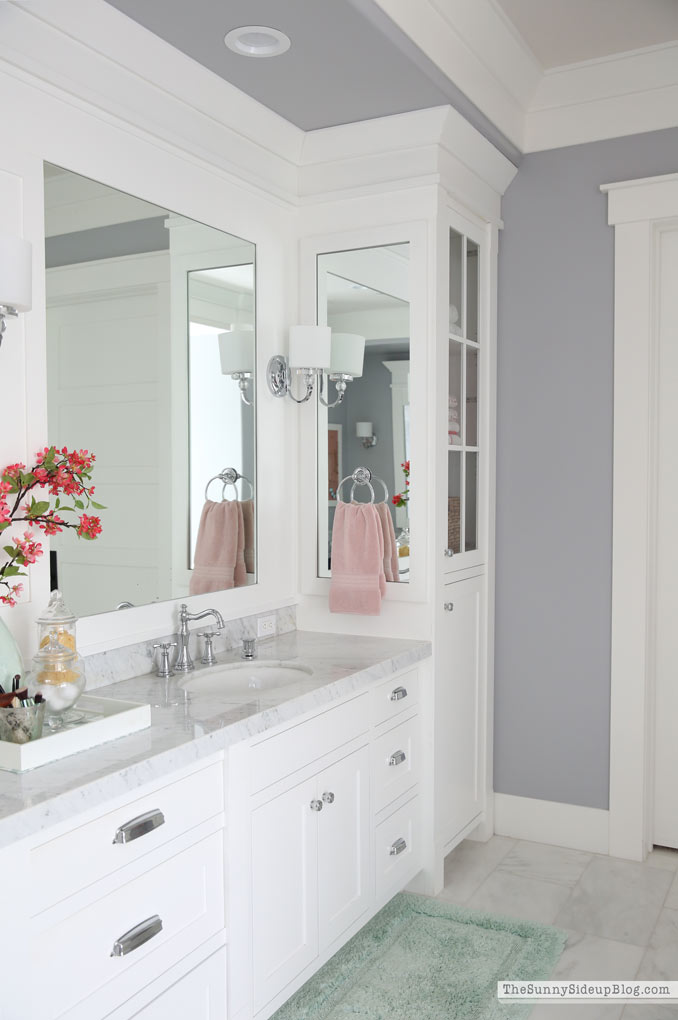
I already had pops of coral in my master bathroom and love the combo with the soft pink!
So feminine and pretty.
I wondered if Kenny would mind the pink towels but he didn’t say a word about the color.. only how soft the towels are which was no surprise. He never notices details about how things look! Only how they function so the towels are a win. For both of us.
I have a feeling the pops of pink have only just begun. :)
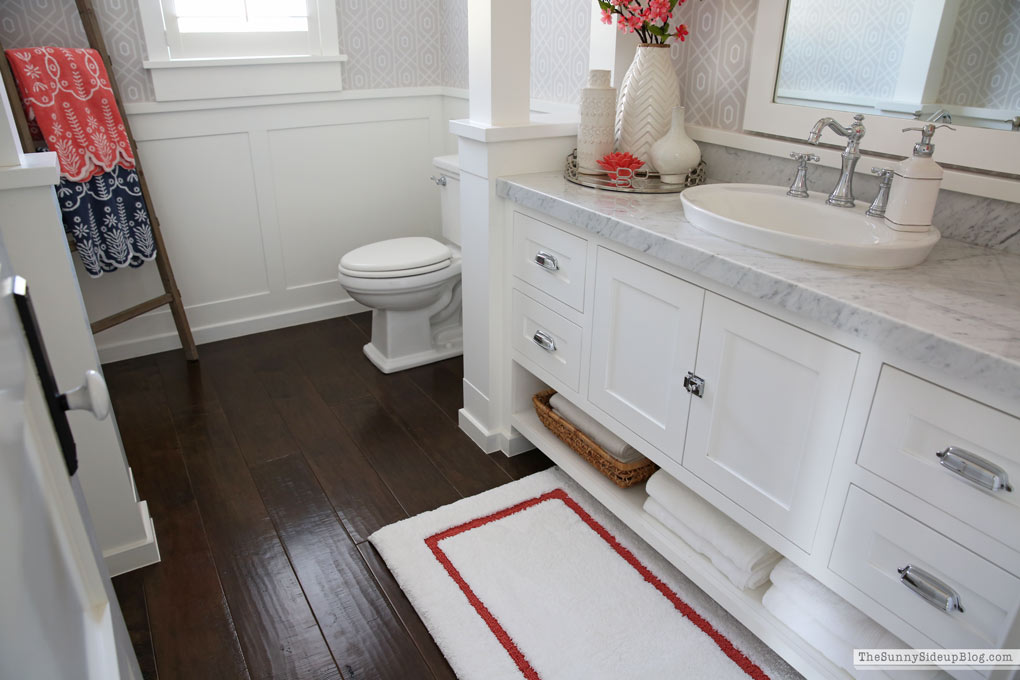
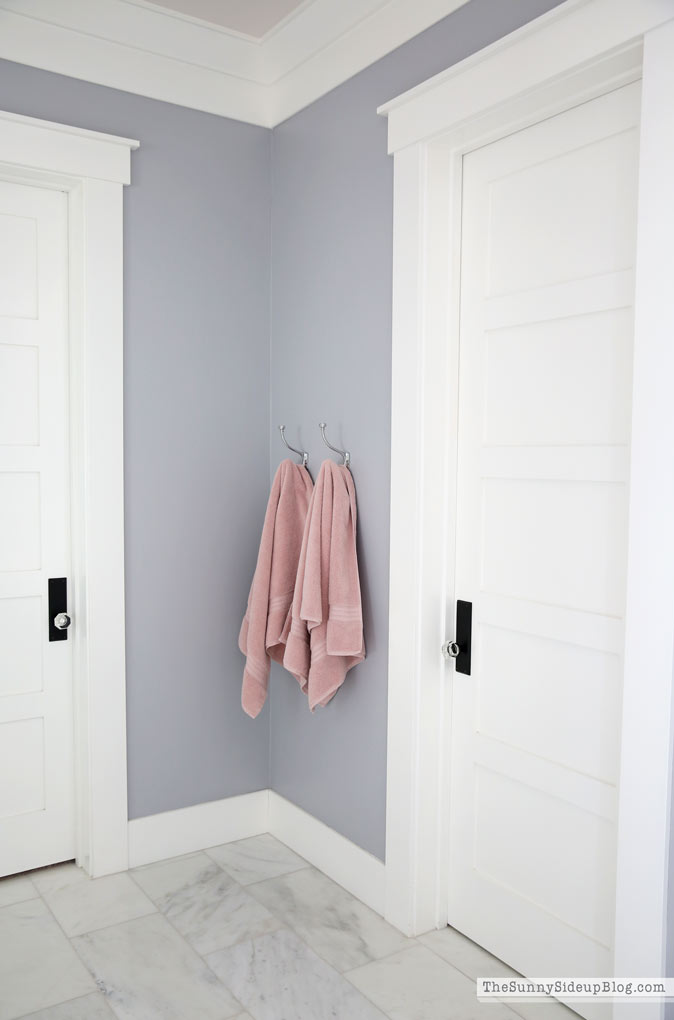
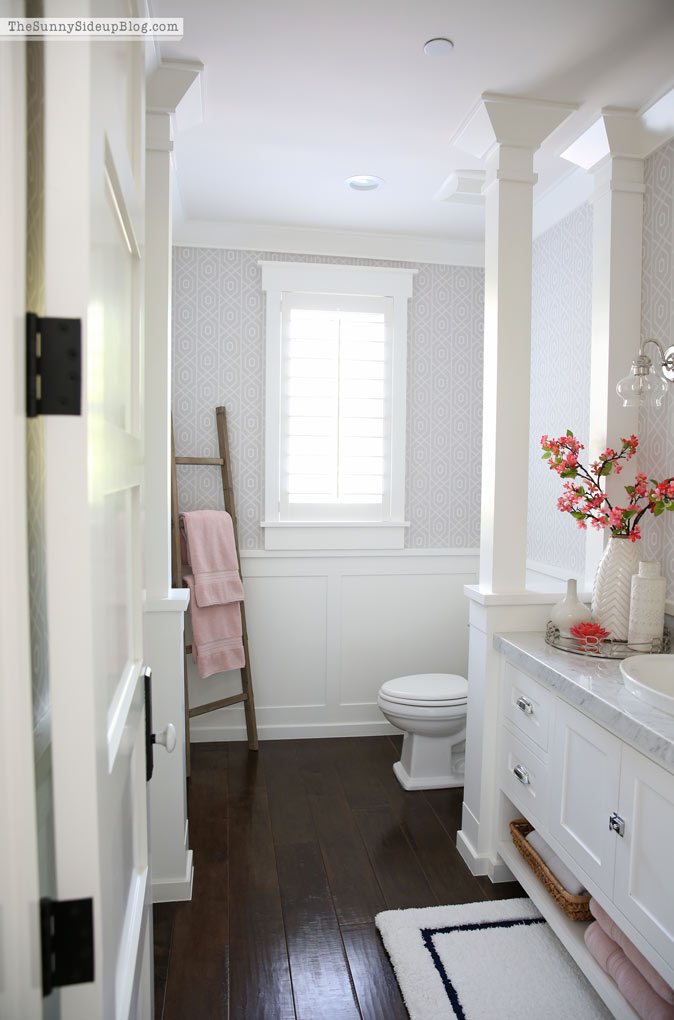
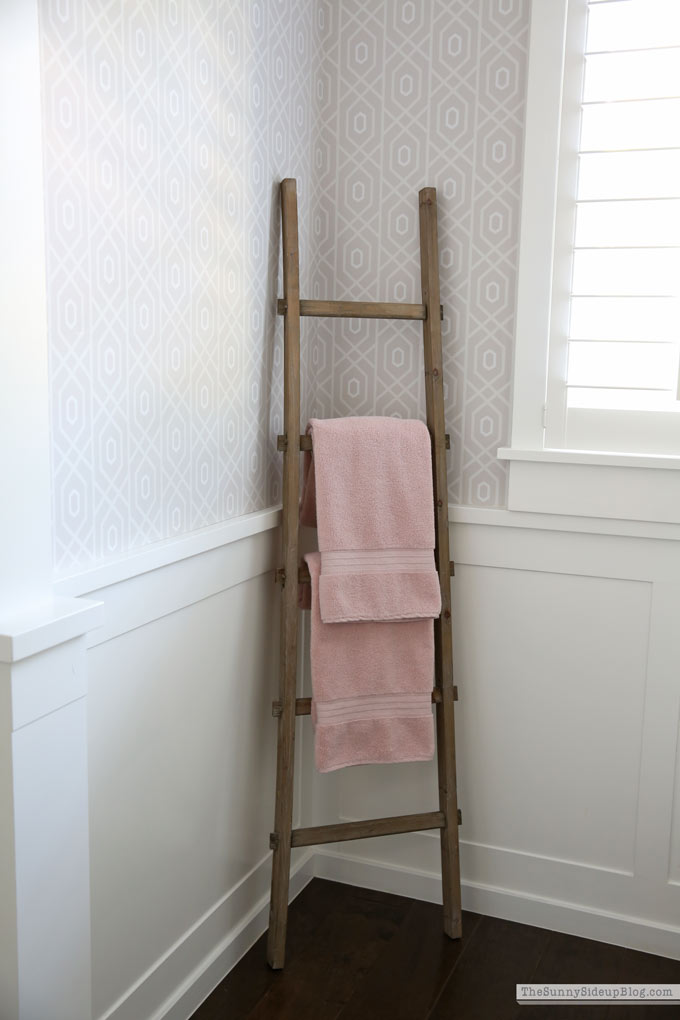
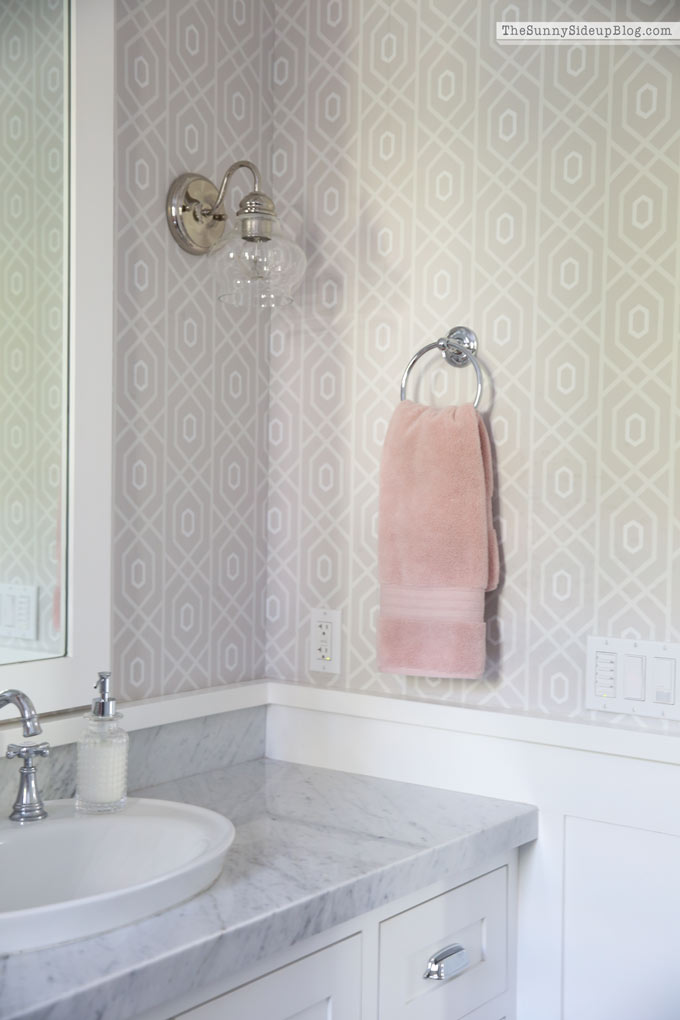
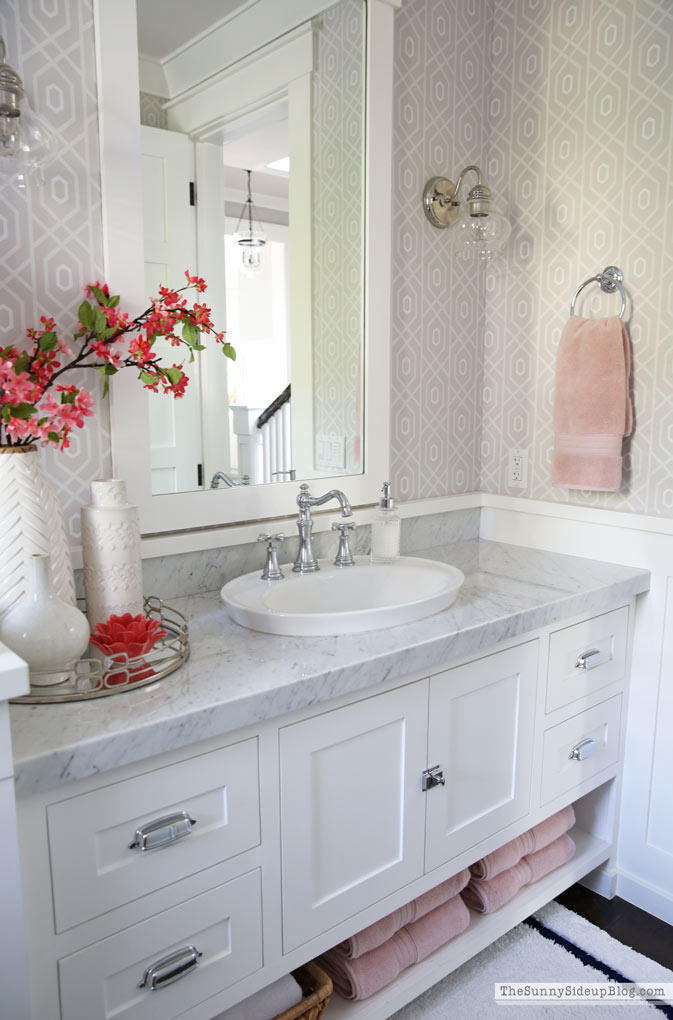
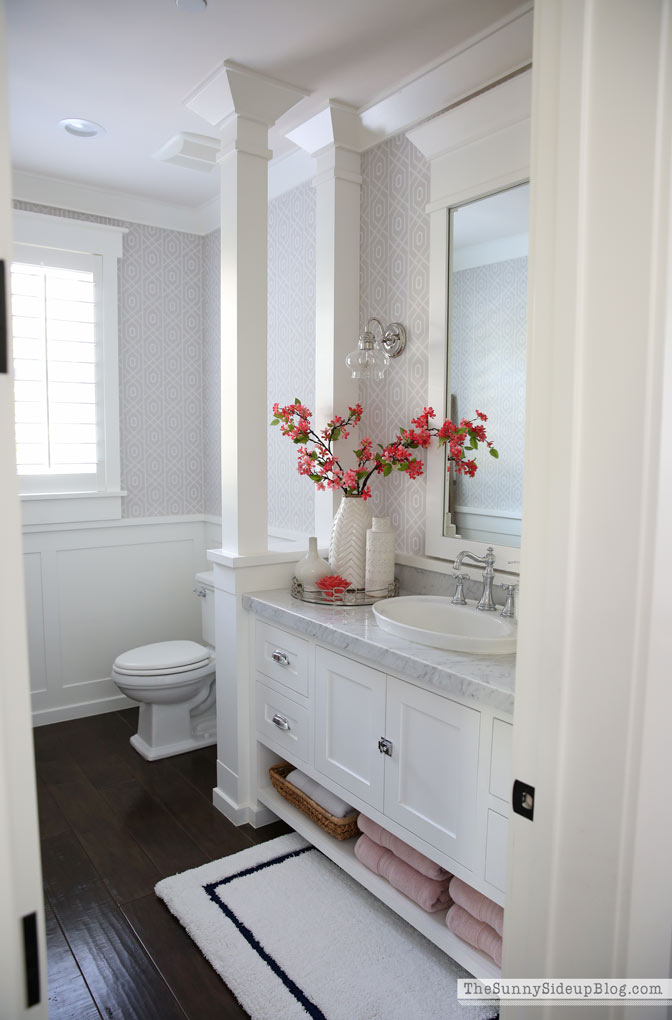
I loved my new towels so much in my master bathroom I decided to put some in my powder bathroom too!
This rose color is a deeper pink making it perfect to transition from summer to fall. I have a feeling a lot of pink will be popping up in fall home decor this year. It’s such a hot trend! I’m still trying to decide if I want to keep the pinks or go with traditional fall colors. What’s your favorite for fall?
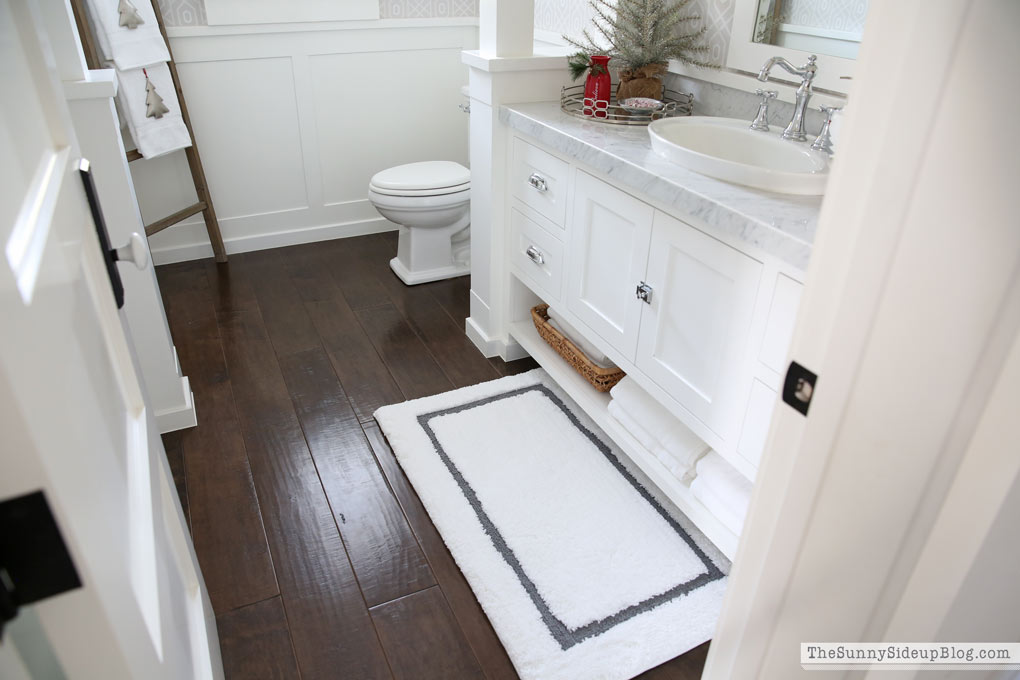
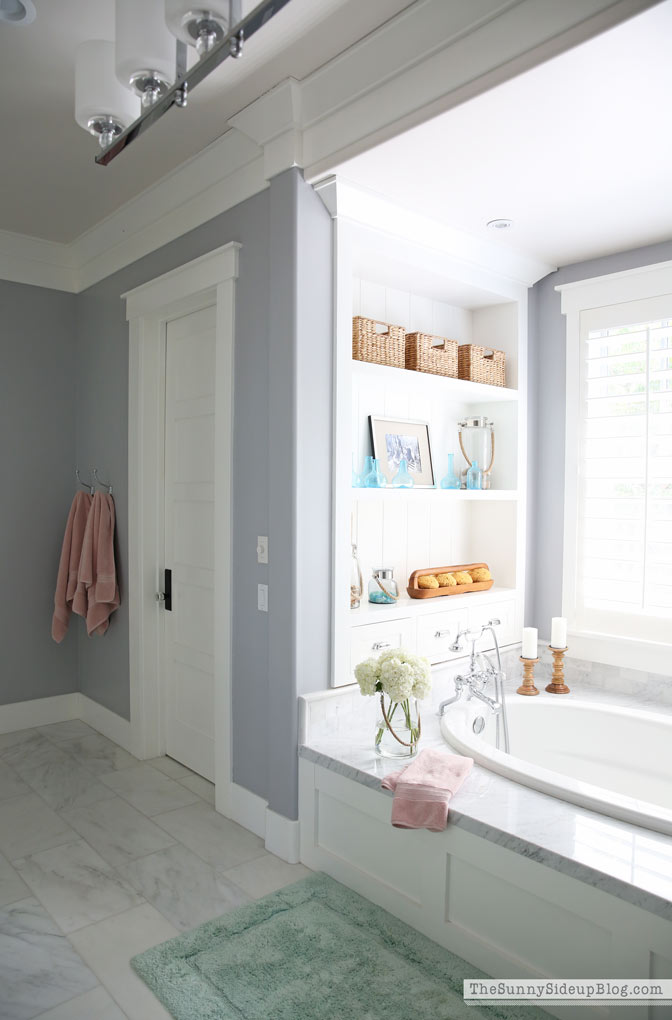
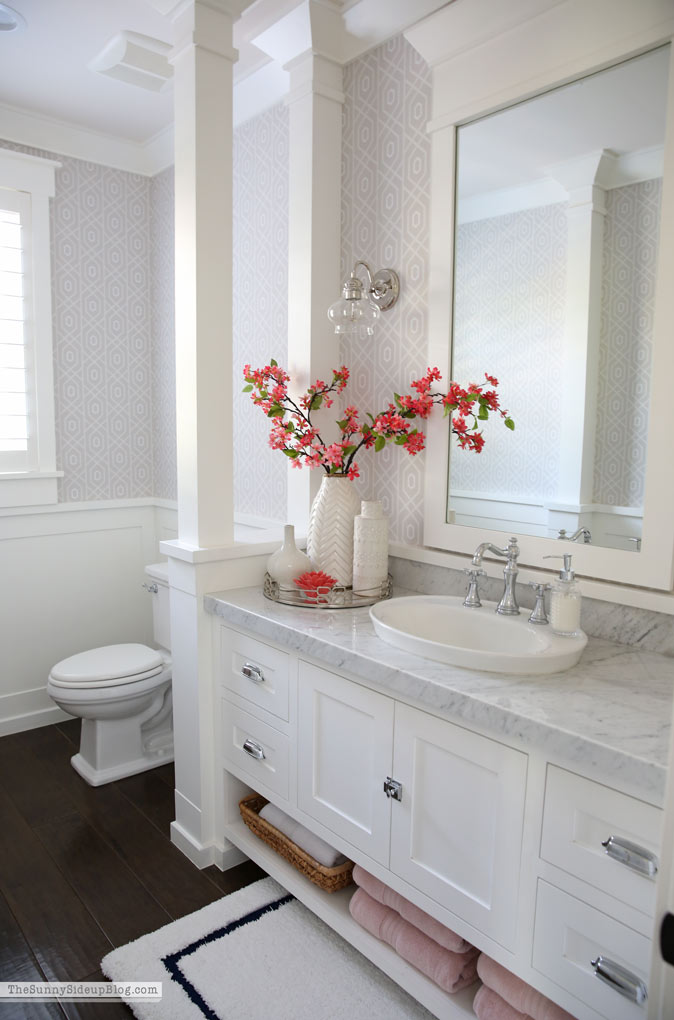
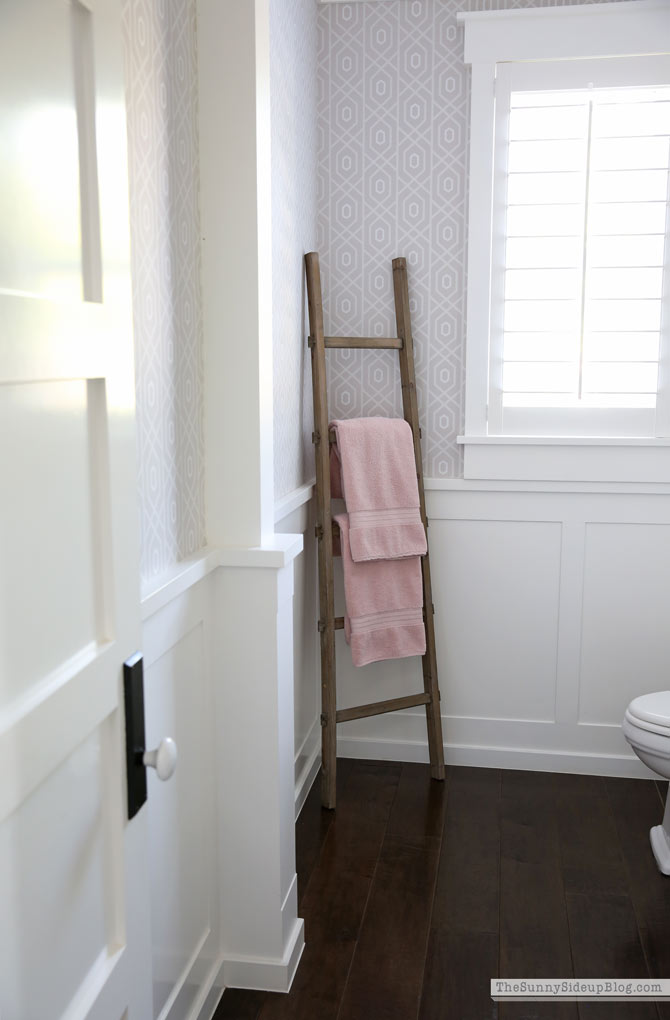
I added some of the same towels below my powder bath vanity, added a white hydrocotton towel in my basket and washed my bathroom rug.
A few simple changes and it feels like a new space every time I walk in this bathroom!
Crazy the difference a few new towels can make. One thing I’ve learned through the years is that it really doesn’t take much to transform and breathe new life into our spaces. A few new towels in the bathroom, a few new pillows on the couch, a new plant or some fresh flowers and DONE. We fall in love with our homes all over again. :)
Huge thank you to Pottery Barn for sponsoring this post! And for helping me decorate my home through the years. Your style and quality keeps me going back. And back. And back again.
And then back again one more time even when my husband says it’s time to be done going back. :)
Enjoy your weekend everyone! This pictures sums up plans around here. :)
Fashion Friday (Anniversary Sale!) and a Special Day
Happy Friday everyone! We made it! Always a good feeling isn’t it!? Friday is hands down my favorite day of the week. Everything just slows down and for me, the promise of a great weekend is usually better than the weekend itself.. ha. Not that weekends aren’t good, but because of the stage we are in with our kids they are busy! I usually have grand plans of down time that don’t really pan out. But Friday is my day to dream! I’m sure a lot of you can relate. :)
I’m excited to be partnering with Nordstrom today to share more of my favorites from the Anniversary Sale! The sale ends this Sunday night so this is the last weekend to get great deals on cute new things for Fall. Love this sale. I’m always sad to see it end! Some of the things I ordered on-line arrived and I’m excited to share a few more of my favorites with you along with things I’ve shared that have been re-stocked!
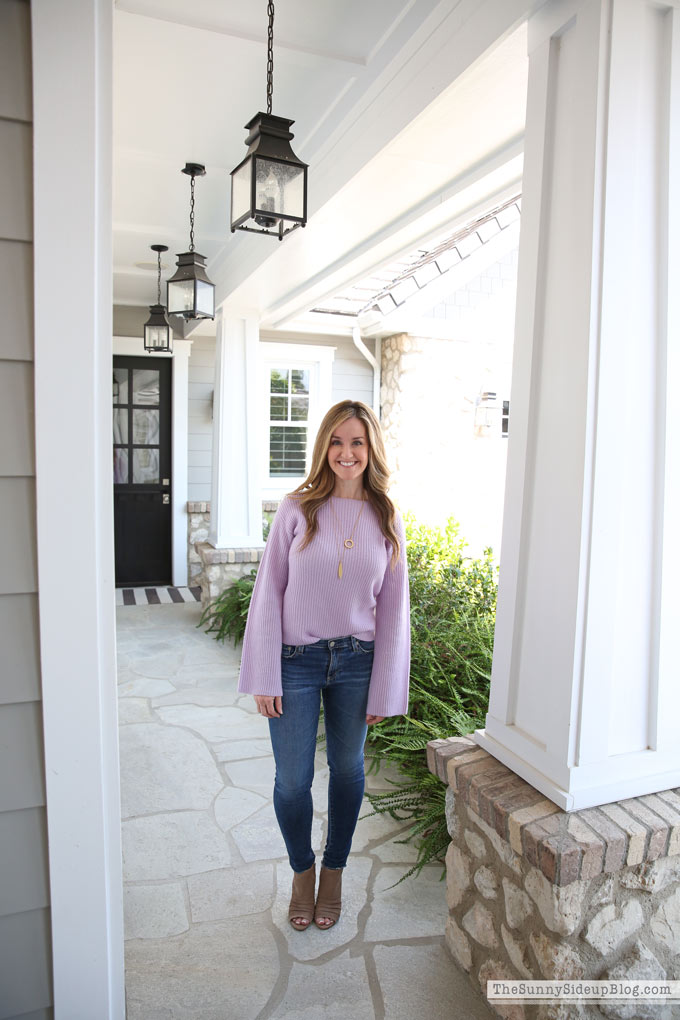
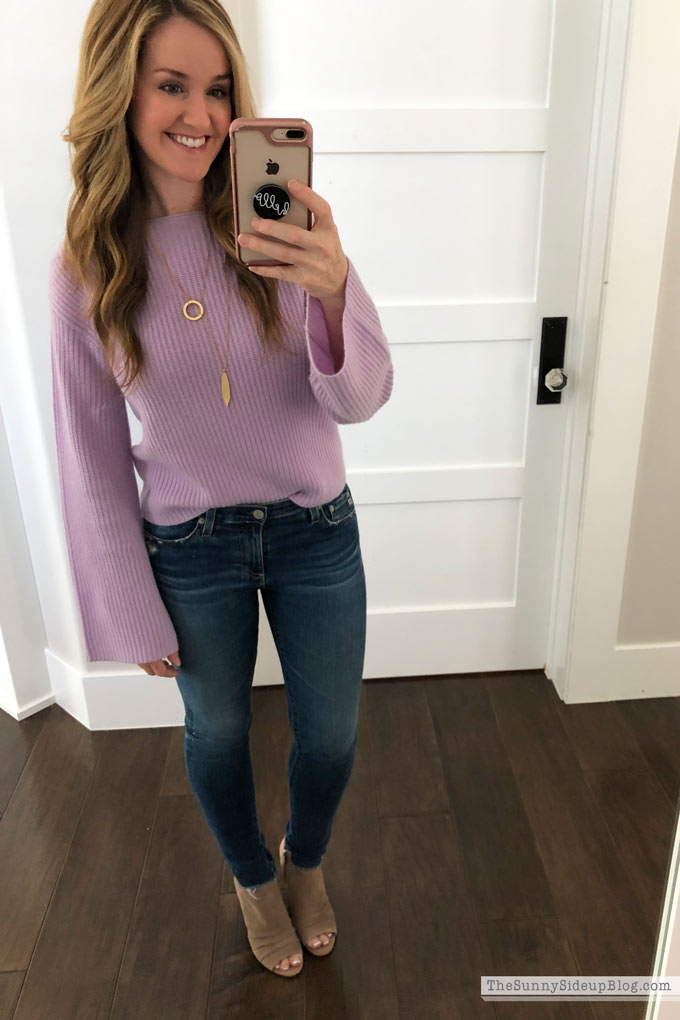
So this sweater was a splurge but is honestly one of my favorites! I absolutely love bell sleeves and the neckline and color of this sweater is so beautiful. So cute with a long necklace! This Madewell necklace was also on sale and sold out but this is another Madewell necklace I have and love that is similar.
I ordered it in gray also to try and wanted to show you both colors. I’m going to keep the purple because I already have a lot of gray but love them both! The gray I ordered in petite but I like the regular xs above in the purple better so I’d say order your regular size! Looks cute a little long in the sleeves.
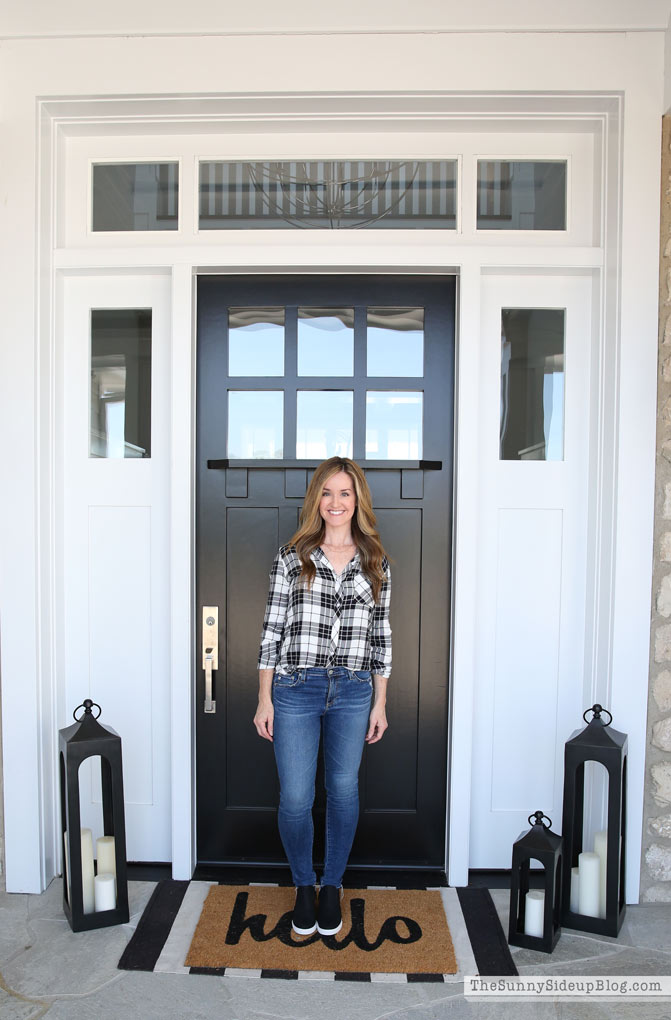
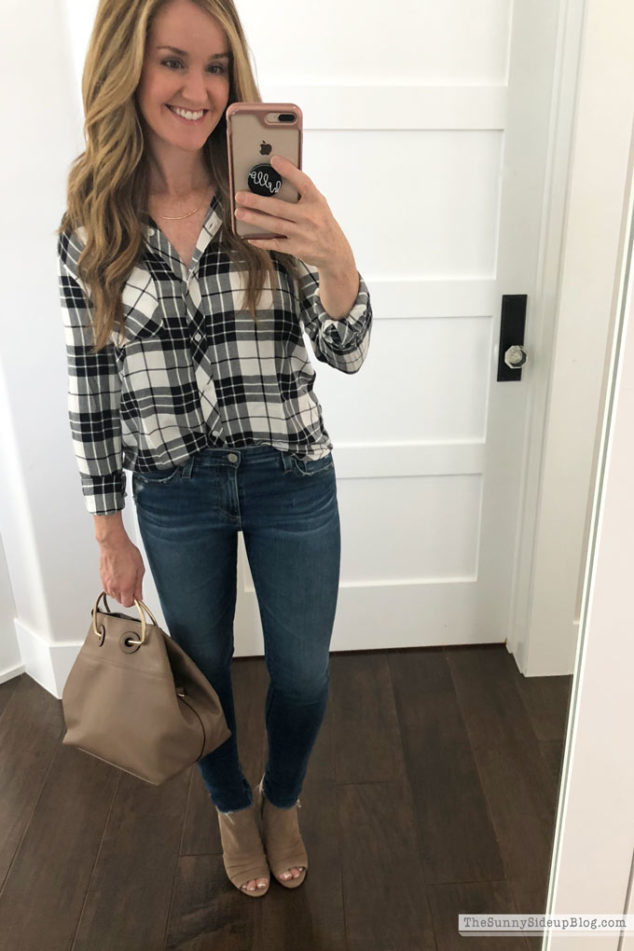
You all know I can’t resist a good black and white plaid flannel top! And this one is darling. So cute with these casual wedge sneakers.
But I also love it with this cute faux leather tote and my brown Kentvi Sandals! Isn’t this purse cute!? And such a great price. Comes with a strap you can add but I like it better without. The gold handles are my favorite! My top comes in other colors and patterns too. I really love all things Rails, but it’s a pricey brand so I usually only buy Rails during this sale when things are marked down. Their plaid shirts just hang so perfectly! And they are warm but not heavy flannel – perfect for easing into Fall when it’s cool but not cold.
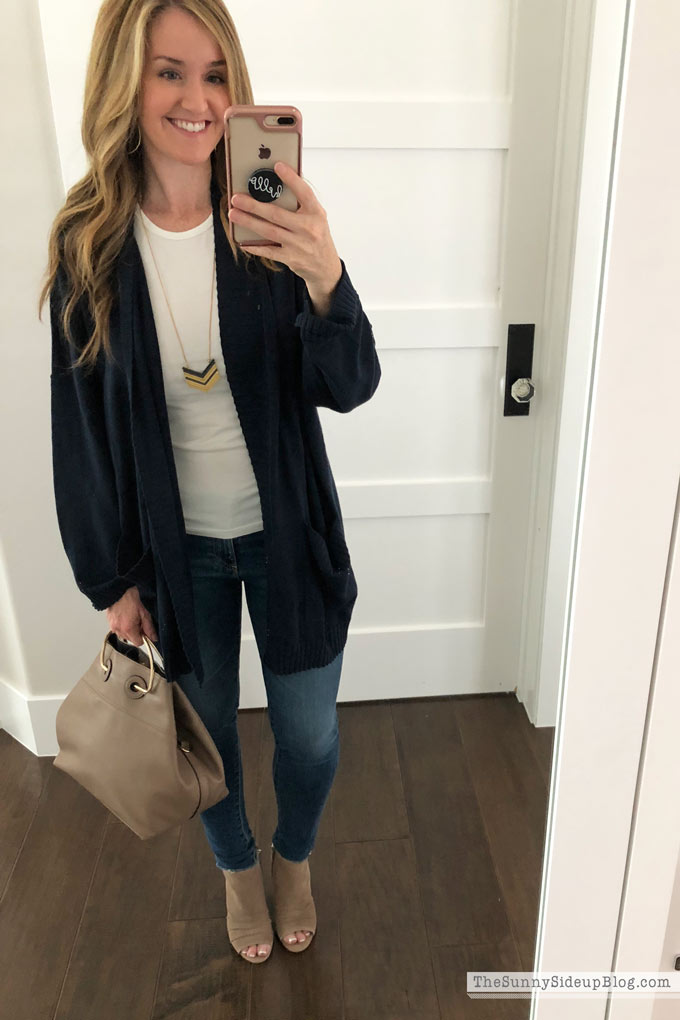
I bought two new cardigans during the sale (live in them when it’s cool!) and this oversize cardigan was one of my favorites. I love the big sleeves and how slouchy and cozy it fits. Excited to have a cardigan in navy too! I love navy.
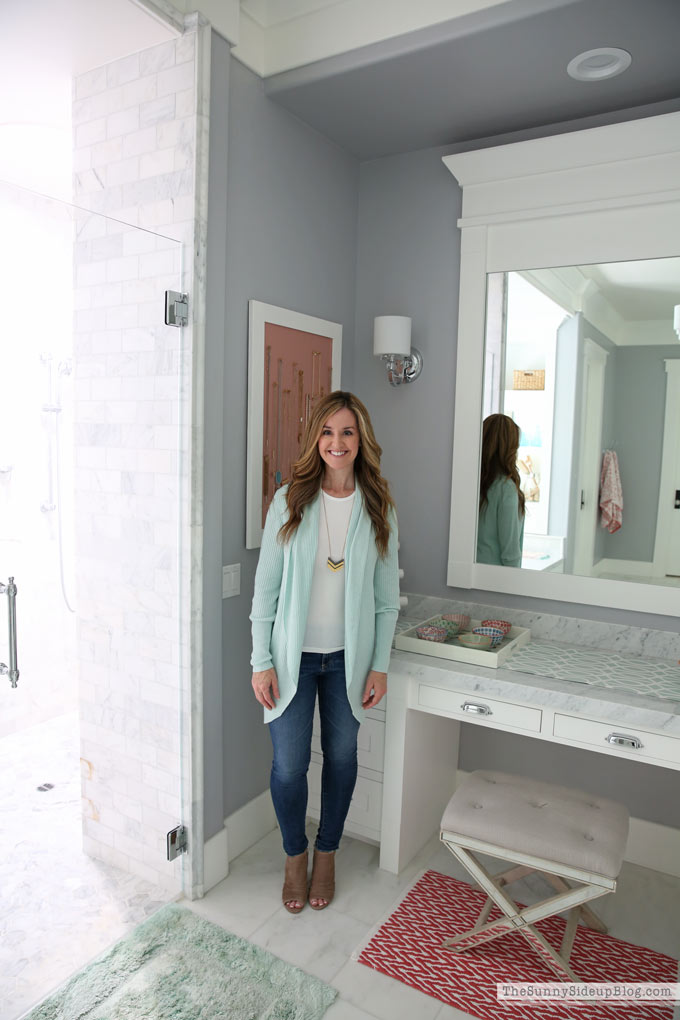
The other cardigan I loved from the sale this year is the Leith Ribbed Shawl Cocoon Sweater. Beautiful cardigan that comes in so many colors. Loving the teal! Just a few sizes left in this one so grab one quick if it’s something you want and they have your size! Matching my bathroom here.. not intentional but we’ll roll with it. :) You can see how I organize my jewelry in this post.
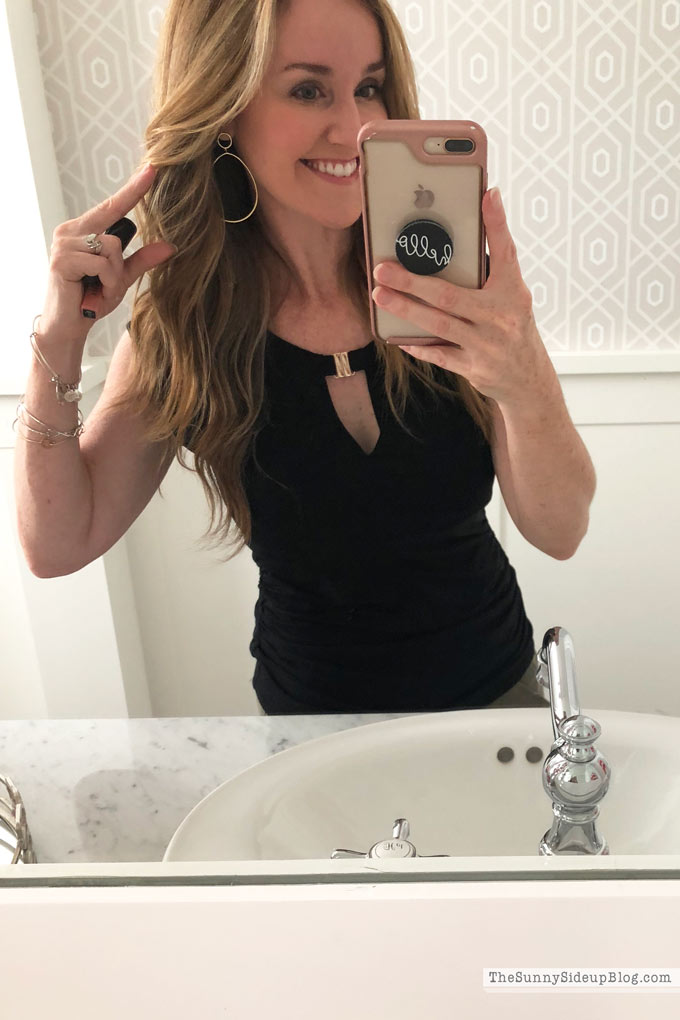
Speaking of jewelry, these Oblong Drop earrings are my very favorite from the sale this year (this pair is similar) and I’ve been wearing them almost every day since they came in! So cute and they seem to work with everything. I snapped this pic last weekend on our way to watch El perform in Dancerpalooza (a fun dance intensive we usually travel to but this year it was in San Diego) .. so much fun seeing her on stage!
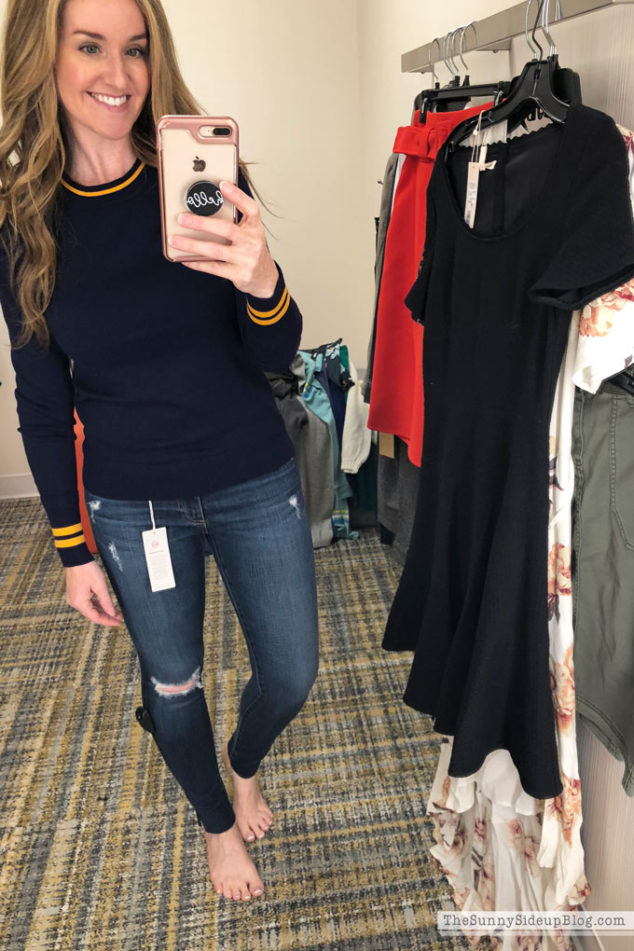
I mentioned this balloon sleeve sweater is one of my favorites from the sale this year. So comfy and such a great price!
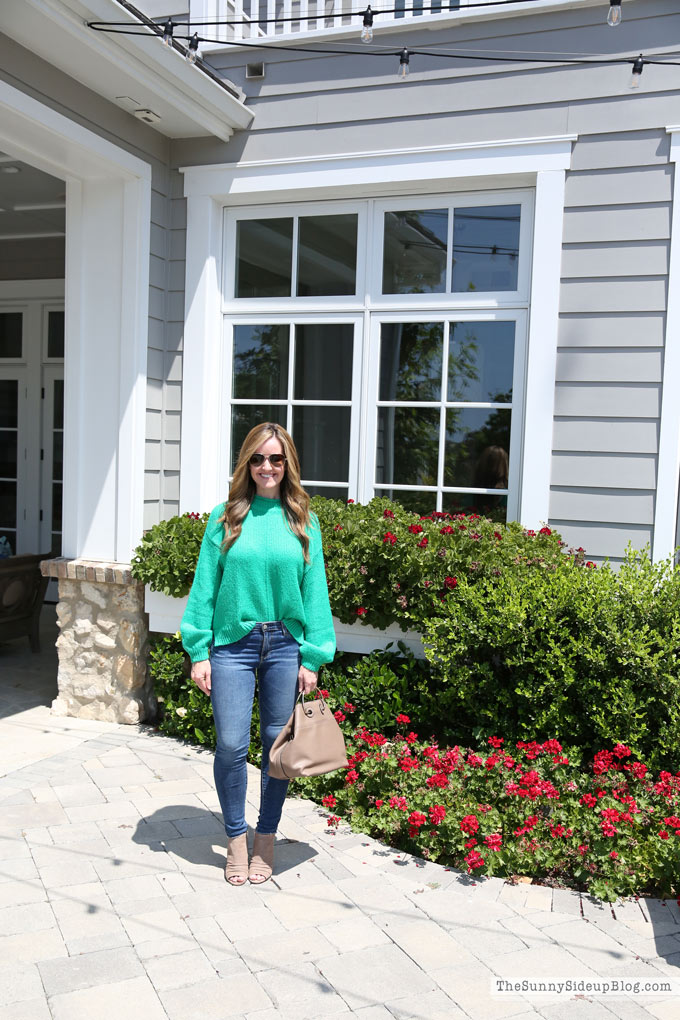
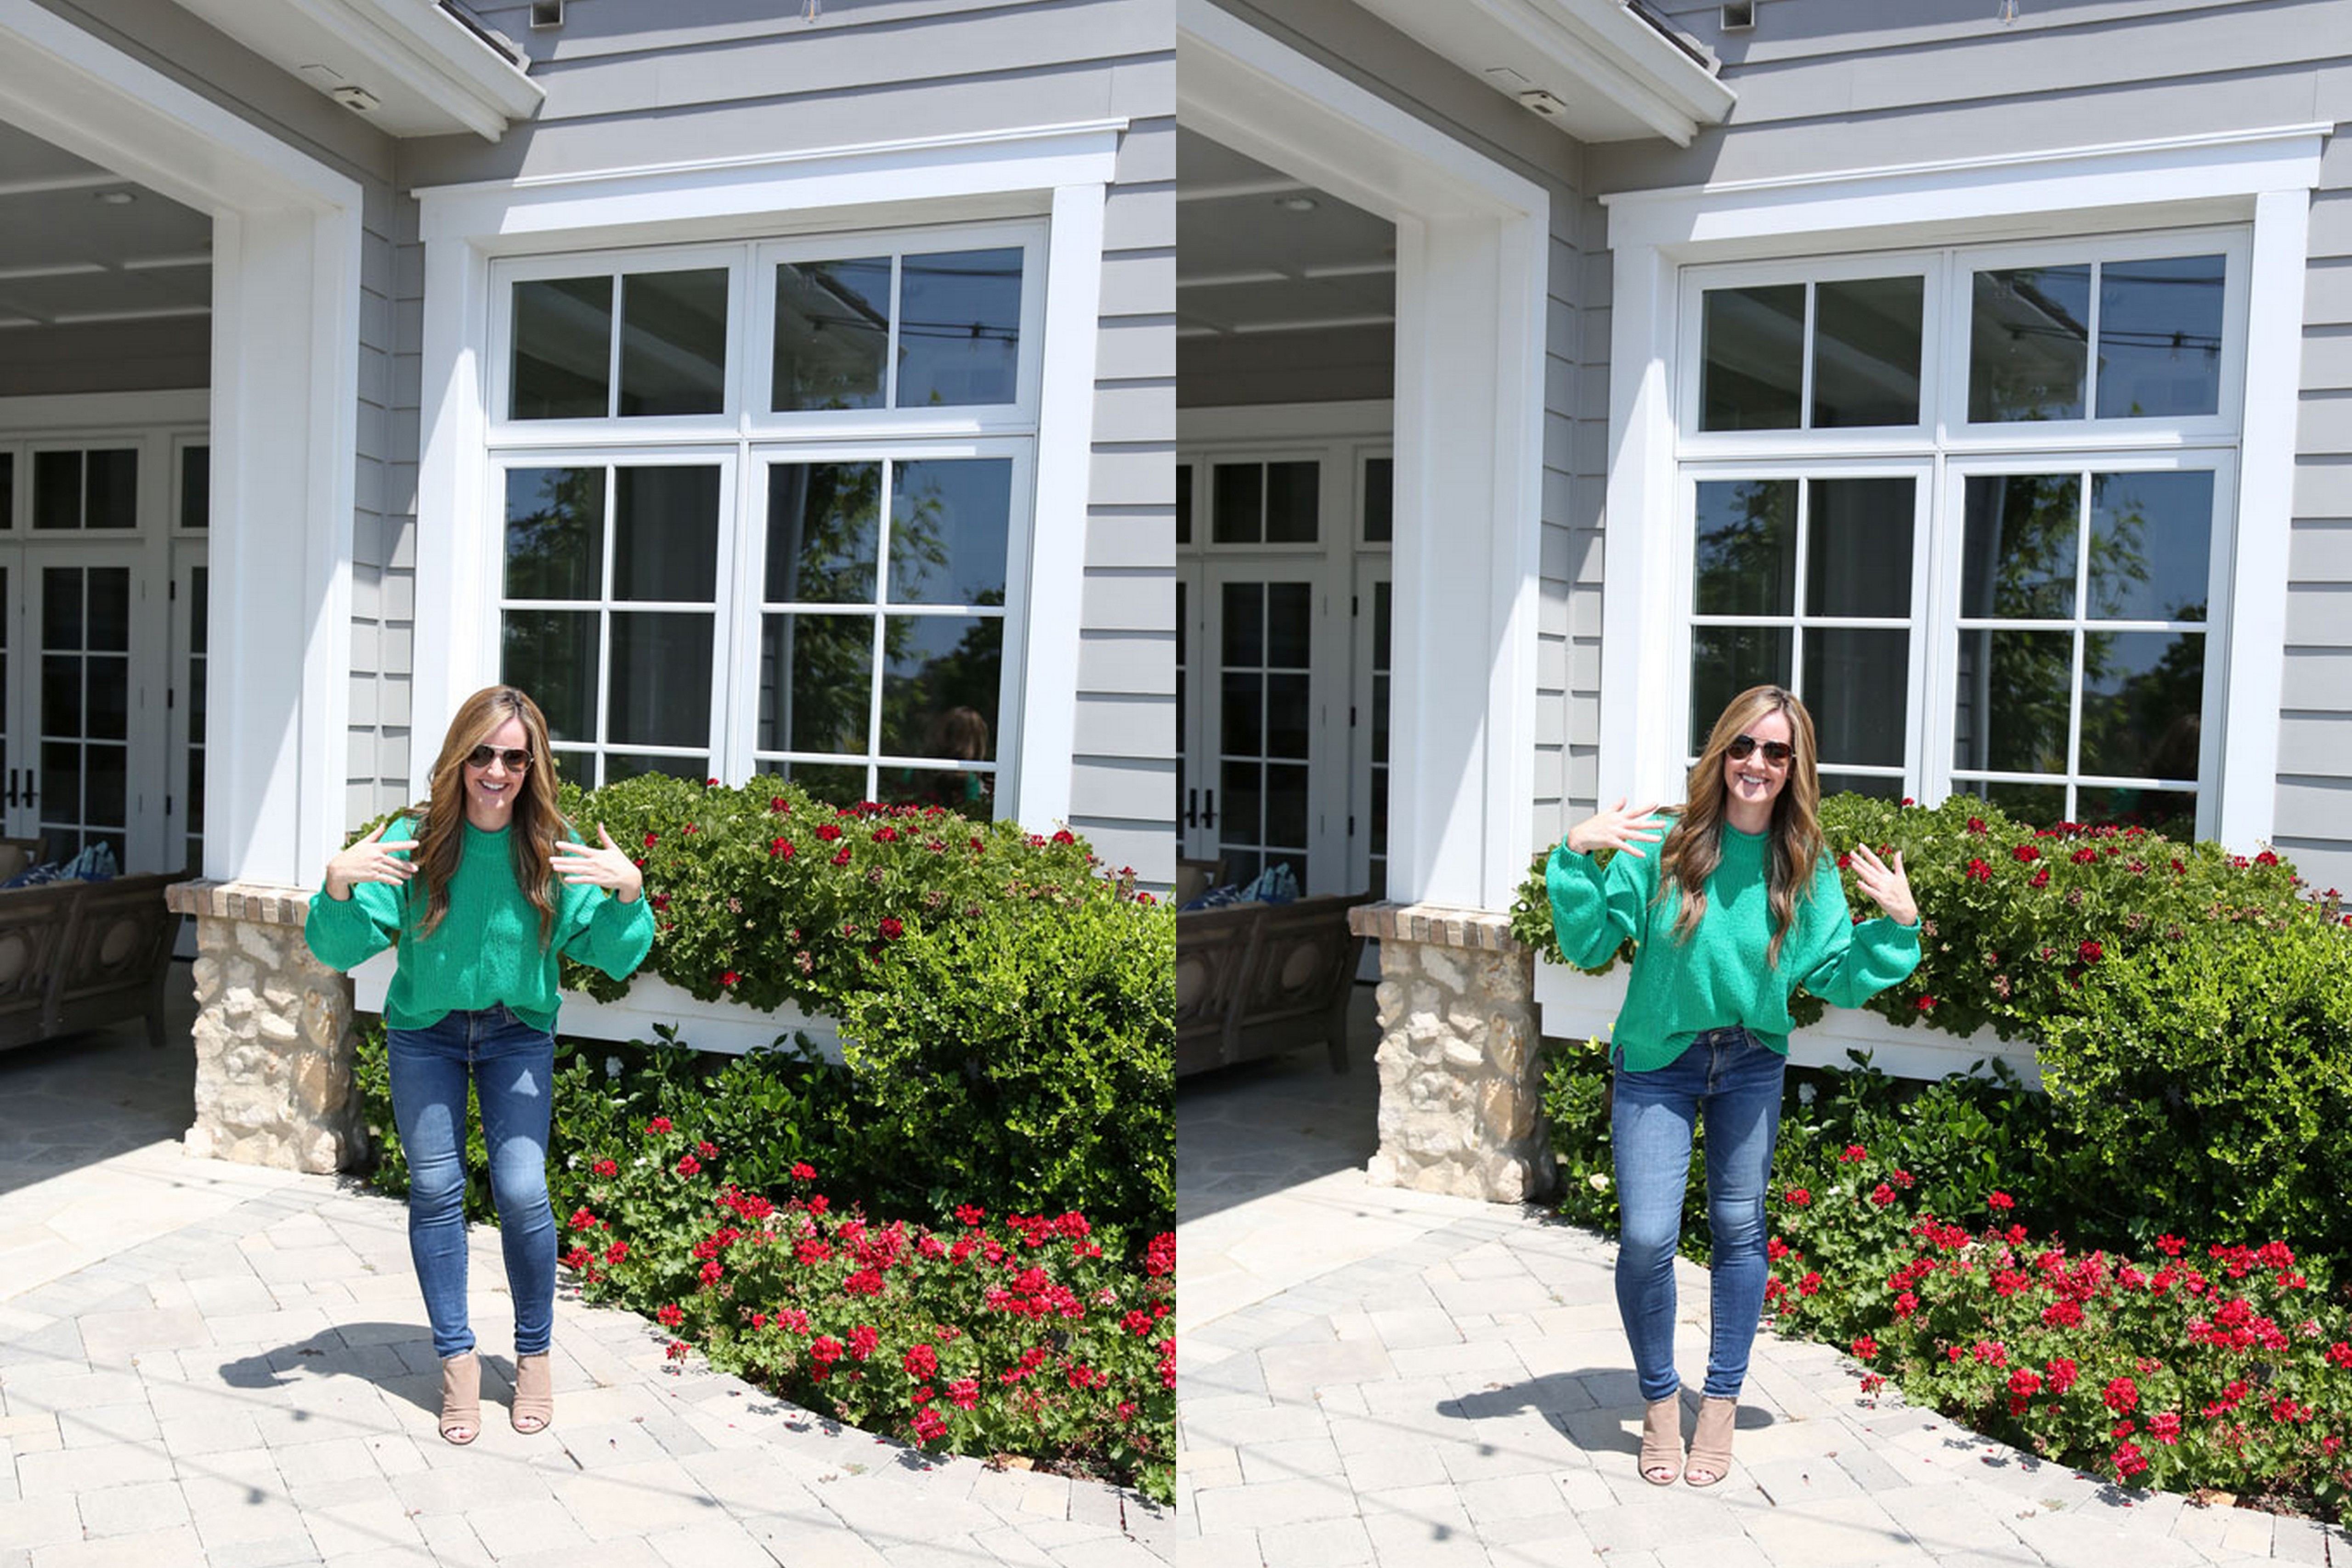
I had to order it in green too! Just couldn’t resist. LOVE this sweater. LOVE this color! Wearing it with my Kate Spade Aviators I also love from the sale this year! A friend snapped this pic for me and we were laughing so hard..
I was dying! So hot wearing this sweater outside in the summer! Half of my pics came back like this of me fanning myself.. ha. I was trying to mix up the bedroom mirror selfies for you all but quickly realized that sometimes I do things a certain way for a reason.
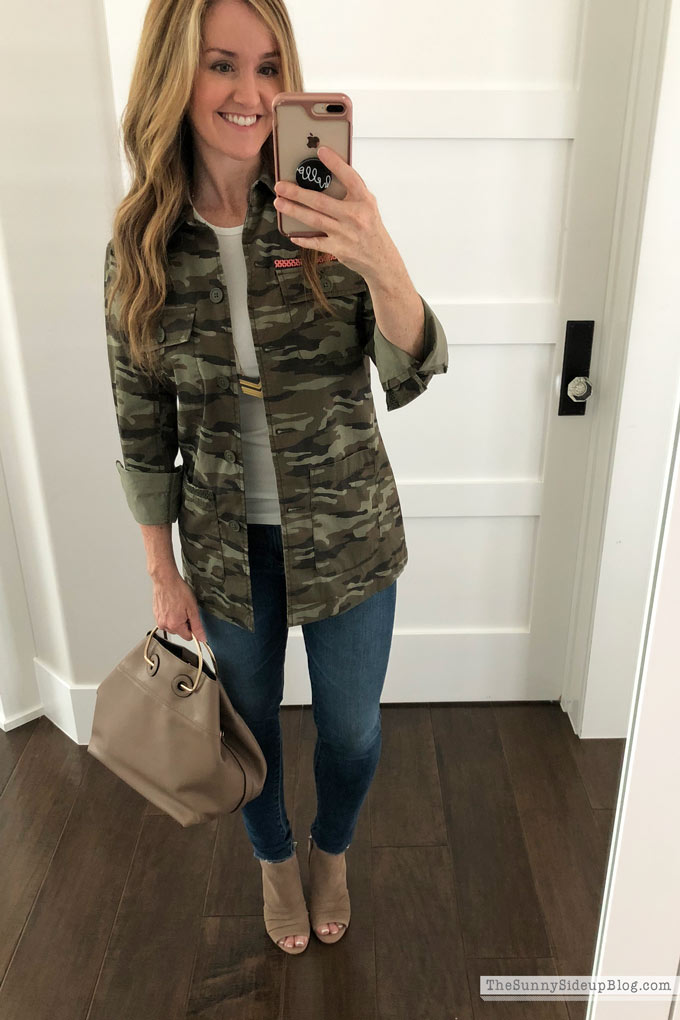
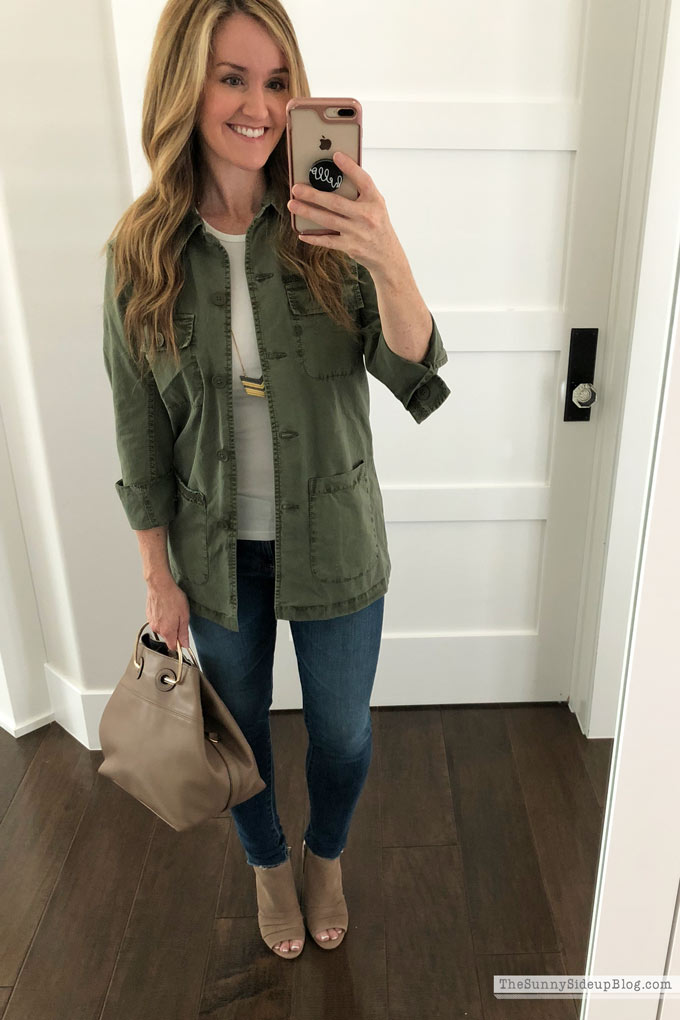
Air conditioning! Back in my cool house and ready to try on winter wear. ;) Ok.. you all know how I feel about camo.. this Caslon Utility Jacket is so cute! Especially love the little pop of pink above the pocket. It runs large so I’d order one size smaller than your regular size.
I got it in the green to try too and now can’t decide which one to keep!
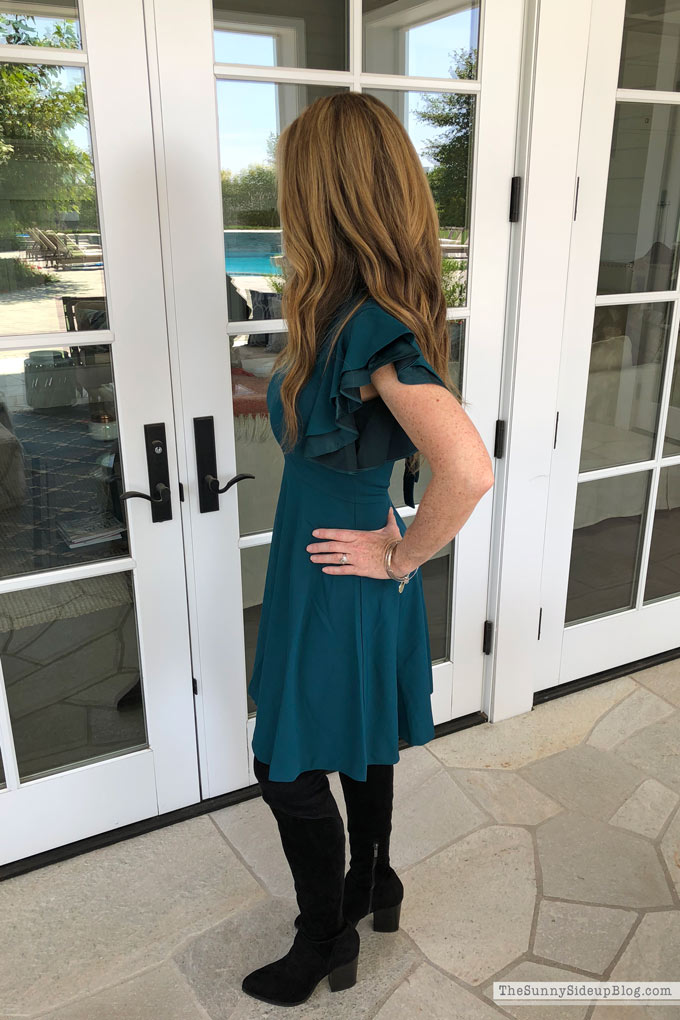
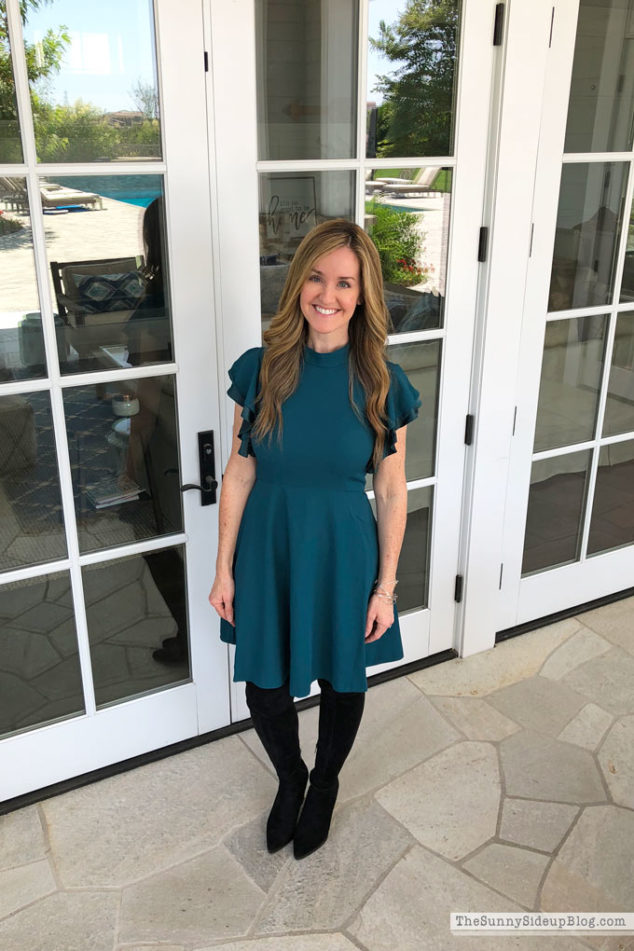
I ordered this Fit and Flare dress early on and knew I would love it! I was so excited to try it on and it fit perfectly true to size. It looks a little short on the model but on me it hits just above the knee (I’m 5’3.. and a half). ;) I love it with my over the knee black boots for Fall! I bought my boots during this sale last year and about wore them out. I love not having to worry about my legs! Haven’t shaved? Out of tanner? No problem. :) This pair of Vince Camuto over the knee boots are similar and on sale!
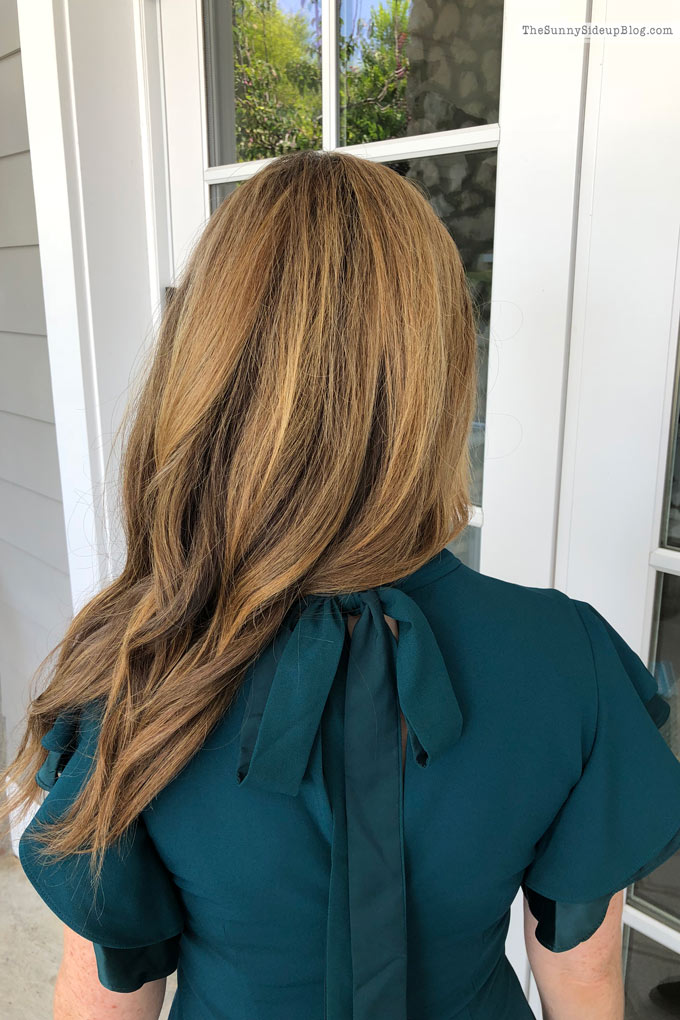
Here is a side view of this dress so you can see how sliming it is and how beautiful the ruffle sleeves are. Plus I’m crazy about this stunning teal color! But it also comes in navy and burgundy.
And it ties in the back! Would be so cute with hair in an up-do to show off the bow. LOVE this dress.
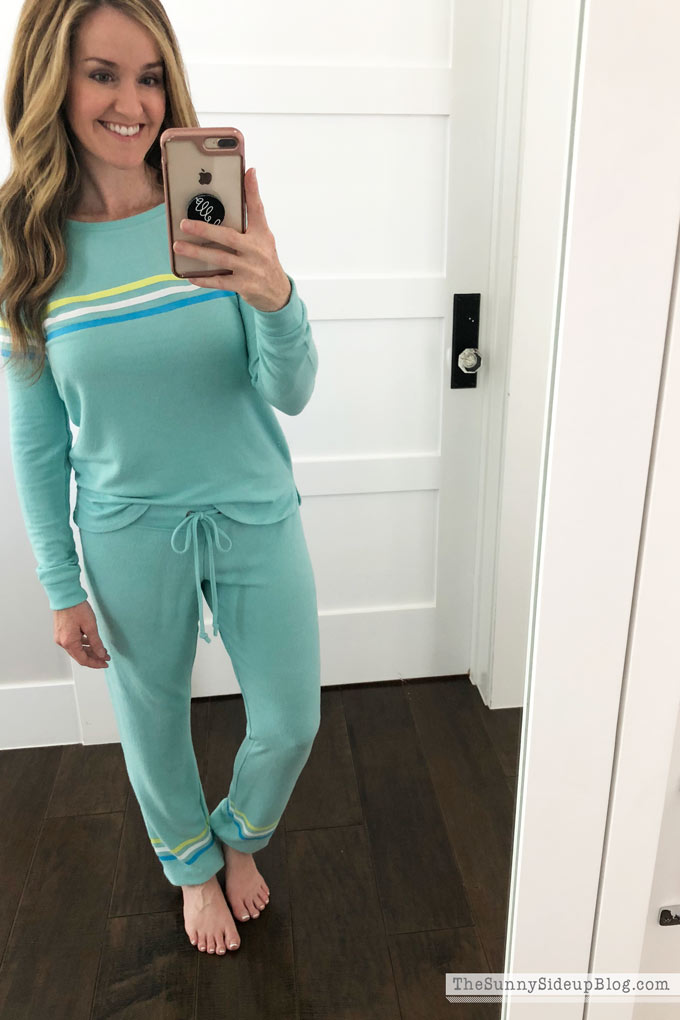
Ok.. enough dressy talk.. let’s get to the really good stuff. The pjs! :) I shared this cute Make and Model pair I bought early on in the sale. If you know me you already know of my never-ending love for Make and Model pjs. If we had to evacuate our home I’d grab my kids, my albums and then my Make and Model pajamas. Because I’d need something comfy to wear during the disaster of course. ;) Really though.. they make me so happy. I put them on at the end of the day and just ahhh.. instant comfort. Plus they are cute and flattering too! Comfort first, but that’s a major bonus.
They’re cute enough to wear for every day wear too! Isn’t this pullover darling with jeans!? Wear pjs all day? Well if you insist… ok.. don’t mind if I do. :)
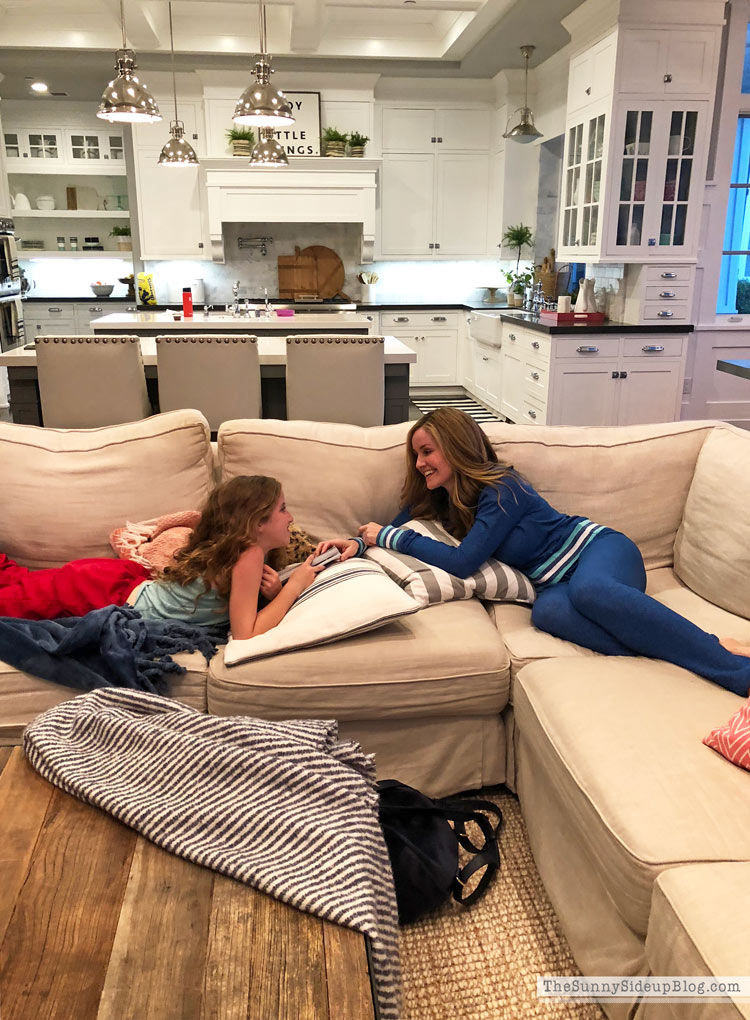
So I bought the new pair above during the sale. And not too long ago I bought this blue pair. (Those I wear during the day running errands all the time too!)
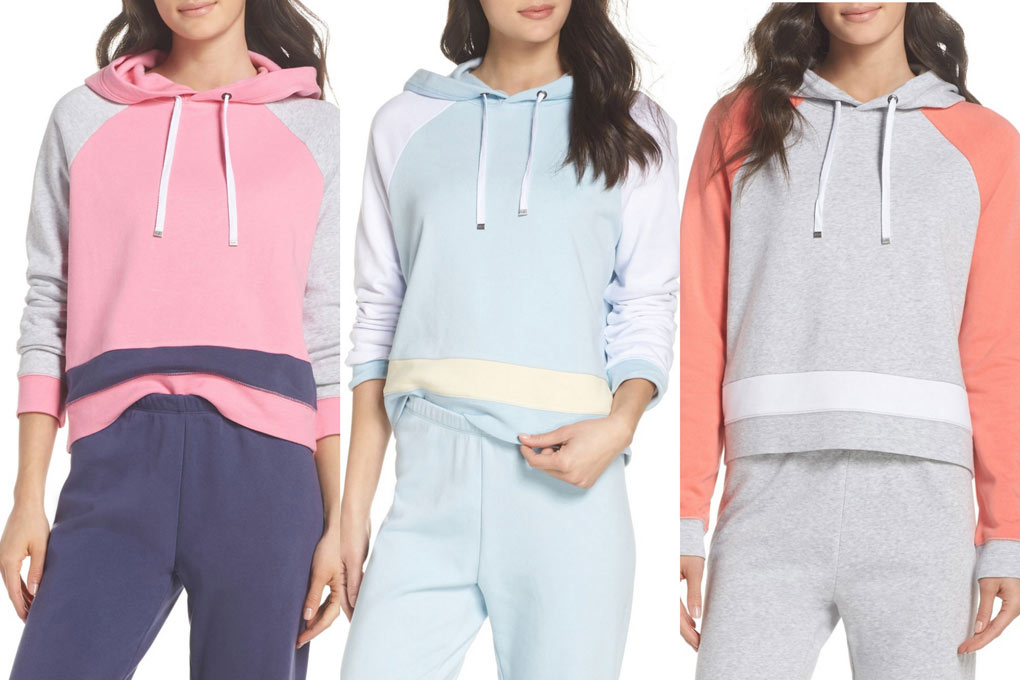
And now Nordstrom has this pair in stock and on sale! Ahhhh! Don’t do this to me! I seriously can’t resist a cute pair of Make and Model pjs. I’m just not strong enough. Admitting my problem is the first step to recovery. The only reason these aren’t on their way to my house right now is because I can’t decide which color combo to get.. aren’t they all perfection!? Help! What’s your favorite? Tell me in the comments or I’ll be forced to order one of each.
And then I’ll be promptly signing divorce papers when my husband finds out.
Kidding.. but not kidding.. ha. He just doesn’t understand! If they made Make and Model pjs for men he would get it!
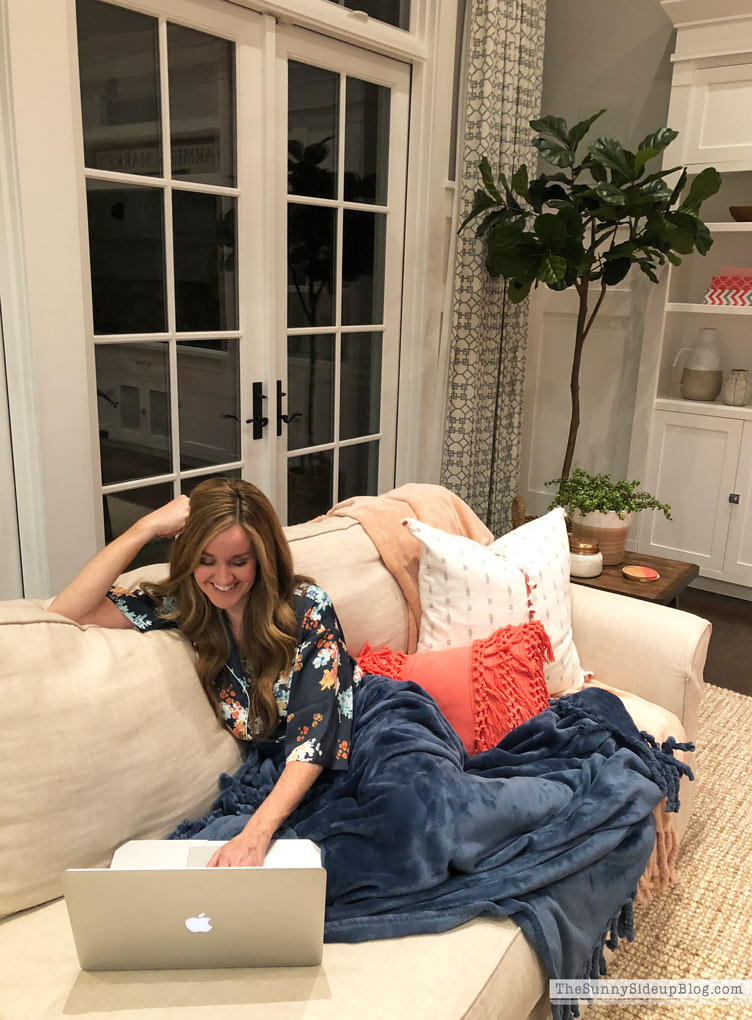
I broke out of my Make and Model comfort zone and bought these matte satin pj’s during the sale too and have loved having cool silky pjs when it’s hot – which is most days right now. Thinking of getting a few pairs for Christmas gifts this weekend. I have a feeling my mom would love these too. Am I right mom? :) Also my favorite bliss throws are going fast! Just a handful colors left if you want one for only $25!
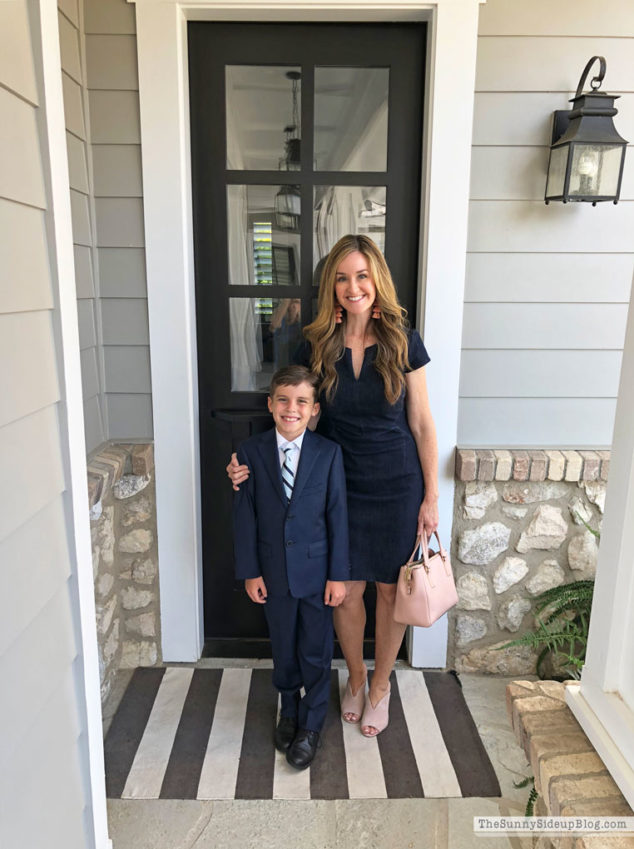
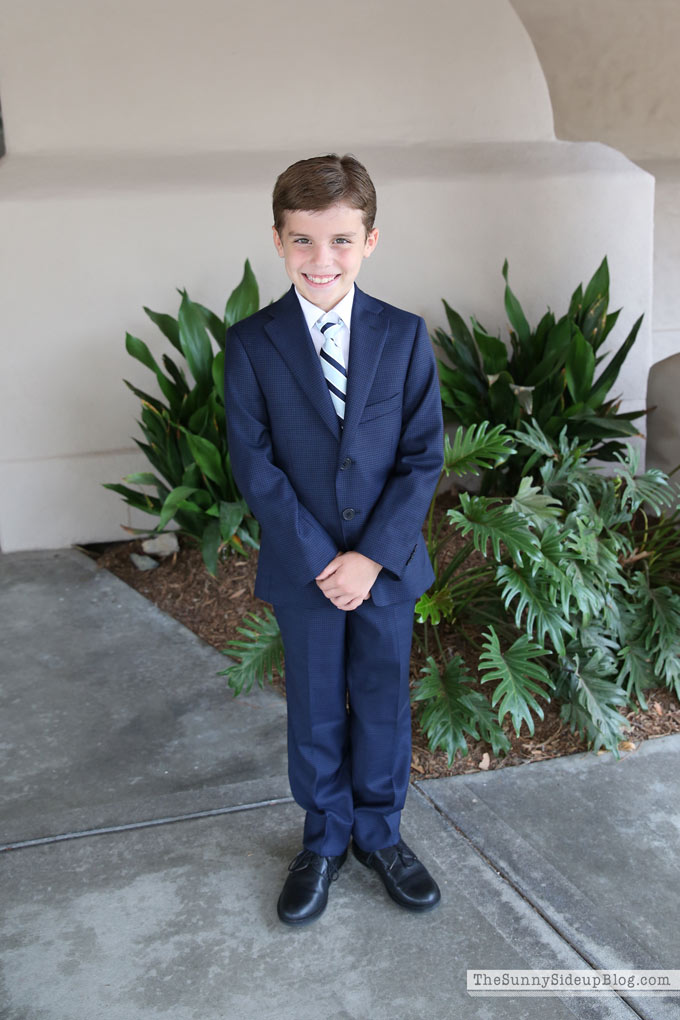
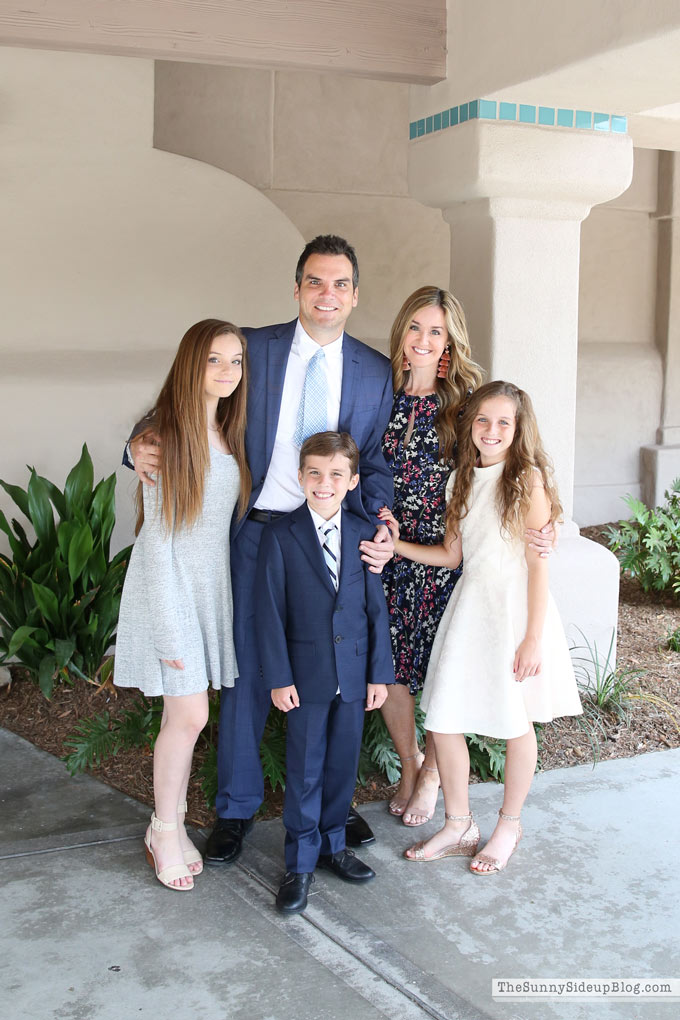
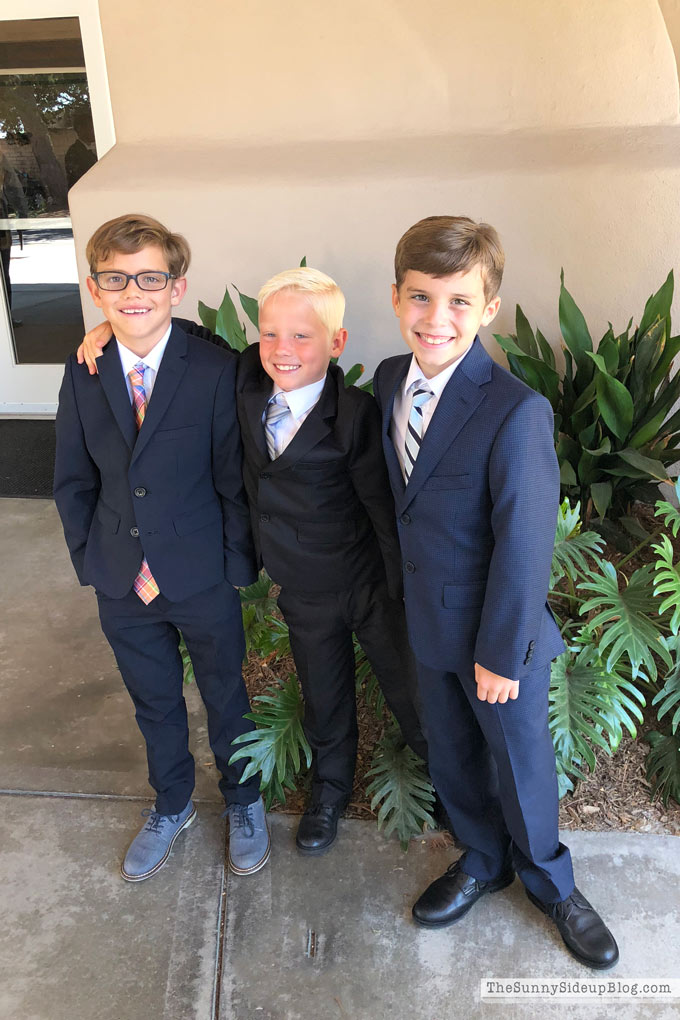
Yesterday I shared some cute clothes Addison and her friend got for back to school from the Nordstrom sale, but I didn’t share anything for my little guy! This Michael Kors suit was his splurge from the Nordstrom sale this year. A major splurge for a special occasion. Two weeks ago Kole was baptized. (In the church we attend kids can get baptized when they turn 8 years old). It was such a special day for our family! And a bit emotional for me seeing my husband baptize our youngest. Plus I just kept looking at Kole in his first suit looking so grown up and handsome and couldn’t get over it!
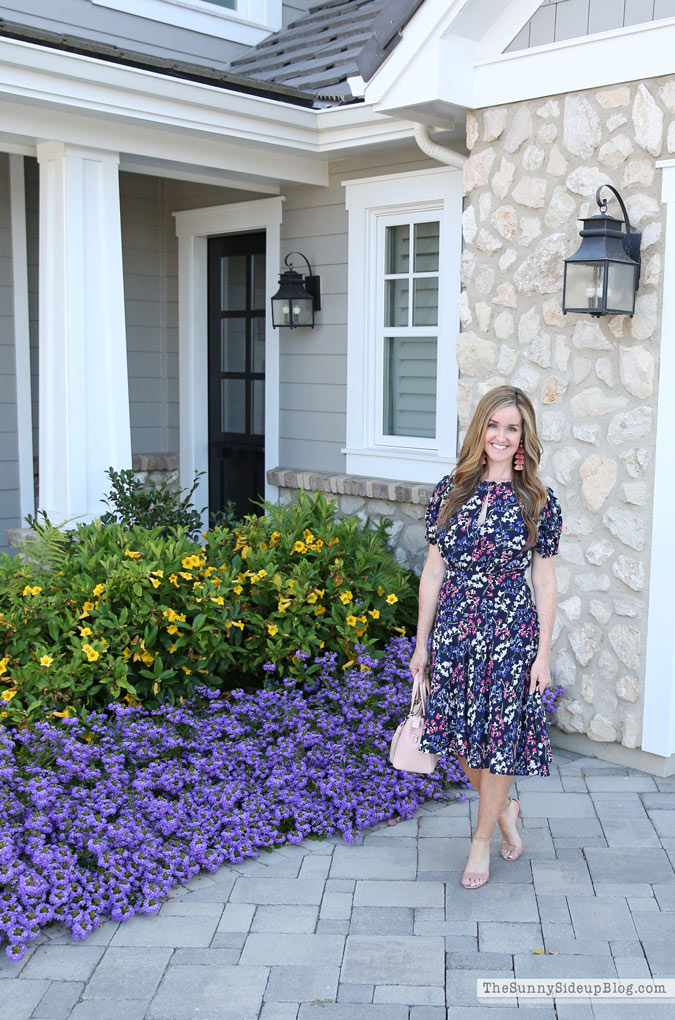
I had this new dress that was perfect for such a special occasion so Kole and I were feeling fancy. ;)
The ceremony was so beautiful. My girls sang and I shared some sweet and funny things about Kole. So easy to do! He brings so much happiness to our lives and to everyone around him and makes us all laugh every single day. I can’t imagine life without my sweet boy. He is growing up way too quickly! And because of that I had his pants tailored in a way that we can keep letting them out so hopefully this suit will last a while. ;) This is one outfit I’ll save forever. Wish I could freeze him in time and keep him this age forever.
He got baptized with two of his good buddies and we had a luncheon with lots of friends and family after to celebrate these darling boys and the good choices they are making in their lives.
Of course they responded with unmatched poise and sophistication.
As they always do.
:)
*Huge thank you to Nordstrom for sponsoring this post, for the incredible customer service and for such an amazing sale this year!
{POST SOURCES}
SaveSave
SaveSave
SaveSave
SaveSave
SaveSave
SaveSave
SaveSave
SaveSave
SaveSave
SaveSave
SaveSave
SaveSave
xoxo, Erin
Share
Join the Sunny Side Up
Community!
The best way for us to stay in touch! Sign up for my newsletter so you’ll never miss a post! You’ll also gain access to all of my home and organization printables.


 After the show with her sweet director.